Starting this spot to get the thread rolling.
Pics of the process will be *coming soon*
Originally tank set up was purchased used for SW.
Through a series of unfortunate circumstances it sat empty for a year (technically it is still empty as of this start of the thread).
The decision was made for this to be a FW tank build. Based upon what I already have a need for which is more FW tank space. Since I haven't found a bargain giant tank for the FW guys they will be in 2 tanks now.
~~~~~~~~~~~~~~~~~~~~~~~~~~
The Congo Tetras and the Clown Loaches are moving here. Another fish maybe as well, but not sure I can find them available (and can't spell their name atm).
The Congo Tetra's are getting large and the Clown Loaches are growing too.
~~~~~~~~~~~~~~~~~~~~~~~~~~~~~
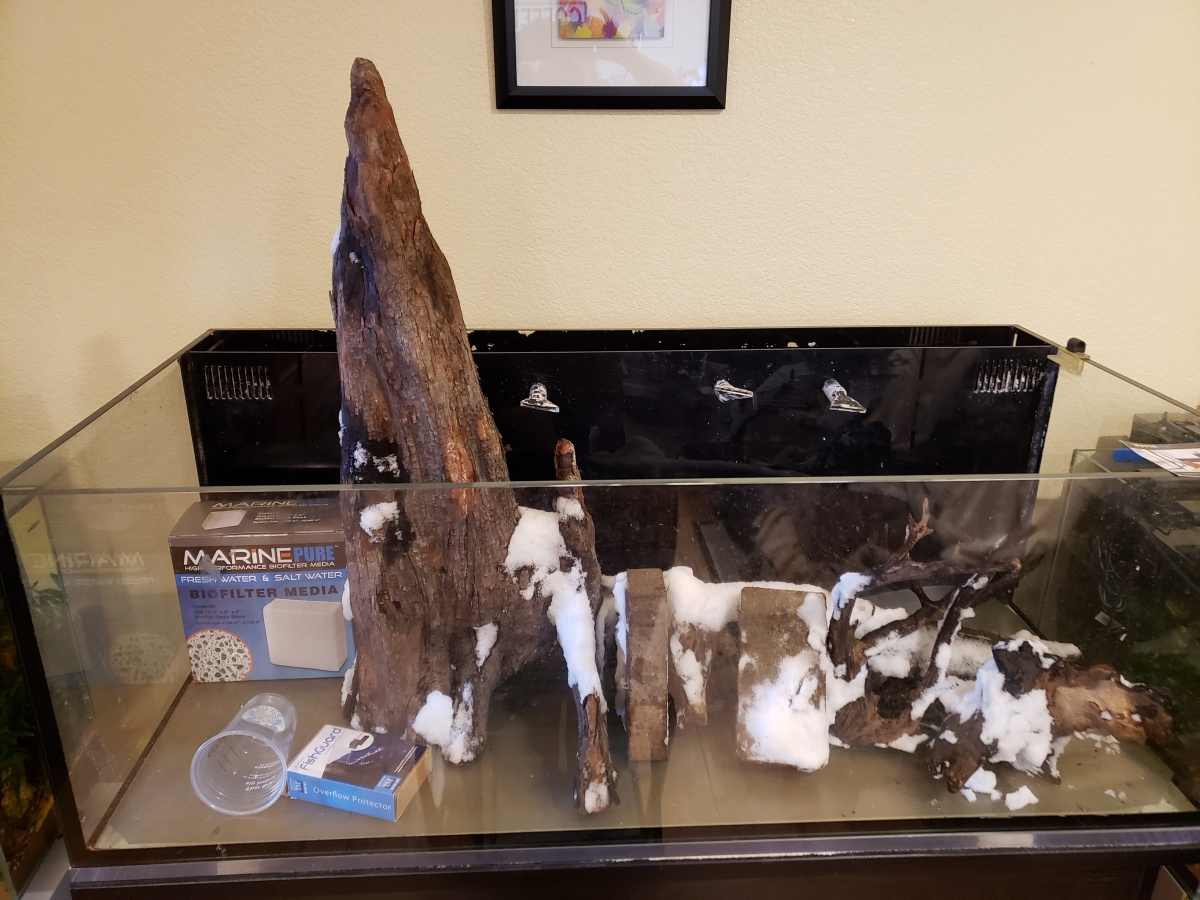
Purchased used is an 80G tank. I think it was $300.00,
SR-80 Nuvo Fusion Lagoon Aquarium and the stand was included which was another huge cost if purchased new.
I had been seeing this tank on sale at my lfs for about a year before my used tank purchase (so ~2 years ago 2017). Initially for 2499. then 1999. Then around the time I got my used one it went to 1499. clearance on floor model.
It is a really pretty piece of equipment.
It is used and in good condition.
Will include the stock photo of tank and stand but will add real photos when setting up.
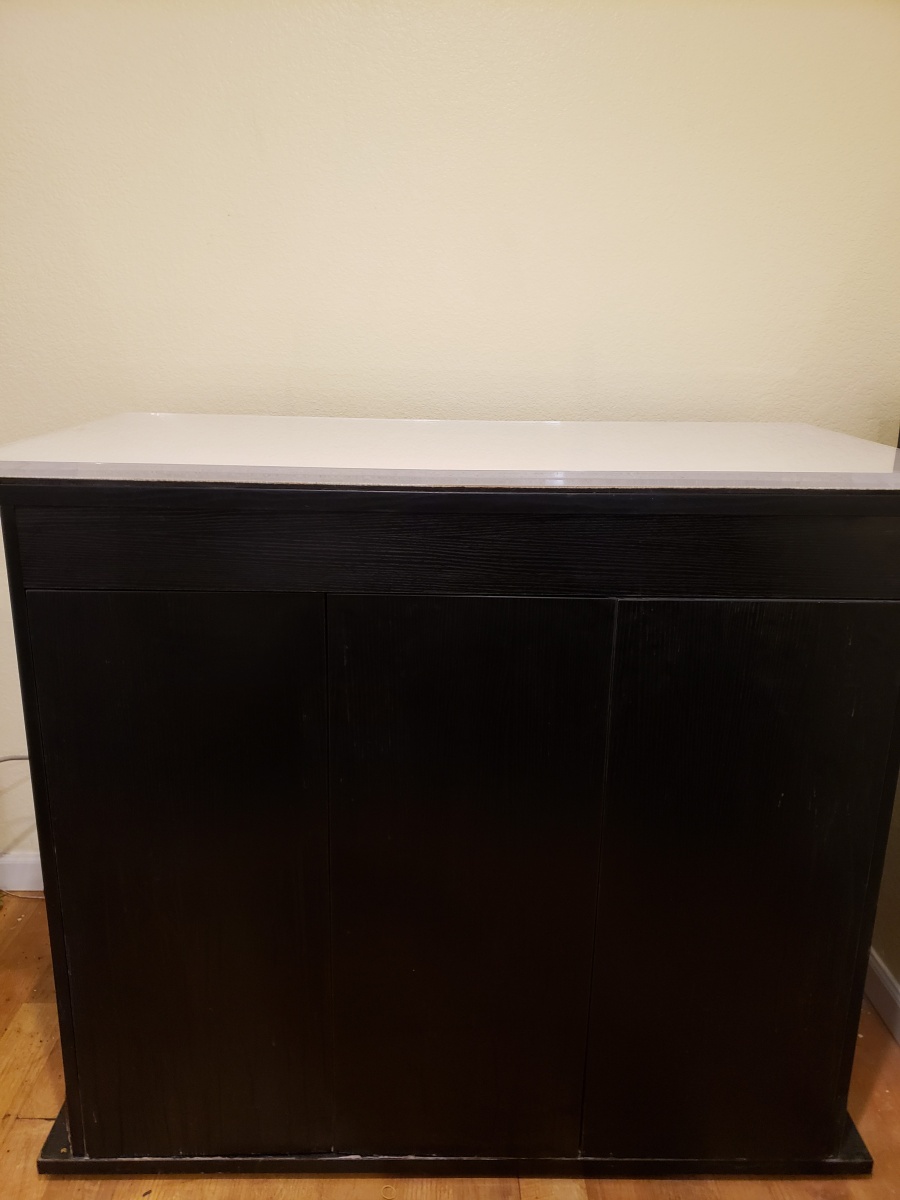
The stand came along as well but had some water swelling/bulging in the center panel bottom and a little bit on the right side door. All solid and stable. Maybe see if there is a possibility if it is cost effective to buy a new middle door to replace it. Since nothing I own is really perfect, it's not the end all situation. It will be placed near the corner of the room and a viewing chair will be in front of it, so not that big of a deal.
<<<<<<<<<<<<<<<<<<<<<>>>>>>>>>>>>>>>>>>>>
TANK
information about the tank itself
quoted from BRS website
Innovative Marine
SR-80 NUVO PRO AIO AQUARIUM
$1,199.99 [found at the current price - tank only]
Nuvo SR Series Aquarium Features:
Diamond Edge Polishing
Ultra Thick Low Iron Glass
Flare Nozzle
Includes Mush Screen Pro Lid
Built-In Acrylic Overflow Wall
Pre-Installed Rubber Leveling Mat
Dual Return Pumps
Innovative Marine's Shallow Reef series gives you the footprint of a full-size tank while keeping the height of the tank shorter than normal, giving you a truly awesome viewing experience through the ultra-low iron glass panels. The SR series is the perfect combination of function and design, the wide aspect ratio of the front panel gives a lot of space for fish to swim while also tons of real estate for aquascaping and coral placement. The minimal height lets you essentially blanket the tank with even light, and not having super hot spots up high in the water column just to keep low-light corals at the bottom.
Tank Specifications:
Total Water Volume - 80 Gallons
Tank Dimensions - 47.24" L x 23.62" W x 16.14" H
Display Dimensions - 46.46" L x 17.88" W x 16.14" H
Glass Thickness - 12mm
Return Type - Dual Directional Flow Nozzles (per pump)
Return Pump Flow Rate - 538 GPH (per pump)
Return Pump Power Consumption - 22W @ 24VDC (per pump)
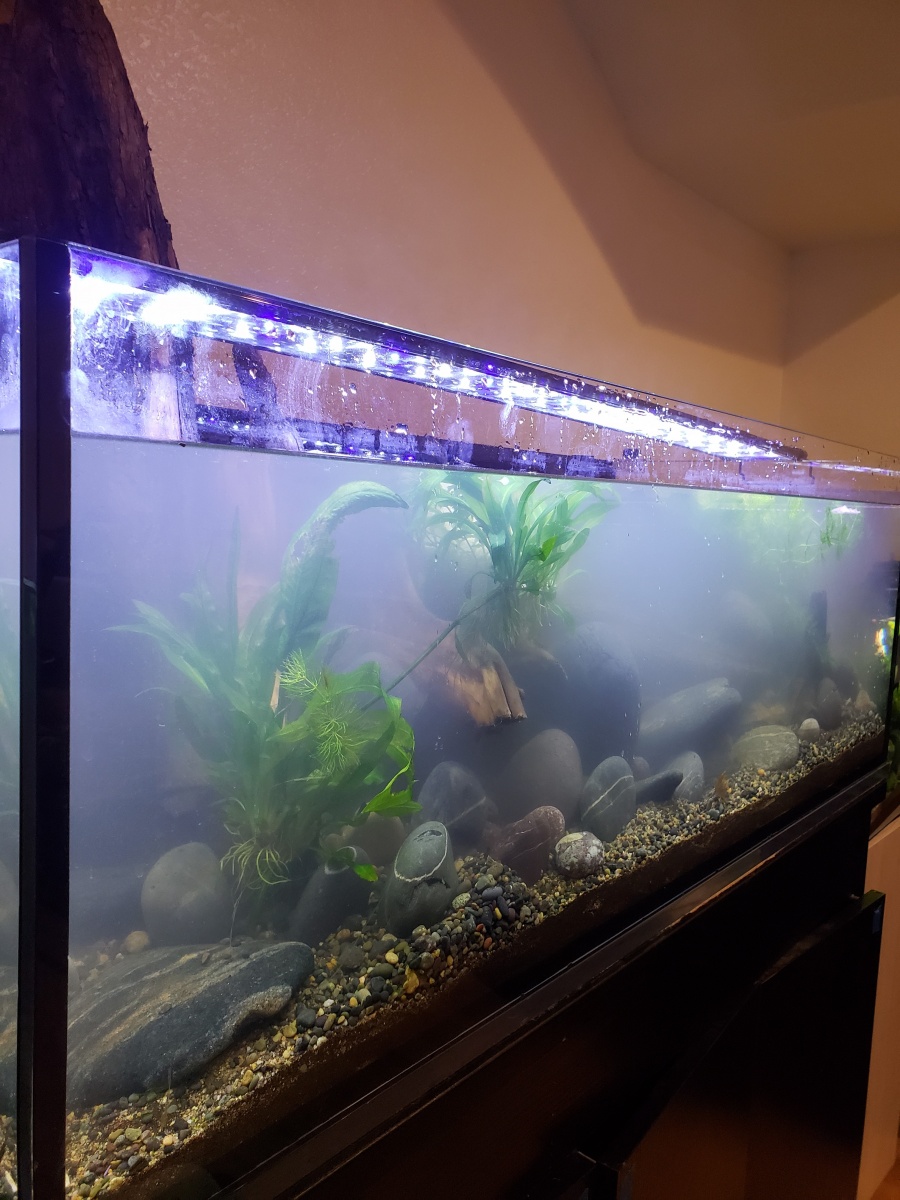
Pics of the process will be *coming soon*
Originally tank set up was purchased used for SW.
Through a series of unfortunate circumstances it sat empty for a year (technically it is still empty as of this start of the thread).
The decision was made for this to be a FW tank build. Based upon what I already have a need for which is more FW tank space. Since I haven't found a bargain giant tank for the FW guys they will be in 2 tanks now.
~~~~~~~~~~~~~~~~~~~~~~~~~~
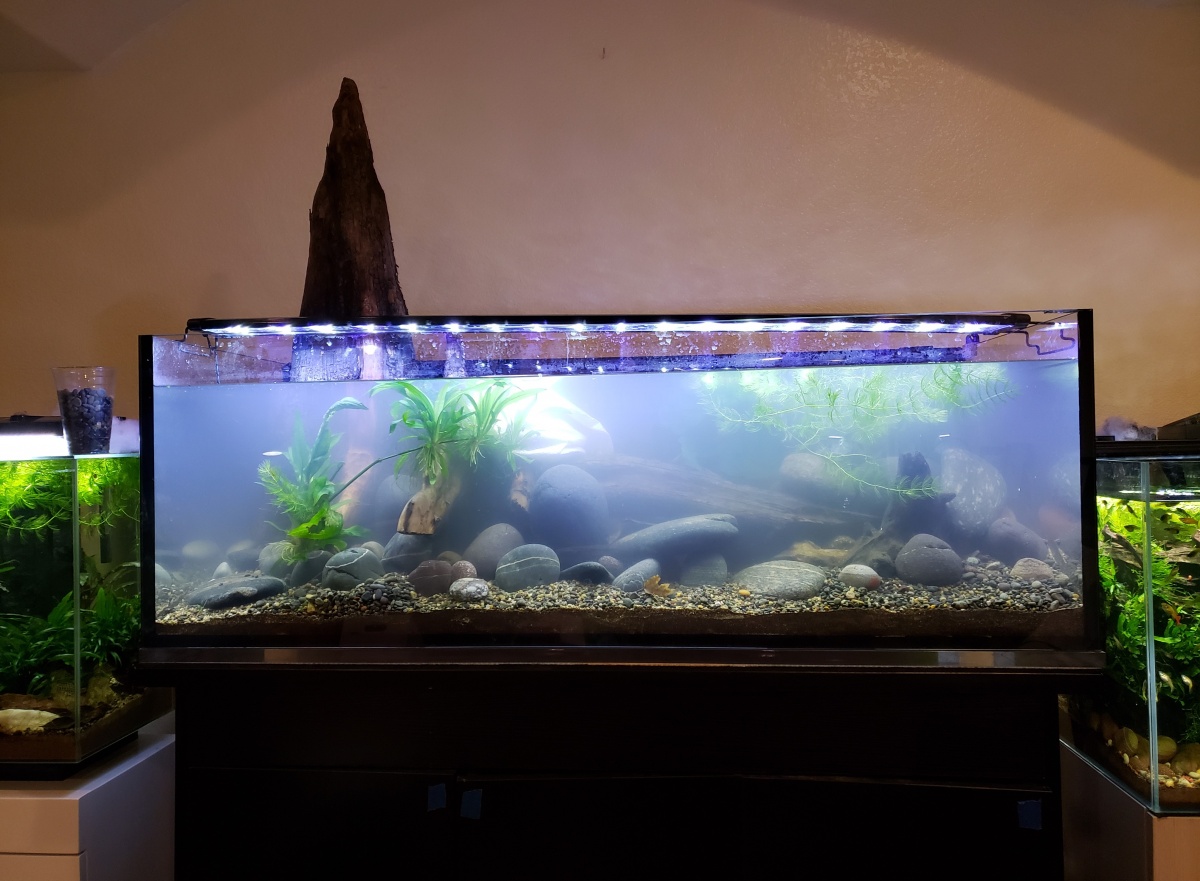
The Congo Tetras and the Clown Loaches are moving here. Another fish maybe as well, but not sure I can find them available (and can't spell their name atm).
The Congo Tetra's are getting large and the Clown Loaches are growing too.
~~~~~~~~~~~~~~~~~~~~~~~~~~~~~
Purchased used is an 80G tank. I think it was $300.00,
SR-80 Nuvo Fusion Lagoon Aquarium and the stand was included which was another huge cost if purchased new.
I had been seeing this tank on sale at my lfs for about a year before my used tank purchase (so ~2 years ago 2017). Initially for 2499. then 1999. Then around the time I got my used one it went to 1499. clearance on floor model.
It is a really pretty piece of equipment.
It is used and in good condition.
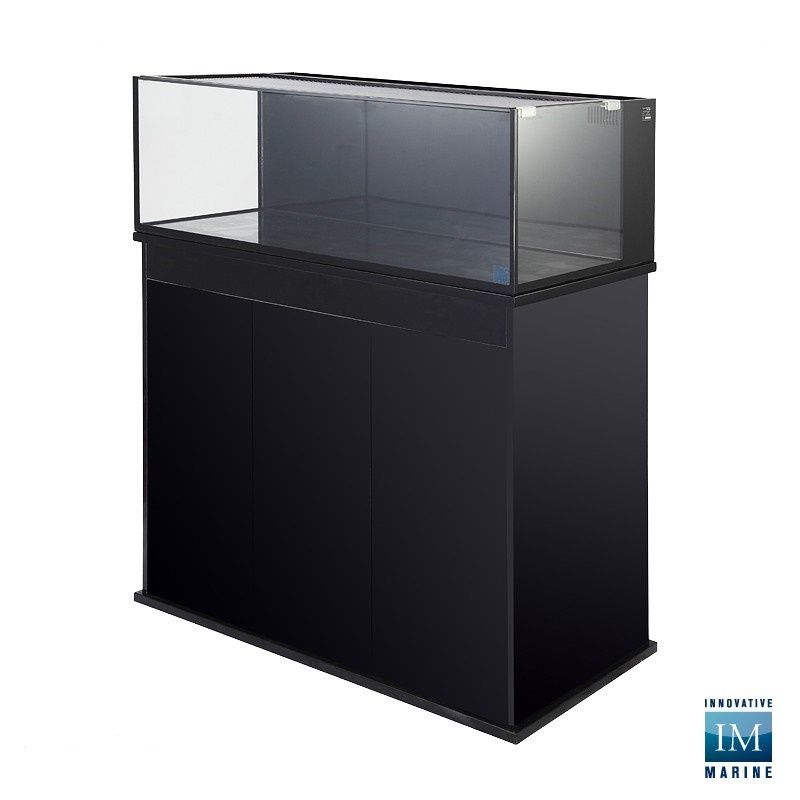
Will include the stock photo of tank and stand but will add real photos when setting up.
The stand came along as well but had some water swelling/bulging in the center panel bottom and a little bit on the right side door. All solid and stable. Maybe see if there is a possibility if it is cost effective to buy a new middle door to replace it. Since nothing I own is really perfect, it's not the end all situation. It will be placed near the corner of the room and a viewing chair will be in front of it, so not that big of a deal.
<<<<<<<<<<<<<<<<<<<<<>>>>>>>>>>>>>>>>>>>>
TANK
information about the tank itself
quoted from BRS website
Innovative Marine
SR-80 NUVO PRO AIO AQUARIUM
$1,199.99 [found at the current price - tank only]
Nuvo SR Series Aquarium Features:
Diamond Edge Polishing
Ultra Thick Low Iron Glass
Flare Nozzle
Includes Mush Screen Pro Lid
Built-In Acrylic Overflow Wall
Pre-Installed Rubber Leveling Mat
Dual Return Pumps
Innovative Marine's Shallow Reef series gives you the footprint of a full-size tank while keeping the height of the tank shorter than normal, giving you a truly awesome viewing experience through the ultra-low iron glass panels. The SR series is the perfect combination of function and design, the wide aspect ratio of the front panel gives a lot of space for fish to swim while also tons of real estate for aquascaping and coral placement. The minimal height lets you essentially blanket the tank with even light, and not having super hot spots up high in the water column just to keep low-light corals at the bottom.
Tank Specifications:
Total Water Volume - 80 Gallons
Tank Dimensions - 47.24" L x 23.62" W x 16.14" H
Display Dimensions - 46.46" L x 17.88" W x 16.14" H
Glass Thickness - 12mm
Return Type - Dual Directional Flow Nozzles (per pump)
Return Pump Flow Rate - 538 GPH (per pump)
Return Pump Power Consumption - 22W @ 24VDC (per pump)
Last edited: