DIY small acrylic aquarium with stand - a Fluval Edge copy

The friendliest place on the web for anyone with an interest in aquariums or fish keeping!
If you have answers, please help by responding to the unanswered posts.
So... I'M DONE! It turned out nice, but like I said before, I could have done it a lot better if I had better tools (and I wasn't building this in a dorm room...) I painted and sealed all of the wood, then I started putting everything in. (After like two days of drying).

So after I put the pump in, plumb everything up, I was like, "Ok cool it works wonderfully." so I unplugged the pump. Now at this point I had my pump line (aka water IN for the tank) near the gravel of the tank. I had the top and back closed at this point, and I didn't think anything of unplugging the pump. I had faith in my design. I didn't realize that the water would drain OUT of my water IN line, BACKWARDS through the pump. Needless to say, a quarter of a tank of water later, I realized my mistake. (Mainly when water started dripping on my leg, did I mention I was sitting less than a foot away from a tank at this time.) Luckily I hurriedly made a siphon out of a piece of tubing and I started draining the tank, only then did I realized that it was my water IN line that was the culprit, so I simply pulled it out of the water and everything was fine. I learned that I'm going to have to have the water IN line near the surface of the water, which isn't a huge problem. I'll point it downward so that it mixes up more water.

Ok ok ok now that I've told my story, here are the pics!!

The tank is about 3.9 gallons, and the sump is >1 gallon, so the whole system is about 5 gallons.

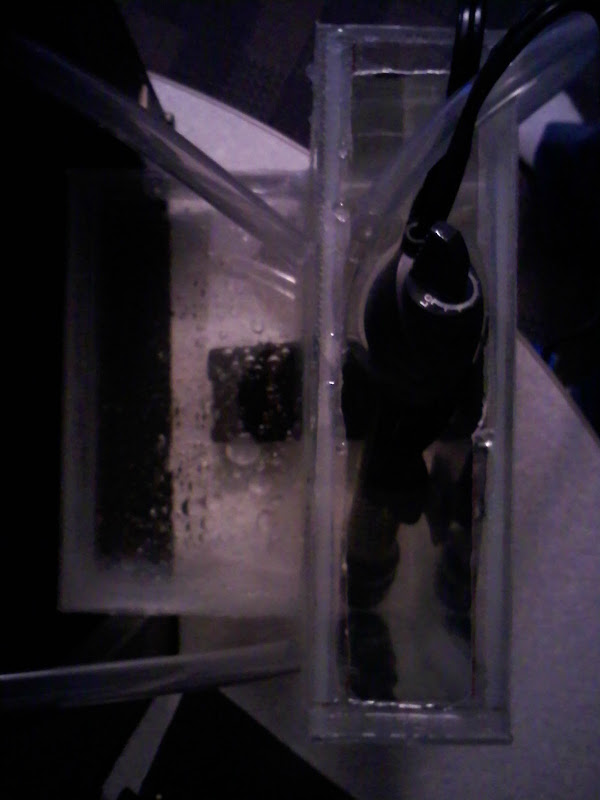
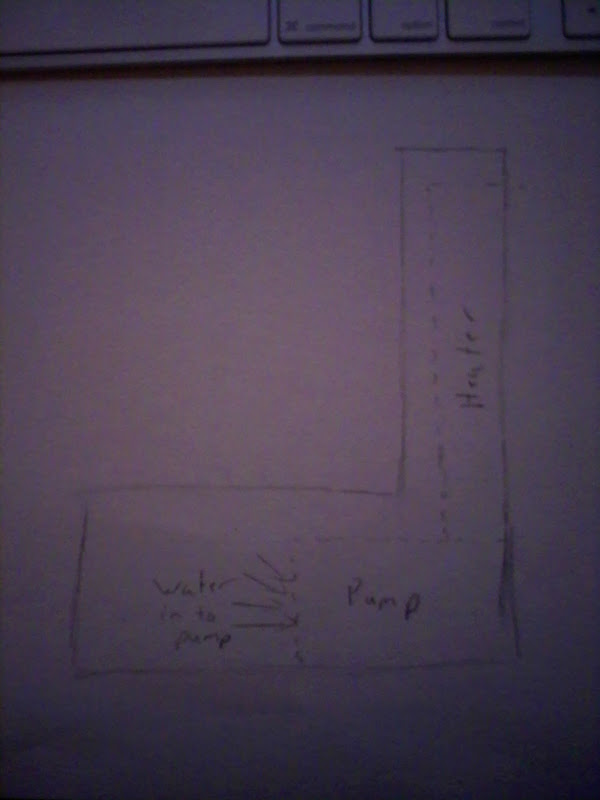
Here's a pic of the sump with my heater and pump in it.
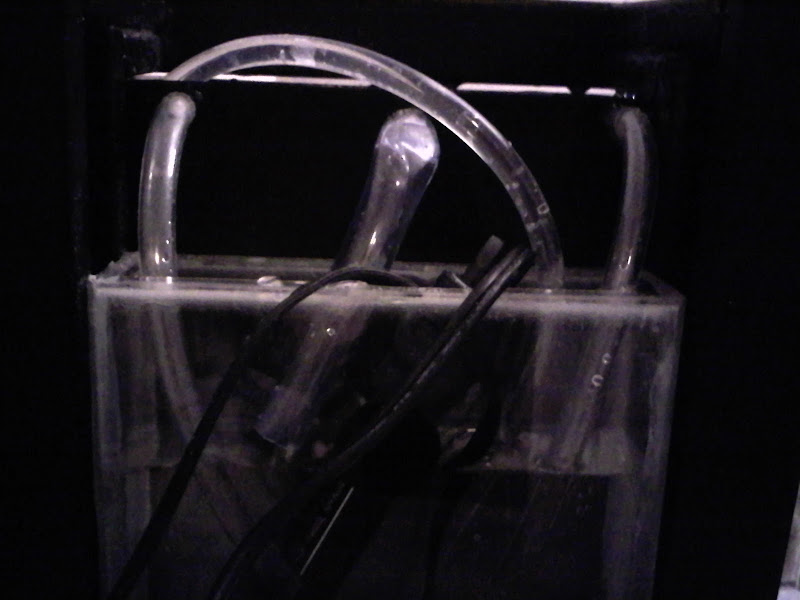
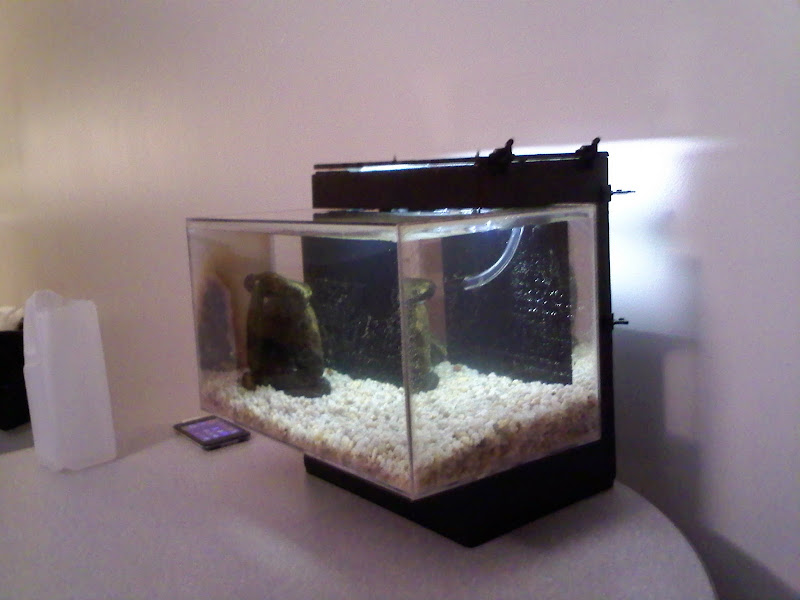
0314001751b.jpg


Here's a top view.
0314001751a.jpg


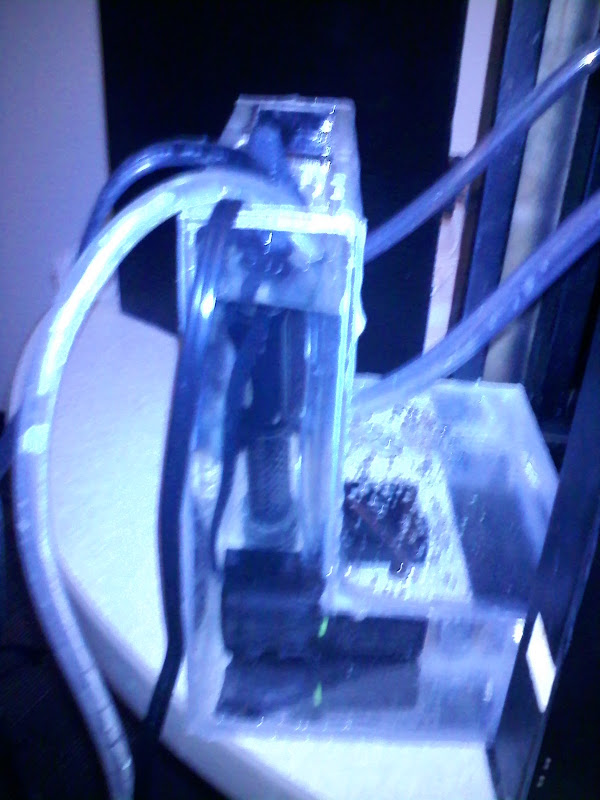
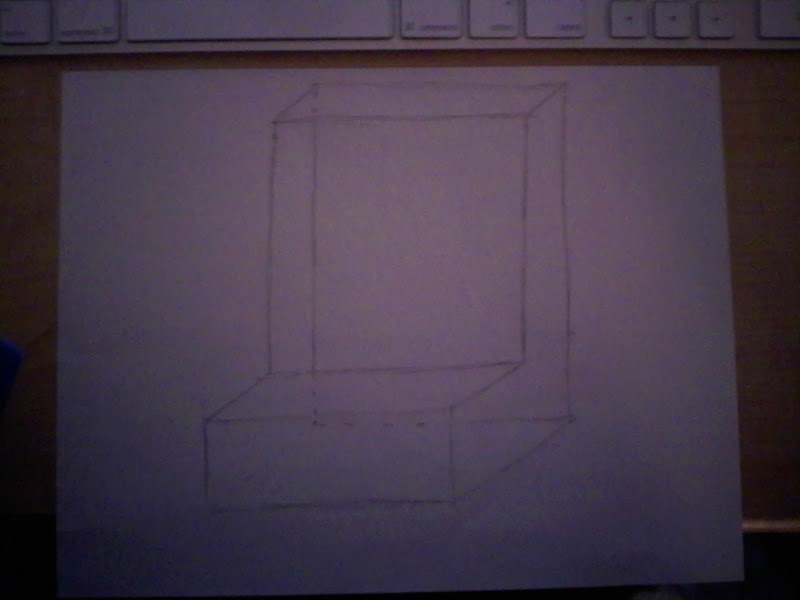
And a pic of it in the frame. Here you can see the three return lines, two small on the left and right, and one large in the middle. The line from the pump is the one directly to the right of the big tube.
0314001916.jpg


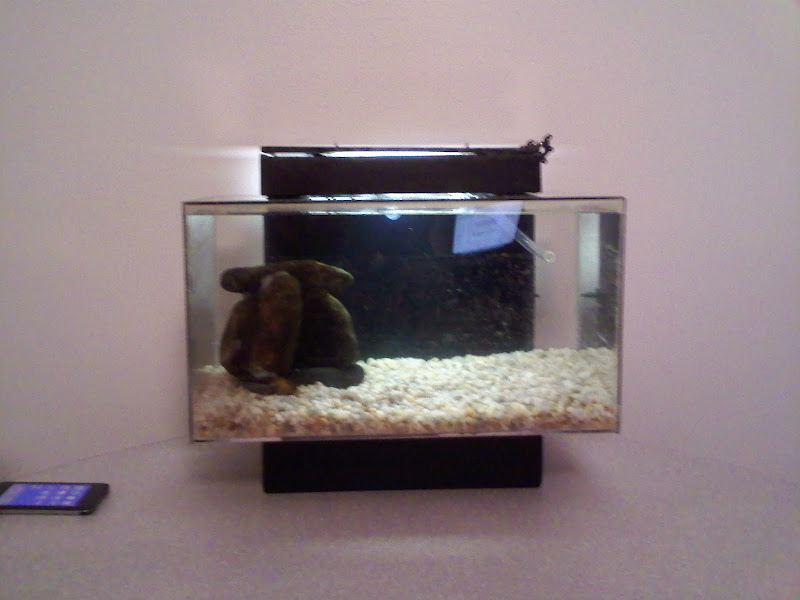
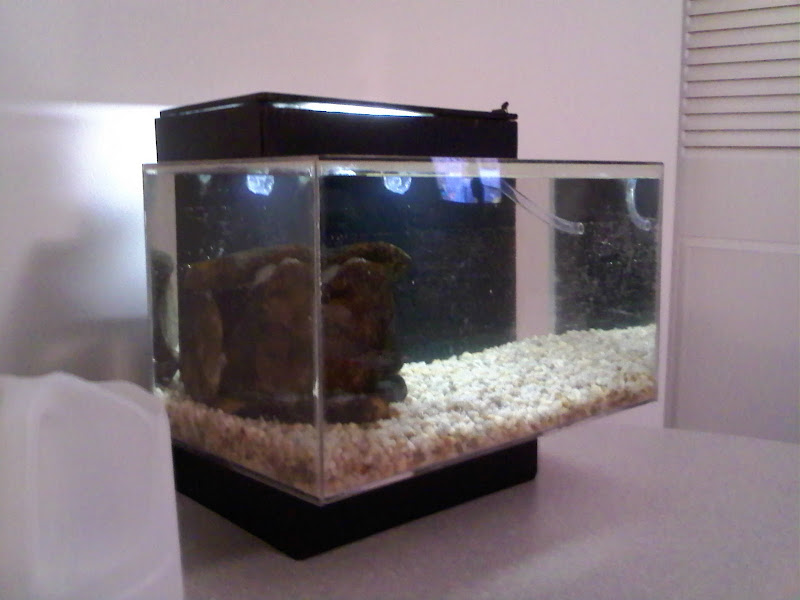
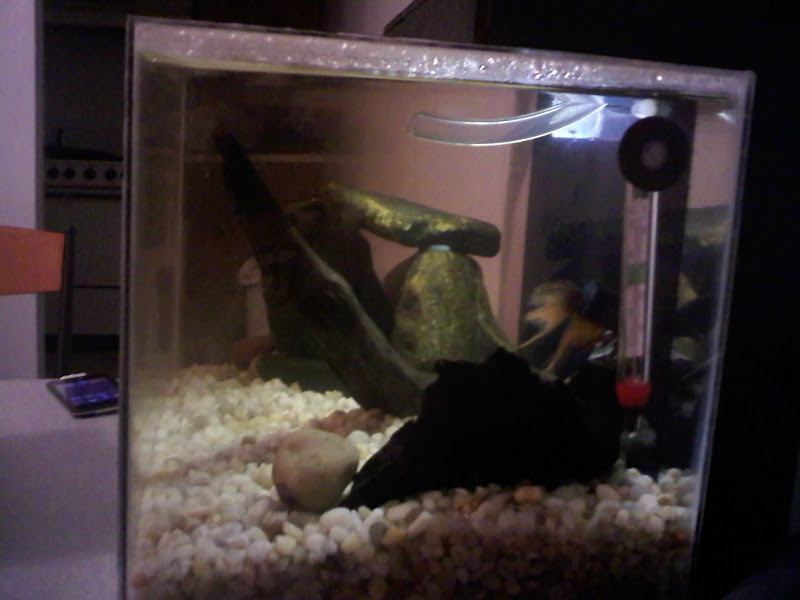
And now, THE FUN ONES! NOTE: The back "door" was off during these pics, cause I need to get better hinges, so you can see the light shine through on the wall. And I need to cut a notch for the cords. ALSO NOTE: The tank had a ton of little bubbles on the inside of it, so it looks dirty, and the tank is dirty so... it looks dirty... :p 
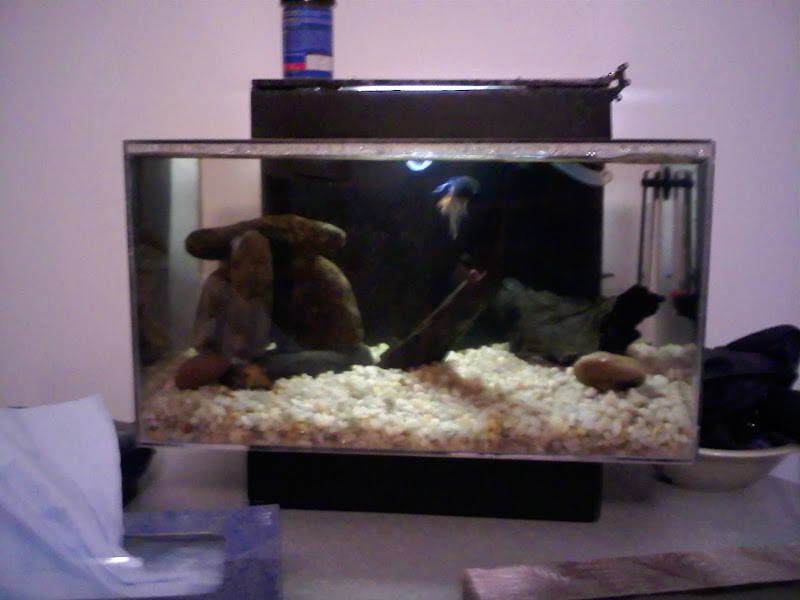
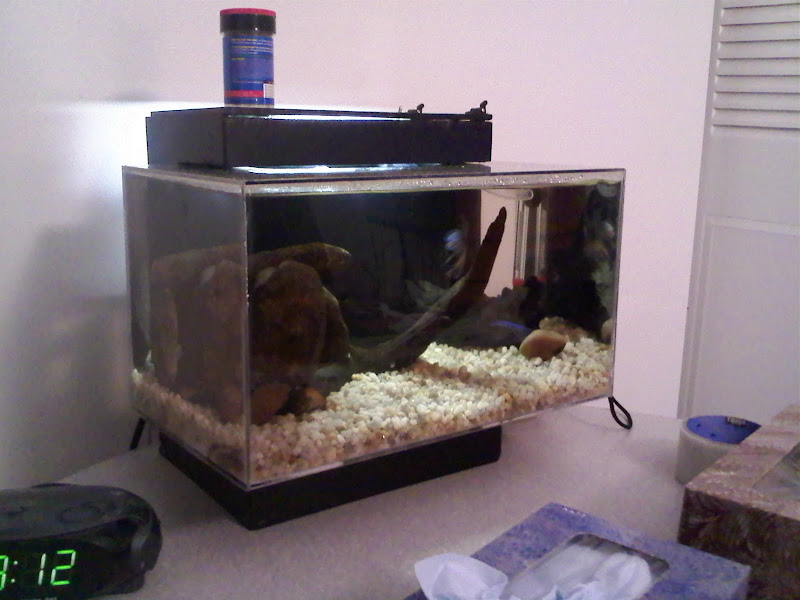
Oh and the girlfriend insisted I make a rock cave... it came out OK, not great, but the bad parts can be hidden with plants. How did I get the big rock cave in through the tiny hole in the tank? Well, think of it like building a ship in a bottle. (Aka we built it in the tank, it was actually kinda hard) AND!! I have driftwood coming TOMORROW! So the tank will have a nice driftwood centerpiece, I'm quite excited.
0314002325.jpg

0314002325b.jpg

0314002325a.jpg


Criticism, comments, congratulations, etc... all are welcome. Last NOTE: I, by no means, think this is perfect. But the cool thing is I can always rebuild the frame, cause the tank is removable.

EDIT: The one REALLY annoying thing... the table it sits on isn't level, therefore the water level isn't... well... level... It's annoying.
EDIT2: The water IN line is just hangin there as of right now, that's why it's just like in the middle of the tank.
 
Very awesome, looks great! One day I wanna build a HUGE custom aquarium, i think I should start small like this tho! Like I said, looks awesome!
 
Thanks!! Yeah, I want to build bigger ones too, but sometimes you have to consider the cost (and time) effectiveness of building bigger and bigger aquariums. Big companies have large machines that make those things in minutes. It'd take you or me days or even weeks to do it right. However, some people have had great success doing it here.
 
Thanks!! Yeah, I want to build bigger ones too, but sometimes you have to consider the cost (and time) effectiveness of building bigger and bigger aquariums. Big companies have large machines that make those things in minutes. It'd take you or me days or even weeks to do it right. However, some people have had great success doing it here.

One day I would love to literally build everything for my tank. From the tank, stand, sump EVERYTHING. So I can be proud and be like I did that. Even the little beta tank you made is a pretty big achievement. Very impressive. I cant stop looking at my 45g tank and thinking.. i want more..
 
That's really fantastic! Were I a betta, that's what I'd want my house to look like. Must... Resist... Stealing... Idea... :rolleyes:
 
I got my driftwood today!! I'm excited. it dried a bit during shipping, but it still sinks! I'll have pics up later today!

:grab:

Oh and feel free to steal the idea. I really like it, however if I were to change things, here's what I would do...

1. I'd make the top a little taller. It's hard to fit any kind of lighting in there.
2. I'd make the top a little taller, because then you can add a chimney like structure over the opening of the tank, so that you can fill the tank ALL of the way up, without fear of it overflowing.
3. I'd put a stronger piece of acrylic on the bottom of the tank. I neglected to realize that the entire bottom isn't supported, so the full weight of the tank is literally sitting on a quarter of the bottom piece, mostly directly in the center of the bottom piece. Then again, mine isn't bowing at all.
4. I'd leave room for hinges. You can see in some of the pics the makeshift hinges I had to use. I tried to use cabinet hinges, but I couldn't find any small enough. It's REALLY tight inside.
5. I'd build an overflow that was skinny enough to fit in the tank and the sump area. I didn't feel like building another one, so I simply ran tubes down from the top of the tank.
6. I'd make the sump BIG ENOUGH TO FIT MY HAND IN. You have no idea how much of a pain it was to get the pump in the right position without being able to fit your hand in there to position it. (I eventually had my girlfriend with her slightly smaller hands do it for me, after an hour of trying myself)
7. I'd somehow incorporate a one way valve into my water IN tube, so that there isn't a fear of the whole tank draining out (see above post of mine. Also, I still might do this)
 
7. I'd somehow incorporate a one way valve into my water IN tube, so that there isn't a fear of the whole tank draining out (see above post of mine. Also, I still might do this)

The solution to this is an air vent to break the siphon. <Never trust a mechanical device to prevent floods!>

You would drill a very small hole (or 2) just under the water line in your pump return line. When the water drains down to that level, the hole will introduce air & break the siphon. You have to have a bit of room in the sump to handle the back flow, but you won't have 1/2 a tank of water on your feet! :)

See my pic & explanation in this thread:
http://www.aquariumadvice.com/forums/f20/about-my-sump-overflowing-125202.html

And that tnk is looking really good! Great job.
 
Re: Hinges:

You can try these:
SOSS® Concealed Barrel Hinges - Lee Valley Tools
The barrel hinges can be fitted to something as thin as 1/2" (needs very careful drilling at that thickness, a cinch at 3/4"), and requires almost no clearance

You can also get "box hinges" at specialty hardware store, they go down to 1/2"x1". There are also tiny piano hinges for toy & model making.

Awesome, I'll look out for these!
 
I have the driftwood in place now, but it's pretty much impossible to get a glare free pic during the day I'll post one tonight. It looks really good!
 
Havent had time to read the whole thread but i was curious if you could draw up your design for the sump? Nice job by the way.
 
All alright corrando, I expect it tonight and no later!! jk i am just excited to see it.
 
All alright corrando, I expect it tonight and no later!! jk i am just excited to see it.
Havent had time to read the whole thread but i was curious if you could draw up your design for the sump? Nice job by the way.

Ask and you shall receive.

0316002045.jpg

0316002112.jpg

0316002113.jpg


Sump Design:
0316002100.jpg

0316002101.jpg


If you want the actual measurements just ask. I'll draw somethin up in CAD if you want. I actually already have the model, because I wanted to see the best pump position inside the sump for optimal circulation.

EDIT: The pics of me building the sump are on page 1.
 
Awesome!! I so want to make one, how much did it cost total?

Total... It probably cost me $70 bucks or so. But then again I did have a few of the parts. If I were to add everything up... it'd be..

2x2 foot (really strong) acrylic $35
1x2x8 frame wood $1.5 x 2 = $3.00
birch wood for outside... uh... $6.00
cheap acrylic for sump $5
Weld On #4 (I spent) $15 (but you can get it for like $7) (I have enough to last me a lifetime)
Applicator for weld on $5
Acrylic scorer (to cut it) $1.50
100% silicon $5? maybe, I don't remember

So that's about $75, but here are some of the things I already had.

Tubing, different sizes.
Hinges (yeah I'm gunna replace the ones that are one there)
Pump
Wood glue
Nails or screws
Sandpaper etc.

Honestly, I probably could have bought one cheaper. But I like building things, and it turned out very well, so I'm happy. Also, I bought the acrylic from lowes, they had three types. Strong, stronger, and strongest. I bought the strongest for the actual tank. I think you would have been fine with the medium stuff. That saves you a good 15 bucks right there. Plus you get more with the medium stuff (I think another square foot or so), so you might not need the extra stuff for the sump, so that's another 5 bucks off. If I were to build it again I could do it very cheaply, simply because I have all of the tools to build it. I'd just need to buy the materials.

One hint though, sand the edges of the acrylic... sand sand sand. The flatter the edges of the acrylic, the better it bonds, and the less likely it'll leak. I was lazy on my sump, and I paid the price. It was annoying.
 
I am more curious how you made the overflow and what size pump you used. Because i would imagine it hard to find a small pump.
 
I am more curious how you made the overflow and what size pump you used. Because i would imagine it hard to find a small pump.

The "overflow" I used was simply drilling holes at the very top of the back wall of the tank and shoving tubes in them. The water then drained out and when the water level went below the tubes, it stopped draining.

The "pump" I used was the sponge filter from the small 1.5 gallon aquarium I bought from petsmart. It came with a pump, a plant, some rocks, and the actual aquarium. I simply attached tubing to the filter output and I have myself a water pump. Even with the 8 inches or so of overhead, the pump works very well and I actually had to turn it down to prevent it from draining my sump.

Keep in mind, the "overflow" I used is not very efficient. It was just the easiest and cheapest way for me to do it.
 
Back
Top Bottom