DIY sump and stand

The friendliest place on the web for anyone with an interest in aquariums or fish keeping!
If you have answers, please help by responding to the unanswered posts.

erichm20

Aquarium Advice FINatic
Joined
Jul 1, 2012
Messages
651
Location
Jensen Beach, FL
So I have decided to take it to the next level and add a sump to my current 55. I have some softies and LPS that are doing good but not thriving and I just can't defeat the cyano. I will be adding a skimmer (crazy I've gone this long without one) and will also have a refugium in one compartment of the sump so I can grow macro algae. So ive decided to go with a 20 L which won't fit in my stand so I'm building a new stand to accommodate the new sump, and I thought I would share the process.

These are the plans I used for the frame:

http://saltaquarium.about.com/od/diystandscabinets/ss/sbs2x4cabinetframe.htm

It's all 2x4 and I used 1/2" plywood for the top and bottom of inside (where the sump will sit).

I will post pics of the build later today.

As for the sump I'm using an idea I found on melevsreef.
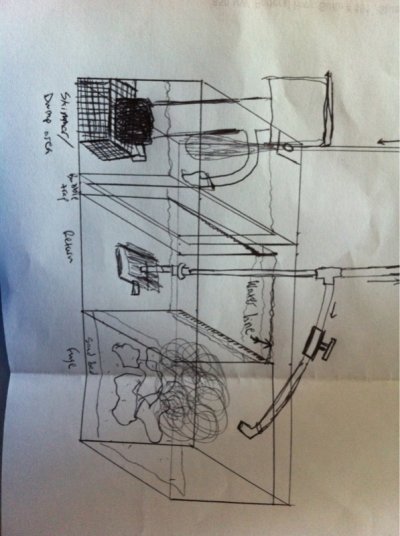

image-4265117298.jpg

The first chamber is dump and skimmer section, then a 3 baffle bubble trap, 2nd chamber is the return area, 3rd chamber is fuge. I have a mag 7 pump and will t off the return line to feed the fuge. The fuge line will have a ball valve to control flow. The fuge baffle will have teeth (hopefully) and be 1.5" higher than the 3rd bubble trap baffle, which is 9" h.
 
Personally I would go with a more basic design for your sump. Swap the return and fuge chamber that way its less plumbing and work on you.
 
^ agreed. I'm running it skimmer, fuge then return. Seems to be working good. Keep it simple.
 
I originally planned on doing it that way but I guess the flow might be an issue, especially with sand in the fuge. Russ, do u have 1 " pipe coming from the tank? I went w the bigger CPR overflow and it comes w a 1" bulkhead, which ive read yields 600 gph w just gravity. Shouldnt flow be low through the fuge?

I would much rather do it the way you are saying.
 
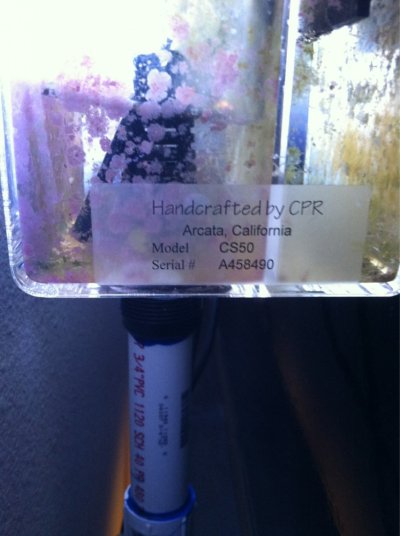
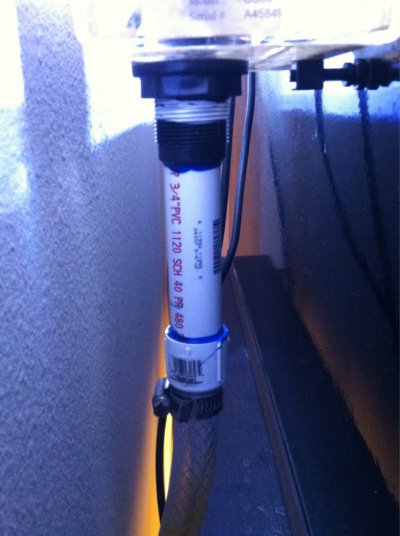
image-144068149.jpg


image-3760783069.jpg

The actual bulkhead measures 1and 1/2 inches. But the pipe is 3/4. As far as flow, you don't really need it ripping through the sump. I have a steady flow even though I have the ball valve fully open. I'm happy with the way this thing is working. The only thing I might have done differently was maybe not put sand and rubble rock in the fuge. Just run the cheato bare bottom. I know it would defeat the purpose of a fuge because of pod population but it doesn't seem nescesary. My DT for some reason will not keep a good pod population even though there is a lot in the sump. I'm thinking this is because of my 2 sand sifting stars.
 
Ok good to know. I wish there was a way I could see how it would be before I glue the baffles in... I went with the cpr 90.

Here's how the stand went:

base with 45* cuts to join the ends and the four corner braces.

View attachment 161531

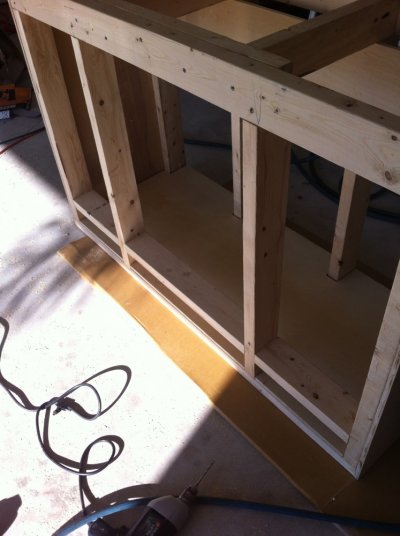
All vertical support braces and the plywood bottom of inside.

View attachment 161532

All horizontal top braces and extra door support brace (not sure if this is needed but I am all for more support)

View attachment 161533

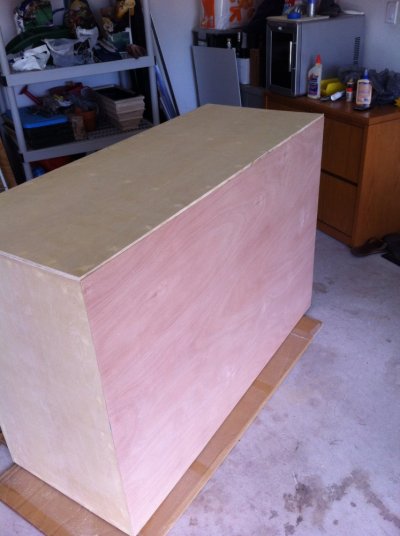
Gluing/fastening the side panels (1/2 " plywood)

View attachment 161534
 
2x4 brace across the bottom about 6 " up to support the doors

IMG_1175.jpg

1/8 ply "skin" for the front

IMG_1180.jpg

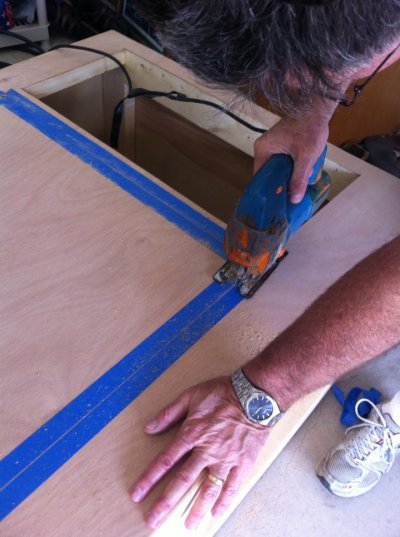
I don't have a router so here's a little trick with some tape and a jigsaw to cut the openings for the doors.

IMG_1182.jpg

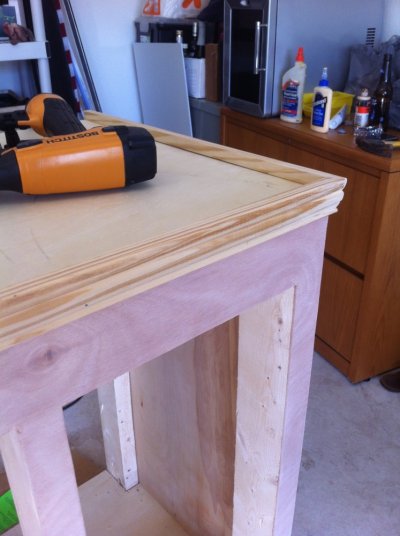
Some of the corner trim I used

IMG_1183.jpg
 
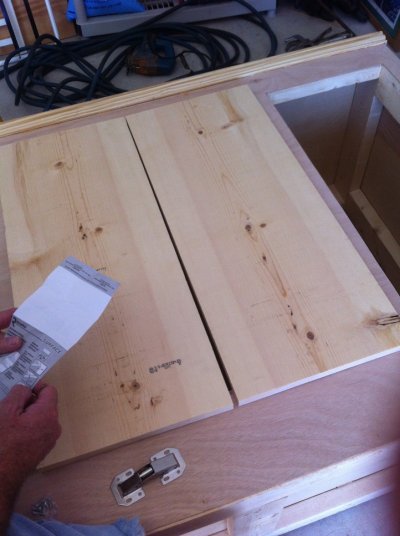
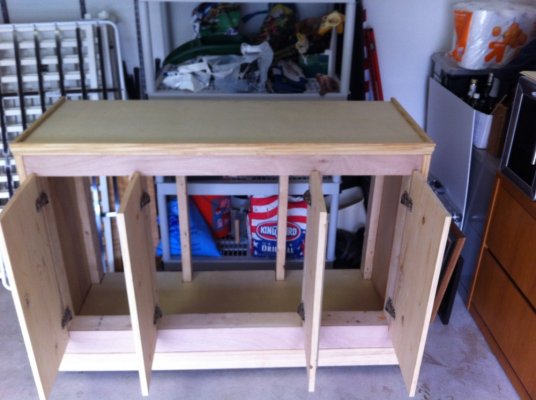
Doors are installed with full overlay hinges.

IMG_1184.jpg

Now we add the corner trim to conceal the raw plywood sides. Yes that's three tape measures for this cut that's how we roll LoL..

IMG_1185.jpg

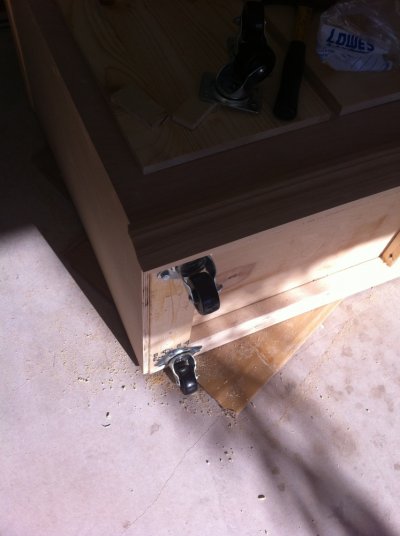
I have wood floors so we thought "why not put it on rollers so if for some reason we need to move it?" so there you have it- mobile fish tank stand! Seriously though these guys can support 200 lbs each. They're concealed with some baseboards.

IMG_1186.jpg

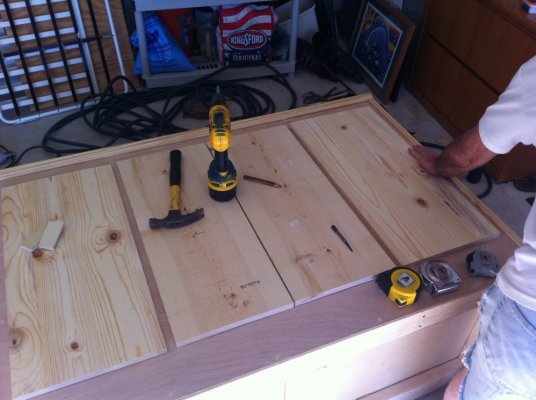
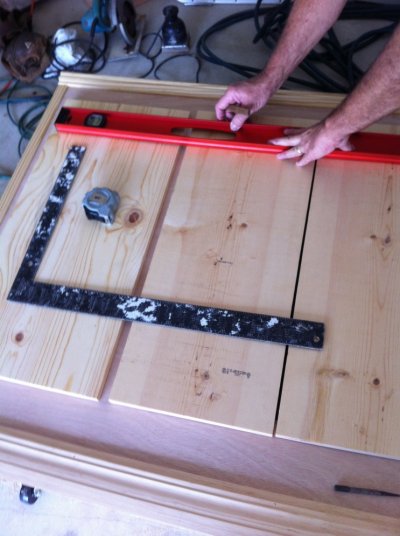
Next we planned out the trim for the doors.

IMG_1188.jpg
 
Looking good E. make sure you seal the hell out of the inside bottom of the stand with a polyurethane. It's funny when you diy a stand how sturdy you want to make it and look at the weak *** pet store stand the tank was on
 
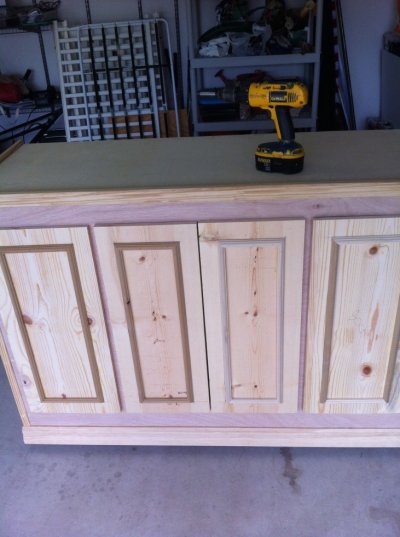
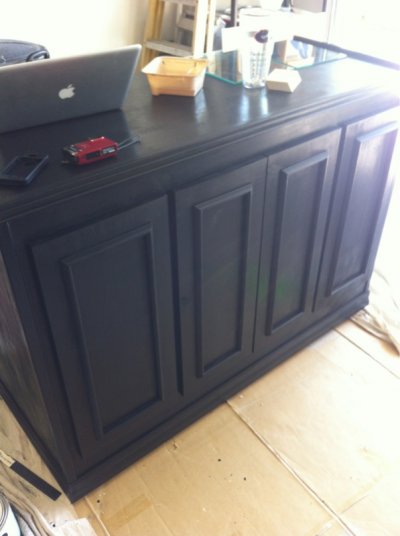
All the trim is on and it's done! Now all I have to do is putty the nails and paint it. Then it's on to the sump!

IMG_1189.jpg

IMG_1191.jpg
 
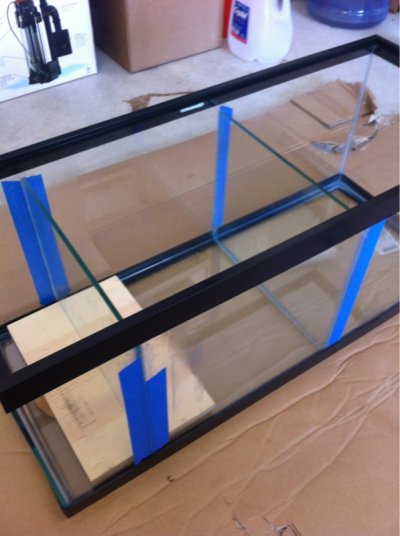
First coat of paint is on and I started working on the sump.


image-2213002406.jpg


image-1848432055.jpg

I've decided to go with the skimmer, return, fuge configuration for the sump I realize it's more plumbing but I like the idea of being able to control the flow through the refugium.

I'm a little worried about the wheels now also but they're on an there are baseboards that go down to conceal them and corner trim and it would be a huge pain to remove them.

So this is what I've come up with. I'm going to leave the wheels on, then when I want to move the tank I will drain it about 89-90% and remove some of the rocks then move it to the new location and then put some blocks under the stand right by the wheels an shim them up to alleviate the weight from the wheels.
 
The stand came out great!! I just dropped of a wad of chaeto to fintastic today. Let me know when you're ready for some.
 
Awesome! I just found a drilled 75 on CL for $50 it will fit the stand perfectly. Just sent them an email hopefully it's still there I'm gonna try to check it out today.
 
I'm kinda worried about those wheels.

+1 on this. At 200 pounds each, it looks as though you used 4, so 800 pounds capacity. You're putting a 75 on it as the display, which is 600 pounds of water. You're using a 20L as the sump maybe halfway full, so there's another 80 pounds. The tanks themselves have mass as does the stand. By the time you're all said and done, I'm sure you're over 800 ponds.

Then you have to be concerned about weight distribution. The tank is meant to be supported all the way around the bottom rim, not just on the corners. If you just support it on the corners, it will want to sag in the middle, which I would be afraid would lead to a catastrophic tank failure.

It also induces a point load on the floor for an extended period of time.

I think there's a reason you never see tanks on wheels like that. You either need to add a heck of a lot more wheels or take the ones you have off.
 
Yep with this new development the setup will be over 1000 lbs so the wheels are out. Also, with the new tank I will not need the mobility I will just simply move the stuff over to the the new tank which will be sitting in its permanent place. Also after doing more research on the idea I became more weary about actually doing it. The work of removing the wheels and adding more wood to make up for the space lost is nothing compared to the potential catastrophe of one of the wheels breaking.

I hope I get this new tank it's a hell of bargain!
 
Lucky bastard!! Yea I'm already itching to upgrade. I'm almost out of real estate. I'm thinking either 75 or 90. Looks like ill be making a new stand yet again. U hope you get it, while your setup is already apart. Good luck.
 
Well unfortunately that tank was gone I missed it by just a few days... But I found another 75 for $80 that isn't drilled so I might get it and drill it myself, anyone have experience w that? From what I've been reading it seems pretty simple.
 
Tim up at aquatek in st lucie up by my house quoted me 50 bucks to drill my tank. That was with fish and some water in it at my house. Then I found out my tank was tempered and you can't drill a tempered tank. I would pay somebody personally. It looks easy but that would be one thing I wouldn't DIY.
 
I have not personally drilled a tank yet but I also hear its super easy and there is a great video on the bulkreefsupply website demonstrating how to drill one. Hope this helps.
 
Back
Top Bottom