My turn - RedNeck Dave's 110 gallon "Tank Makeover"ld.

The friendliest place on the web for anyone with an interest in aquariums or fish keeping!
If you have answers, please help by responding to the unanswered posts.

asudavew

Aquarium Advice Freak
Joined
Jan 21, 2009
Messages
365
Location
Texas
Finally! I have things in motion and I started my 110 project.

I purchased a used tank several months ago. 110 gallon.

It included a 30 gallon acrylic sump tank, sump pump, overflow, stand, lights, etc. for $200.00. Of course I was stoked!

But I didn't like the lights, or the stand and the silicon in the tank was green from algae. Oh.. and when I picked up the acrylic sump tank... I pulled the side off.

So I decided to start over! I fixed the sump tank with Weldon #3.

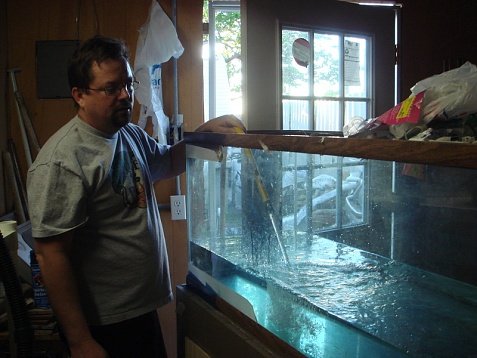
I removed all the silicon from the inside of the 110g. I taped everything off and applied a new bead. I filled the aquarium almost a week ago and everything seems fine. It's still filled in my shed.

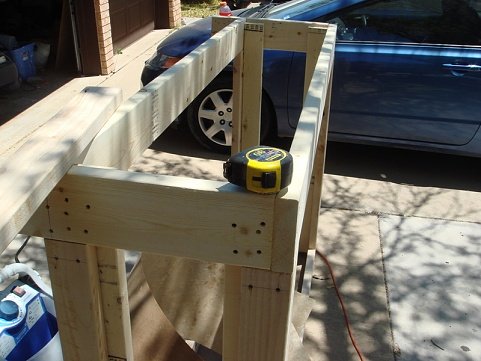
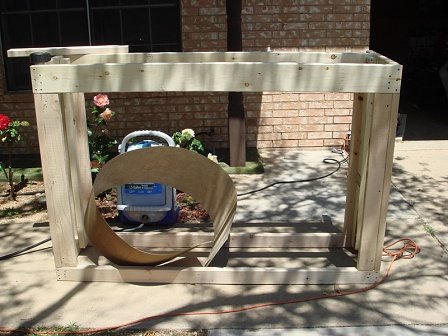
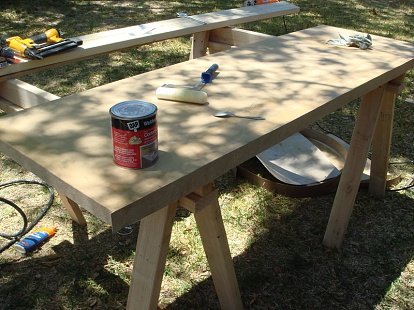
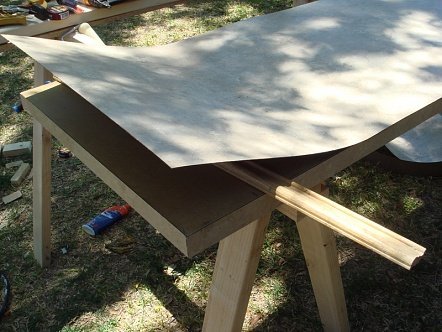
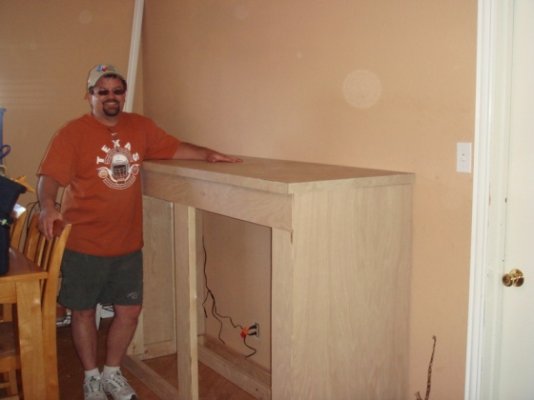
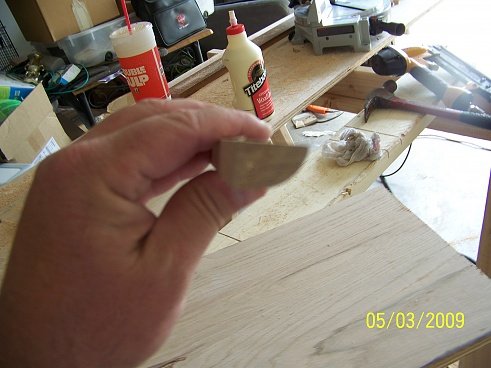
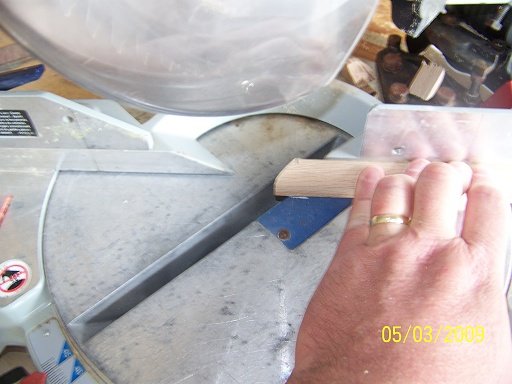
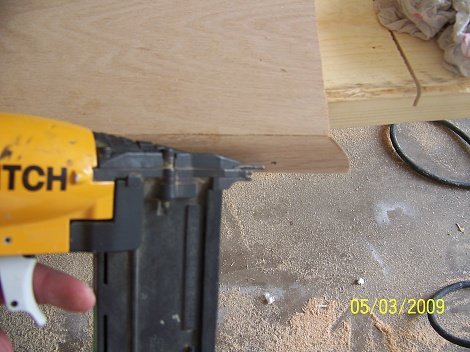
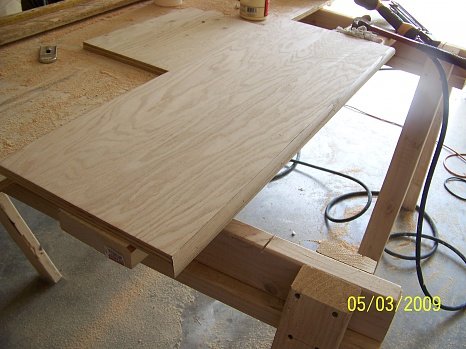
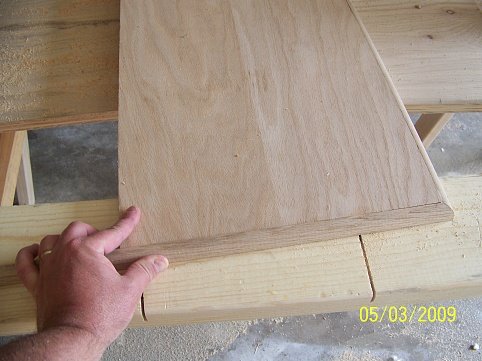
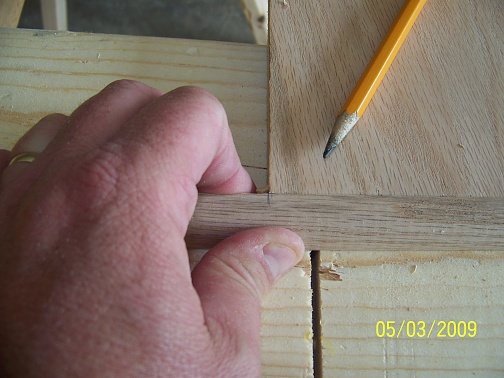
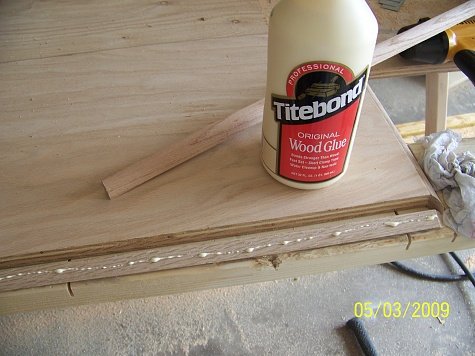
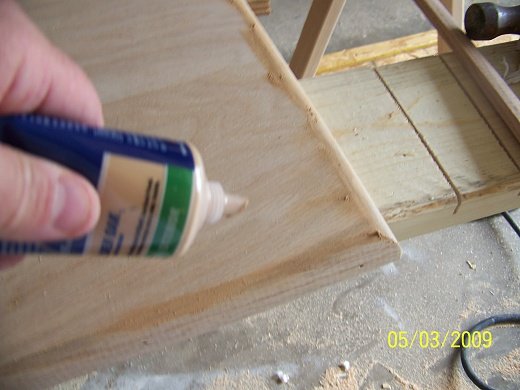
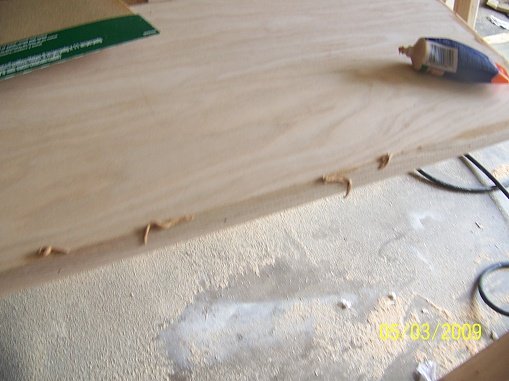
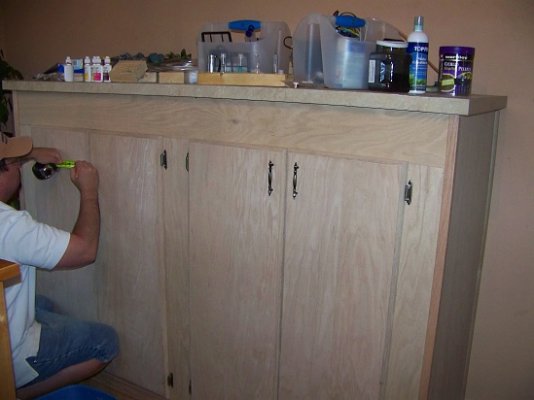
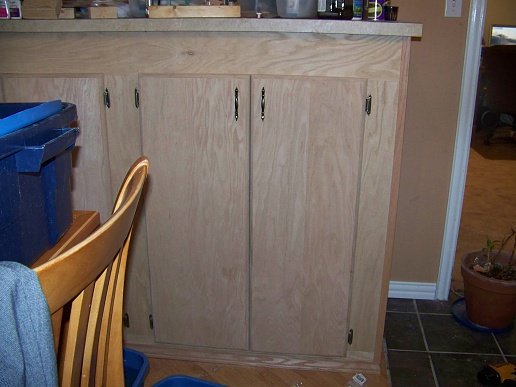
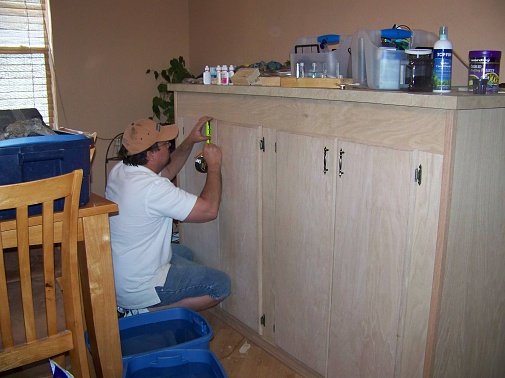
Over the weekend I started on the stand. I decided to build it 48" tall. Then I built a 1-1/2" counter for the top. I used two pieces of MDF sandwiched together. I glued and nailed them together, and then I covered it with laminate using contact cement to bond the laminate to the MDF.

I decided to go with a tall stand, because I wanted the aquarium to be the focal point of our dining room.

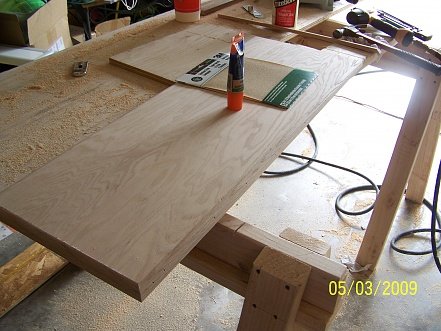
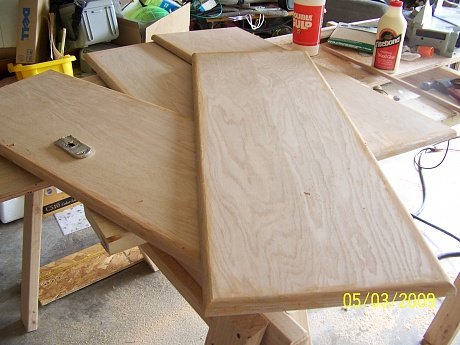
My tank is 18" wide, but I made the top 24-3/8". I'm going to drill through the back of the top for the over flow and return plumbing. After I build the lighting canopy, I'm going to build matching pieces to hide the plumbing on the sides of the tanks.

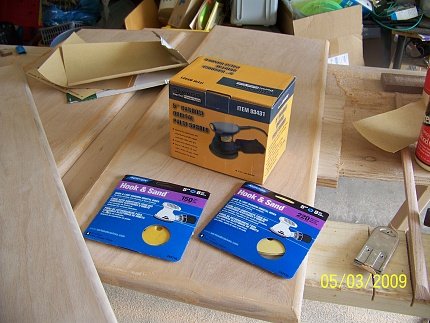
I still have loads of work to do on the stand.. trim, doors, etc. But I thought I would start posting now.

I'm hoping to have the project complete in a month or so.

So I will start by posting a picture of the tank setup that I bought off E-bay.

Sort of a "Tank Makeover" thread.

Thanks for looking!
 

Attachments

  • 125 gallon purchased.JPG
    125 gallon purchased.JPG
    21.2 KB · Views: 846
Here is the frame of the stand, and the unfinished counter top.
 

Attachments

  • DSC00225.jpg
    DSC00225.jpg
    73.5 KB · Views: 150
  • DSC00227.jpg
    DSC00227.jpg
    74.3 KB · Views: 148
  • DSC00224.jpg
    DSC00224.jpg
    75.3 KB · Views: 101
  • DSC00230.jpg
    DSC00230.jpg
    74.6 KB · Views: 129
Here is the stand in its permanent location.

I won't be able to work on it this week or this weekend....:(

work comes first :mad:


So it will be a couple of weeks before another update...disappointing for sure....but I must be patient! After all, isn't that what this hobby is all about! :)
 

Attachments

  • DSC00232.jpg
    DSC00232.jpg
    54 KB · Views: 143
Btw - I covered the stand with 1/4" oak plywood.

I'm still up in the air about the doors. I might order some raised panel doors...
Or build my own with 3/4 plywood. I would cut the plywood to size and wrap the outside of the plywood with shoe mold. (The shoe mold makes the plywood look like a solid piece of oak with rounded outside edges.)
MUCH cheaper than solid oak doors, and easy to build.

I'm also going to add shelves to the inside. An upper one to house my sump, and a lower one to house all the misc equipment and Rubbermaid tubs.
 
I forgot to post... filling the tank!
 

Attachments

  • DSC00203.jpg
    DSC00203.jpg
    72.7 KB · Views: 163
good shot on the progress... you can also build yourself a little stool while your at it... it should be fun getting in the tank for maintenance.. lol
 
Nice! It's saltwater, right? And I agree, a stool would be helpful!

I have one 15g tank with 3 Blue Flame Tetras and two other tetras that I currently don't know the name of. It's my first tank but I hope to get a coldwater one with some goldfish!


Nature ;)
 
The stand looks great. I build mine at 36'' tall and love it , at that height. Can't wait to see the rest of the build remember lot's of pic's. Good luck.:D:D:D:D
 
I will definitley need a step ladder... but with the additional height I can hide it in the stand! woohoo
 
Well finally got to get back to work.

I added trim, built some doors, install hinges, catches, and handles.

Next up? Staining, sealing, and moving that heavy aquarium into the house.

Anyone in the areas want to help?
;o)

I'm going to post several pictures and descriptions about building the doors.
I built them with a circular saw, chop saw, brad nail gun, and a palm sander.
I thought it might help others build doors who are limited on tools.
I thought about ordering raised panel doors, but I wanted my stand to be sort of boring, so the aquarium will stand out more... if that makes any sense. Of course I still wanted it to look nice.


So.. here we go.
 
Here is a jig I built so that I can cut really straight lines with my circular saw.
Notice the saw is called a left handed saw, but it works much better for right handers.
 

Attachments

  • 100_3322.jpg
    100_3322.jpg
    74.9 KB · Views: 94
I built the doors one inch taller than the openings. And since there are two doors on each opening, I built each door only 1/2 inch wider than the opening... 1/2 +1/2 = 1

I used 3/4" plywood and then "wrapped" the edges in shoe molding. The shoe molding was 3/4" x 9/16" if I can remember correctly. The only important measurement is the one 3/4" side. It's slightly wider than the 3/4" plywood... (silly lumber measurements) but it works just fine.
 

Attachments

  • 100_3316.jpg
    100_3316.jpg
    74.5 KB · Views: 66
  • 100_3318.jpg
    100_3318.jpg
    71.9 KB · Views: 79
  • 100_3319.jpg
    100_3319.jpg
    73.8 KB · Views: 73
  • 100_3325.jpg
    100_3325.jpg
    71.2 KB · Views: 86
I cut a 45 degree angle on the shoe mold.
Then I set it in place and marked the other end with my pencil.
Then I cut the other 45. No need for a tape measure.
If it's not perfect.. don't worry. A little wood filler and sanding makes it come out just fine.


Next I glued and pin nailed the molding around the doors to make the plywood look like one solid piece of oak.
 

Attachments

  • 100_3323.jpg
    100_3323.jpg
    52.1 KB · Views: 68
  • 100_3332.jpg
    100_3332.jpg
    72 KB · Views: 75
  • 100_3335.jpg
    100_3335.jpg
    74.3 KB · Views: 91
  • 100_3328.jpg
    100_3328.jpg
    69.6 KB · Views: 77
I just continued the same process until I had all 4 doors built.

I forgot to mention... don't forget to take the size of the molding in account when figuring out the final size of the doors needed.
 

Attachments

  • 100_3329.jpg
    100_3329.jpg
    74.4 KB · Views: 78
  • 100_3331.jpg
    100_3331.jpg
    73.2 KB · Views: 80
  • 100_3332.jpg
    100_3332.jpg
    72 KB · Views: 77
  • 100_3335.jpg
    100_3335.jpg
    74.3 KB · Views: 68
Added some oak wood filler.
 

Attachments

  • 100_3340.jpg
    100_3340.jpg
    73.9 KB · Views: 69
  • 100_3341.jpg
    100_3341.jpg
    70.3 KB · Views: 105
  • 100_3342.jpg
    100_3342.jpg
    71 KB · Views: 71
  • 100_3343.jpg
    100_3343.jpg
    74.6 KB · Views: 65
I sanded the first door by hand... yikes! That made me miss my old palm sander.. So I took the 7 minute drive to Harbor Freight tools.

$30.00 dollars later I had 10 sheets of Velcro sand paper, (150 and 220 grit) an orbital palm sander, and 20 new drill bits.

The palm sander and sand paper were of much higher quality than I thought they would be, and I would recommend either/or for anyone who is just going to use the sander and sand paper around the house.

I sanded each door with 150 and then filled any spots that I had previously missed. Then I went over each door with 220. Nice and smooth and pretty.
 

Attachments

  • 100_3346.jpg
    100_3346.jpg
    74.7 KB · Views: 60
  • 100_3348.jpg
    100_3348.jpg
    70.8 KB · Views: 61
  • 100_3349.jpg
    100_3349.jpg
    74.7 KB · Views: 70
Time for hinges!
I set each hinge 2 1/2" from the top and bottom of each door.

I then marked the holes and predrilled each one (11/64" bit if I remember correctly), and then I installed the hinges)

Make sure to use the short screws that come with the hinges not the longer ones.... don't want the long ones poking through the front!
 

Attachments

  • 100_3366.jpg
    100_3366.jpg
    70.5 KB · Views: 67
  • 100_3360.jpg
    100_3360.jpg
    73.1 KB · Views: 67
  • 100_3363.jpg
    100_3363.jpg
    72.6 KB · Views: 68
  • 100_3364.jpg
    100_3364.jpg
    72.2 KB · Views: 55
I leveled the unit with loads of shims.
(The floor was part of an add-on to the house, and it dropped 1/2 over 6 feet.)
Next I screwed it to the studs in the wall and screwed the counter top down.

Finally I installed the doors and hardware.
Next weekend.. time for staining, sealing, and hopefully my aquarium on top!
 

Attachments

  • 100_3368.jpg
    100_3368.jpg
    71.1 KB · Views: 73
  • 100_3369.jpg
    100_3369.jpg
    72.4 KB · Views: 71
  • 100_3370.jpg
    100_3370.jpg
    72.5 KB · Views: 76
Back
Top Bottom