Billbug68
Aquarium Advice Addict
Hey all! So I've been meaning to start a thread for this tank, and seeing that it's turning out quite well, I've decided to share the build.
This tank started out as a standard 10g setup with just an Aquaclear HOB, heater, etc... Well, I decided to move everything over to another tank for a while and started dreaming up a better functioning, easier to care for system.
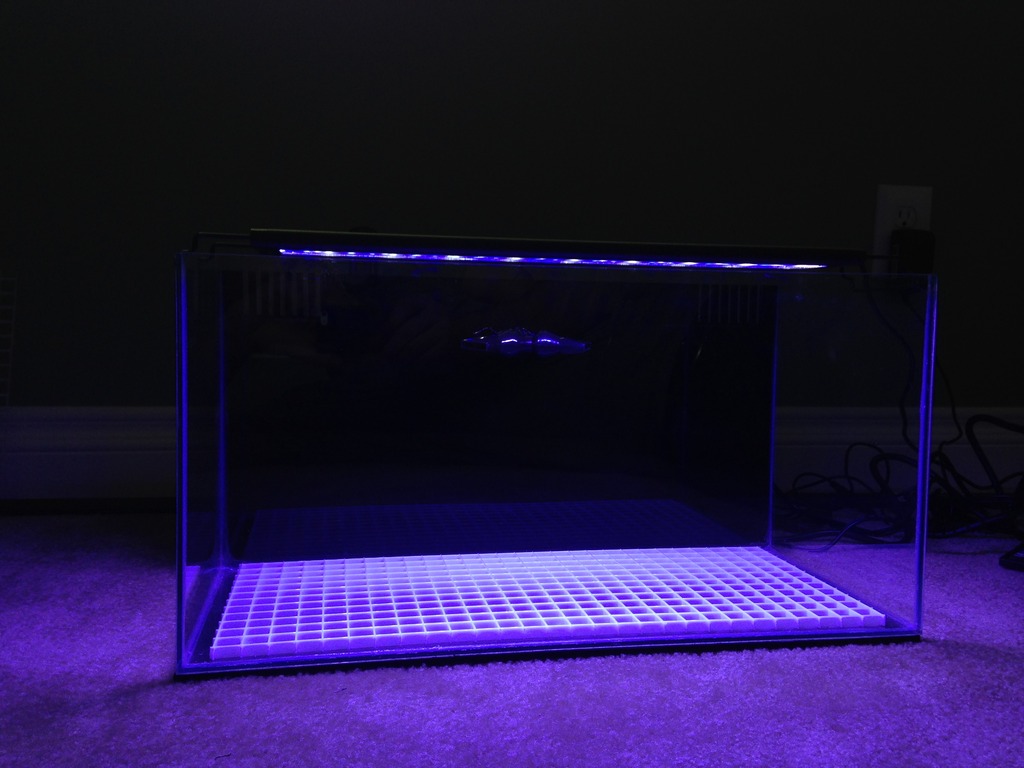
I started by de-rimming and completely disassembling my standard 10 gallon tank, cleaning it all up, reworking the dimensions, and sanding all the edges for a clean rounded off look. Basically, it's a 10 gallon turned on its side, with what used to be the original front panel trimmed and placed where the open top once was, again becoming the new front panel. So the new dimensions of the tank are now 20" long x 12 1/4" wide x 10 1/4" tall. The added space from front to back allowed me to add a false wall 3" away from the back glass while keeping a decent amount of room in the display, creating my new AIO.
So far, here is what I have for equipment:
Tank: Modified 10 gallon
Tank Mat: Mr Aqua tank mat cut to size
Lighting: 18" Current Orbit Marine LED
Return Pump: Eheim Compact 1000 rated for up to 265 GPH
Skimmer: Tunze 9001
Heater: Aqueon Pro 50w
Some pictures and details:
For the return I used a Y and two flat nozzles to hopefully get flow through the whole tank without using a powerhead

The result of careful taping prior to silicone.
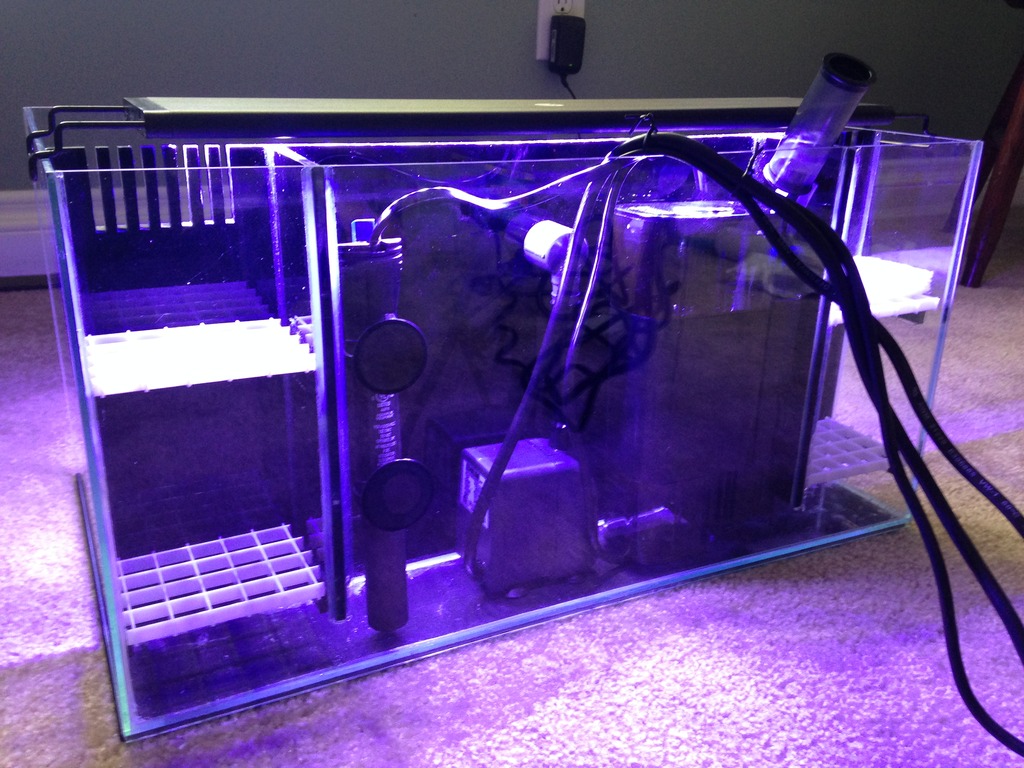
Here you can see my back chambers with most of the equipment tucked inside. Dual overflows with removable egg crate for mechanical and chemical filtration to rest on. The center chamber houses the rest of the equipment. Still need to work on my auto top off.
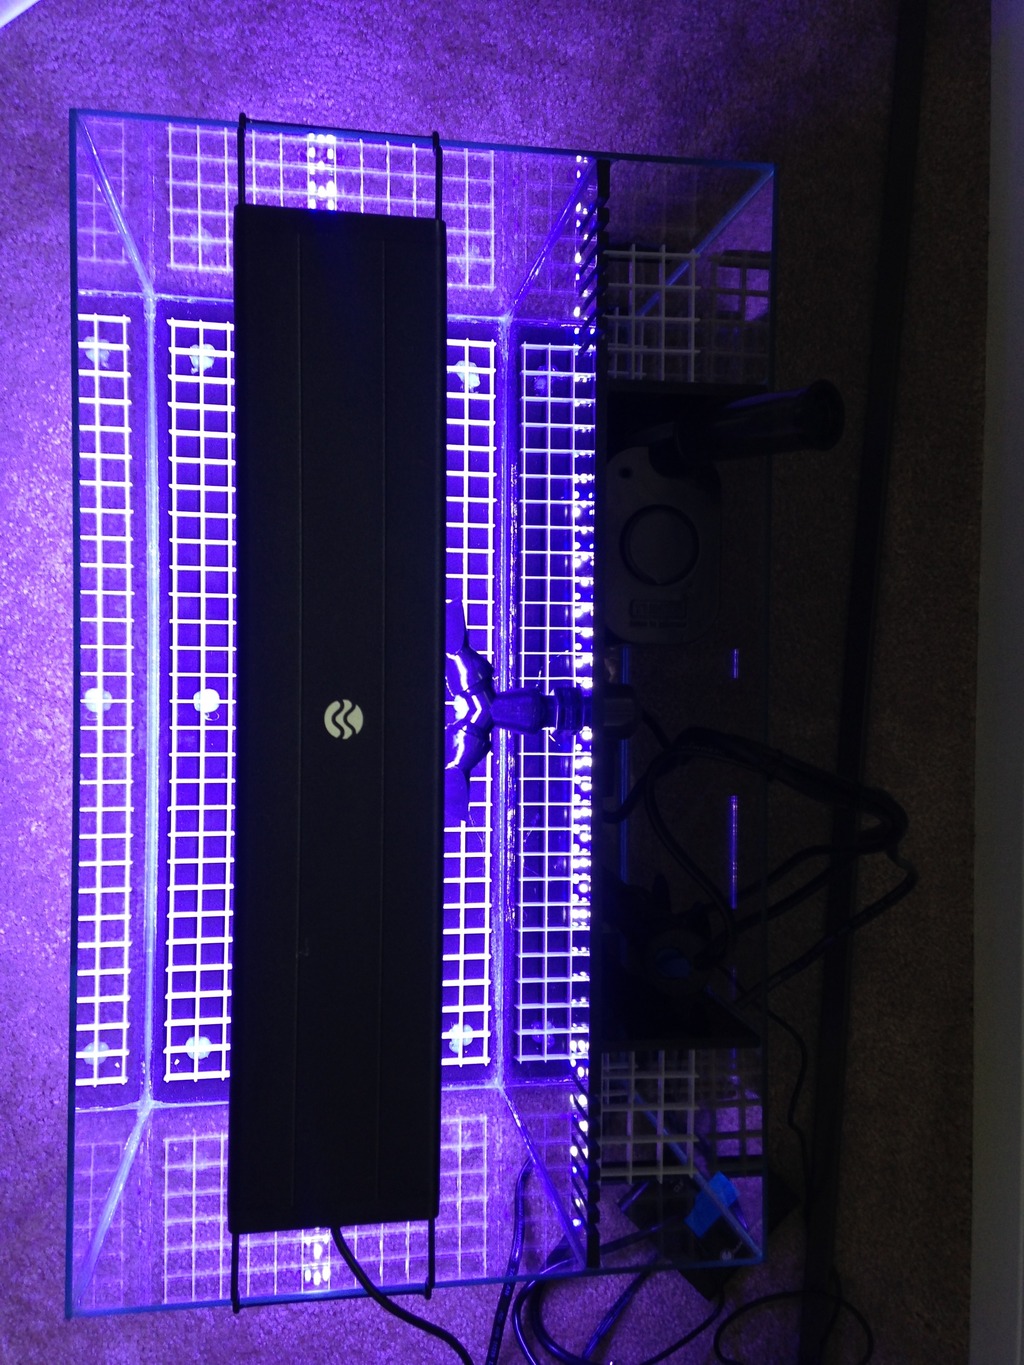
Just a quick top down view.
I still have a lot of finish work to button up to give this setup a nice clean finished appearance. I'll definitely keep this updated as work moves a long. I plan on working on the screen top today, so that might get posted later on.
I hope you all like it, any advice is welcome as this is my first AIO!
Sent from my iPhone using Aquarium Advice
This tank started out as a standard 10g setup with just an Aquaclear HOB, heater, etc... Well, I decided to move everything over to another tank for a while and started dreaming up a better functioning, easier to care for system.
I started by de-rimming and completely disassembling my standard 10 gallon tank, cleaning it all up, reworking the dimensions, and sanding all the edges for a clean rounded off look. Basically, it's a 10 gallon turned on its side, with what used to be the original front panel trimmed and placed where the open top once was, again becoming the new front panel. So the new dimensions of the tank are now 20" long x 12 1/4" wide x 10 1/4" tall. The added space from front to back allowed me to add a false wall 3" away from the back glass while keeping a decent amount of room in the display, creating my new AIO.
So far, here is what I have for equipment:
Tank: Modified 10 gallon
Tank Mat: Mr Aqua tank mat cut to size
Lighting: 18" Current Orbit Marine LED
Return Pump: Eheim Compact 1000 rated for up to 265 GPH
Skimmer: Tunze 9001
Heater: Aqueon Pro 50w
Some pictures and details:

For the return I used a Y and two flat nozzles to hopefully get flow through the whole tank without using a powerhead

The result of careful taping prior to silicone.

Here you can see my back chambers with most of the equipment tucked inside. Dual overflows with removable egg crate for mechanical and chemical filtration to rest on. The center chamber houses the rest of the equipment. Still need to work on my auto top off.

Just a quick top down view.
I still have a lot of finish work to button up to give this setup a nice clean finished appearance. I'll definitely keep this updated as work moves a long. I plan on working on the screen top today, so that might get posted later on.
I hope you all like it, any advice is welcome as this is my first AIO!
Sent from my iPhone using Aquarium Advice
")

