 Photographing your aquarium with a digital SLR camera can be an intimidating prospect. Understanding the terminology, modes, and functions of your DSLR camera can be daunting – and if you are are only shooting in full auto and not taking advantage of the control and features of your camera, you are likely not to get much better results than those that can be obtained from a point and shoot type camera.
 This article will explore the basic terminology and functionality surrounding photography, and also explain the common modes found on a DSLR. We will explore and compare the differences that adjusting settings makes, and hopefully you will see that even beginners can photograph in full manual mode and get great photos!
THE TERMINOLOGY: Making sense of Shutter, Exposure, Aperture, f-stop, & ISO
Shutter Speed & Exposure
Shutter Speed is most simply, the length of time that the shutter on your DSLR is open. Back in the day, with film cameras, it determined how long the film in the camera was exposed to light. In a digital camera, it determines how long the image sensor in your camera is exposed to the light. Hence, the shutter speed controls the exposure of your picture. The slower the speed, the longer the shutter is open, the more exposed the image becomes, and the brighter the image becomes. Too high a shutter speed results in over exposure, which causes images to have details washed out. Too low a shutter speed results in a dark image, with some details not exposed on the picture. To see the effect Shutter Speed has on a photo, here are several pictures taken with various exposures, or shutter speeds, with all other settings remaining the same. The shutter speeds are in red, and are measured first in fractions of a second for very fast settings, and seconds as the speed gets slower:


You can see at 1/10 of a second, the photo is perhaps a bit dark, and underexposed. By the time we creep the shutter speed up to 1.0″ we have lost details in the photo and it is overexposed. 1/6 of a second appears to be a good exposure based on the other settings for these pictures.
The easiest way to “cheat” and determine if your exposure or shutter speed is close to correct is to use the histogram function on your camera. Most DSLRs will allow you to view the histogram in real time on your LCD screen. If the histogram bars are stacked up all the way to the left, it means you need a longer exposure. If they are stacked all the way to right, it means you need a short exposure. When the histogram shows a fairly even distribution from left to right, you are close to the right exposure. The great thing about digital photography is that you can then take a few pictures in the shutter speed you choose, and then take pictures 1 or 2 speeds up and 1 or 2 speeds down and when you get to processing your images, you can decide which looks best. With RAW image files, you can also change the exposure during processing, though I find it best to try to get as close to correct as possible while shooting. RAW images are uncompressed, actual representation of the light captured for each pixel of an image, and should always be used. Convert images to JPG after you are done with post processing.
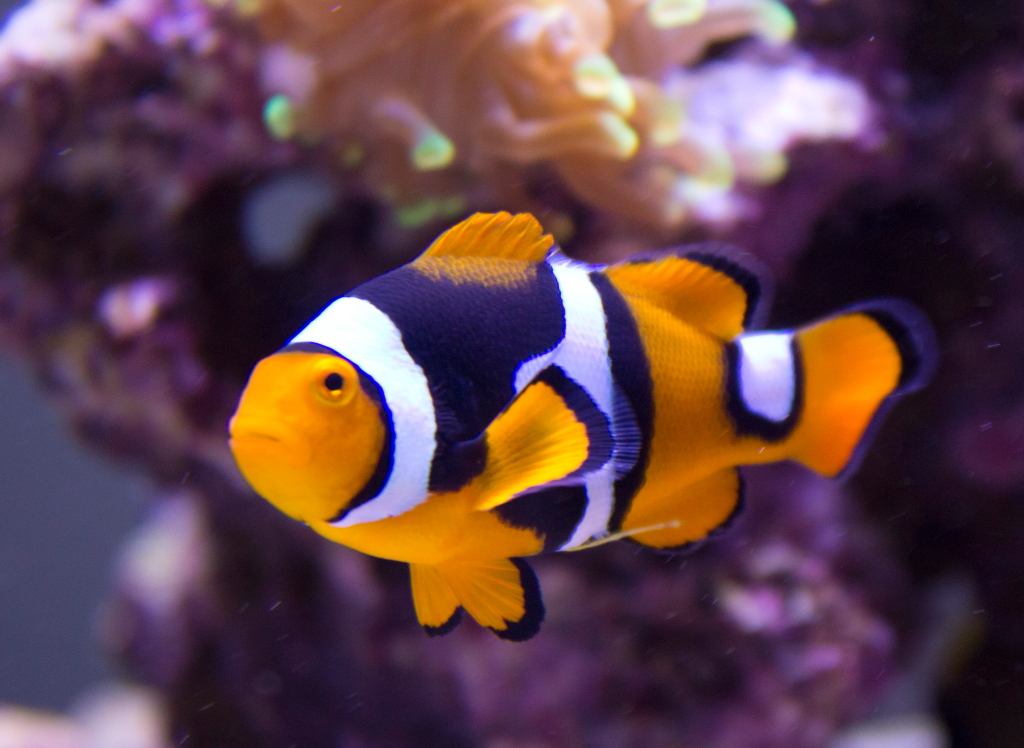
Shutter speed or exposure also has other effects on your picture. For macro photography of still corals as pictured above, it is ok to have low shutter speeds and longer exposures. But if you are trying to capture swimming fish, it will be imperative to use higher shutter speeds and shorter exposures to avoid motion blur in your image.
Aperture & f-Stop
Aperture is the size of the opening through the lens when the shutter is open. We measure this apparent size in “f-stops” or “f-numbers”. The smaller the f-stop, the larger the aperture or hole through which light can pass. Each stop logarithmically decreases the size of the aperture opening. So why do we care? Well, the aperture setting determines how much of the image is in focus. This can be important to getting a stunning shot. In photography, the out of focus portions of the image are referred to as “bokeh”, and bokeh can make or break an image. Low f-stop settings will focus a very narrow depth of field, while high f-stop settings will give a very large depth of field, which means most of the image will remain in focus. It should be noted here that while lenses often have a range of f-stops to chose from, anything above about 2/3 of the lens’s capability will greatly degrade the quality of the image you capture, especially when it comes to the sharpness you can achieve. There is usually a “sweet spot” or range for where a particular lens will take the sharpest pictures.
However, the less light we let in via our aperture setting (i.e. the higher the f-stop we choose) the longer you will need to expose the picture. What this means is when we are shooting in full manual, if we raise the f-stop, we will need to lower the shutter speed. Conversely, if we lower our f-stop number, we will need to raise the shutter speed to get comparable exposures. Below are a series of images that show the effect on focus over a wide range of f-stops. Notice as we raise the f-stop number, decreasing our aperture size, more of the background comes into focus. Also notice how our shutter speed decreases as the f-stop gets larger to get roughly equivalent exposures. It also becomes apparent as you see the motion blur of the fish in some of the higher f-stop photos that we had to leave our shutter open longer to capture the same image.


ISO: “film speed”
The last setting to discuss is your ISO setting. In film photography, this wasn’t a setting at all, but a function of the type of film you put in your camera. Low ISO film was finer grained, but less sensitive to light exposure, so lower shutter speeds had to be used to get proper exposure. Higher ISO film produced more grainy images, but was far more sensitive to light and thus could achieve much fast shutter speeds, reducing motion blur and helping to capture moving images, even in lower light environments.
In digital cameras, we obviously don’t have film – but we still have a setting to control ISO. Rather than film sensitivity to light, in a DSLR, you can manually change the camera sensor’s sensitivity to light. An ISO setting of 100 will capture the finest details for close up and macro photographs, but means you will have to have longer exposure times. ISO 100 works great for coral pictures, but makes taking pictures of fish almost impossible. As you increase ISO up to 6400, you can accordingly increase your shutter speeds to get roughly equivalent exposures. This is an important setting that really adds details to macro photography, and if you don’t manually set it, the camera will often choose high ISO settings for you, which results in grainy images with lack of clarity. Check out the difference in some close up shots below. The total area being photographed in the below images is around a quarter of a square inch. Notice how the low ISO settings appear smoother and sharper than the high ISO settings:


PUTTING IT ALL TOGETHER: The Exposure Triangle

So we covered Shutter Speed, Aperture settings, and ISO. In a sense, a good looking image lies somewhere on this triangle. When you change 1 setting, it usually requires adjustment to the other 2 settings.
If you like metaphors, I think the best comparison I have heard is comparing it to sun tanning: ISO is kind of like your skin type – some folks have fairer skin and and are more sensitive to the sun than others. Shutter speed is comparable to how long you spend in the sun. And Aperture is kind of like sun screen – it determines how much sun actually gets through to your skin. Changing any 3 of these variables will inevitably affect the other two – and whether you get tanned (good exposure), burned (overexposure), or no tan at all (underexposure).
However, as we have discussed, the settings also have secondary affects: Shutter speed changes how motion is perceived in the photograph. Aperture changes the depth of field and how much of the photo is in focus. ISO changes the graininess of the photo.
The great thing is with digital media, you can play with the settings all day long to see what works best, and see for yourself how adjusting shutter speed, aperture, and ISO affect your photos and not waste a dime on film.
CHOOSING A WHITE BALANCE SETTING: Why You Should Set a Custom White Balance When Photographing an Aquarium
Perhaps one of the settings that can make the most difference is using a proper white balance setting for your photos. White balance is how the camera will perceive and interpret the color of light in which you are shooting. In most instances, using auto white balance works ok with most modern cameras. However, when shooting aquariums, especially marine aquariums with actinic light, the auto white balance often selects a very incorrect color of light. This can cast a particularly blue pale over your entire image and cause your image to look nothing like it does in real life. Details can be washed out and just appear dull.
Setting a custom white balance on a DSLR is usually fairly easy. It will involve finding the setting on your particular camera, and taking a picture of something white in your tank. Once you set the custom white balance, it can generally be stored, so you don’t have to repeat the exercise each time you want to take photos. I used a piece of white PVC pipe that I stuck in the tank and took a picture of to get my custom white balance.
White balance is measured in color temperature – you might be familiar with this in terms of selecting the proper spectrum of lighting for your reef or planted tank. Color temperature is usually a good indication of what spectrum of light your fixtures will provide your tank. It is measured in degrees Kelvin. My reef tank lights operate at a color temperature of right around 12,000K at peak intensity. However, if I leave my camera the decision to choose a color temp (in Auto White Balance mode), it will often select somewhere in the 4,000K-7,000K range. This results in an image that looks nothing like it does “in real life”. Check out the difference that the White Balance Setting makes. The first photo was allowing the camera to chose my white balance. The second was with my custom white balance setting:


The second photo looks almost exactly as those zoas appear “in real life”. The first auto white balance photo selected 4,000K, which makes the whole image appear far more blue and green than the tank appears in person.
It should be noted that color temp can usually be adjusted with most decent post processing software as well – but I would rather capture the image as close to life as possible as I am shooting.
CAMERA MODES: What Mode Should I Shoot In?
Most DSLRs have very similar modes – whether it is a Canon or Nikon, or something else, it will have essentially the same modes available for you to use. All of these modes can utilize a custom white balance, which I highly recommend setting. The modes appropriate for shooting aquariums are:
Auto
While it is possible to achieve decent photographs using the auto mode on your camera, you can achieve so much more by delving into some of the other functions. Auto mode will select everything for you: ISO, Aperture, Shutter Speed, and white balance will all automatically be chosen. All you have to do is point and shoot. However, your results won’t be much different than what you would achieve with a point and shoot camera.
Macro
Macro mode is usually represented by a picture of a small flower. It allows you to take close up macro shots of things in your tank. However, the small focal length means your depth of field will be very small, so for best results you will want to use a tripod as even tiny movements can cause your subject to go out of focus rather quickly. However, in macro mode on most cameras, the camera is still selecting your shutter speed, ISO setting, aperture, and white balance. Some of the best macro photography shots have a very specific depth of field, so you get that “perfect” bokeh.
Aperture Priority Mode
Aperture priority mode is a great mode to start to take the training wheels off in. It is usually represented by an “A” or “Av” on your camera’s mode dial. Aperture priority mode means that you are controlling the aperture setting manually, while letting the camera chose the other settings of the exposure triangle. You can really start to get some custom looking quality photographs using this mode. Most DSLRs will allow you to go ahead and change your ISO setting too, so the camera only essentially has to chose the proper shutter speed for the aperture setting you chose. This is a great mode for photographing stationary and slow moving creatures in your tank, like plants, corals, snails, etc.
Shutter Priority Mode
Shutter priority mode is another way to ease into full control over the Exposure Triangle. It is usually represented by an “S” or “Tv” on your camera’s mode dial. Shutter priority is similar to aperture priority, but it allows you to control the shutter speed, while the camera will select a proper aperture setting for you. This is a great mode for shooting moving objects, like fish and shrimp.
Manual
Gasp! Full manual is your next stop. It is usually represented by an M on your camera’s mode dial. This gives you full control of the exposure triangle. For stationary objects in the tank, start with the lowest ISO setting you have available. This will give you the most clarity in your shot. Select your aperture setting next – this will depend on the look you are going for – remember small f-stops will result in a small depth of field with lots of bokeh, while larger f-stops will result in larger depth of field and less bokeh. Finally, adjust your shutter speed so that you get a good distribution on your histogram. Take, adjust, repeat!
TIPS AND TRICKS FOR AQUARIUM PHOTOGRAPHY
For macro photography, there are a few things that will make the difference between a blurry, mediocre shot, and a crisp, clear, stunning close up of your fish or coral.
 Custom White Balance (Did I mention that yet??)
- Lens Selection: This could be an article in and of it self – the myriad of lenses available are one of the huge draws of DSLR cameras. However, good results can be achieved even with your stock lens. Just don’t expect to get excellent macro results unless you invest in a macro lens. These can often cost more or many times as much as the camera body, depending on how much you want to spend. For what is is worth, all of the photos you see in this article were achieved using a camera body that cost around $500 and a 60mm Macro lens that cost an additional $550 or so. This would be a low end DSLR camera, and a low to mid range Macro lens.
- Select the LOWEST ISO setting you can, appropriate for what you want to
 shoot: Stills should be 100-200, fish 400 or 800 is usually appropriate. Faster moving fish may need higher ISO settings.
 - Use a tripod. Trying to shoot at low ISO settings while holding the camera will result in blurry images
- Use a remote shutter release. These are available at any local camera shop, and usually for only $15-20. Pressing the button on your camera causes camera shake. A remote shutter release allows you to snap the photo without touching your camera.
- Turn off all your power heads and pumps. Swaying coral or plants makes it tough to get a crisp, clear macro shot with the long shutter speeds that low ISO settings demand. You want everything as still as possible. Some Macro shots with a large f/stop and low ISO can have shutter speeds in the 1-2 second range to get a proper exposure.

- Take lots of shots, and change your aperture and shutter speed settings often. This way you will have many choices when it comes to choosing your prized image.
- For my purposes, I avoid using a flash for macro photography. It causes subjects to become washed out. Stunning results can be achieved if remote flashes are employed, but that is far more advanced than I care to get at this point.
- Always shoot as perpendicular to your subject as possible. If you shoot through
 the glass at an angle, it
ill severely distort and blur your subject, despite what settings you choose.- Use manual focus – and zoom on your LED screen to help you fine tune your focus. Autofocus is often not appropriate for macro photography.


For full tank shots:
- ISO settings of 800 or so are
 generally appropriate. This will allow you to capture clear pictures of your fish without motion blur. If you are still catching motion blur, you can bump up to 1600.
 - Avoid using a flash, unless you have a remote flash setup. It will reflect on the glass and just generally look bad.
- Auto focus and Av mode are usually the settings I use for capturing full tank shots.

- Change your angle to the subject to get some interesting shots. Photos capturing the reflection of the surface of the water, or even including the light above the tank can look interesting.
