Intarsia angelfish

The friendliest place on the web for anyone with an interest in aquariums or fish keeping!
If you have answers, please help by responding to the unanswered posts.

QTOFFER

Aquarium Advice Addict
Joined
Nov 11, 2003
Messages
4,295
Location
Kew Gardens, NY
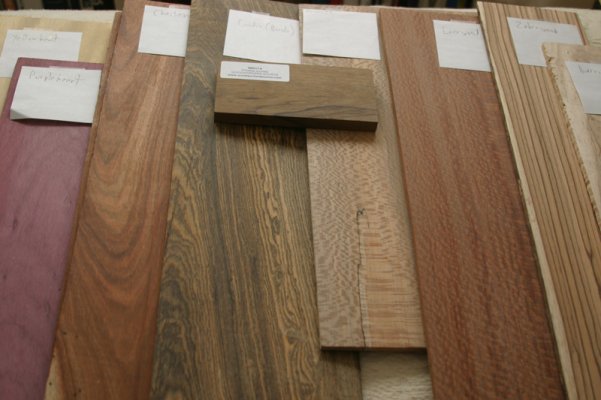
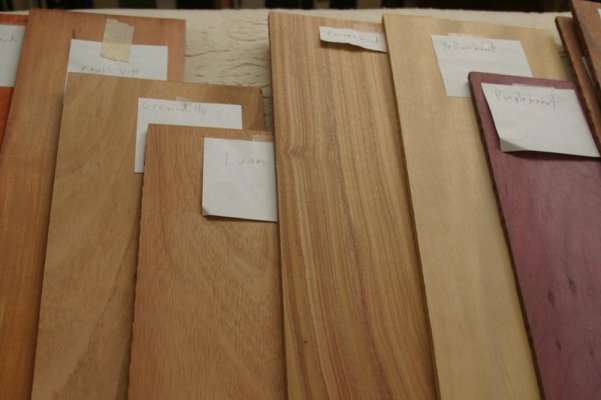
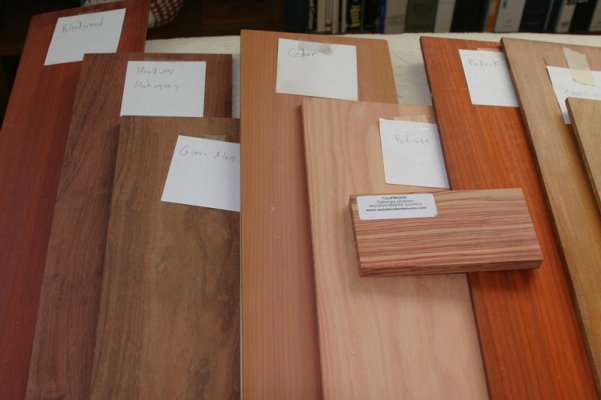
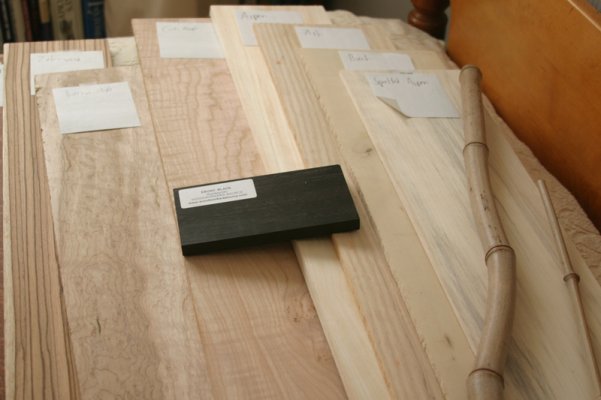
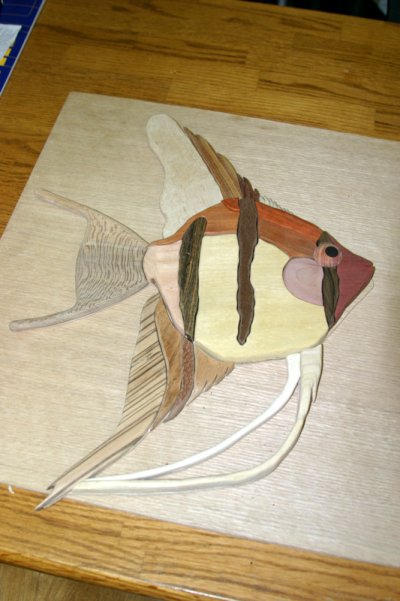
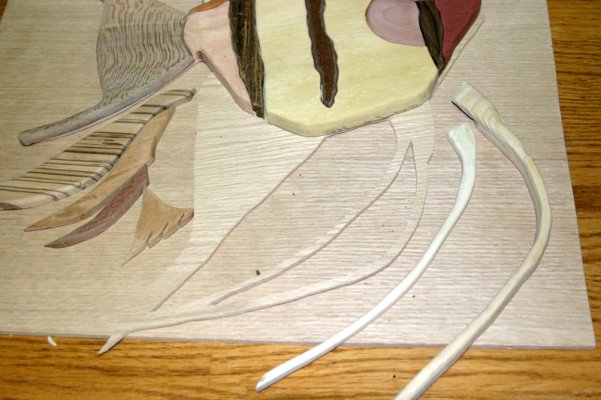
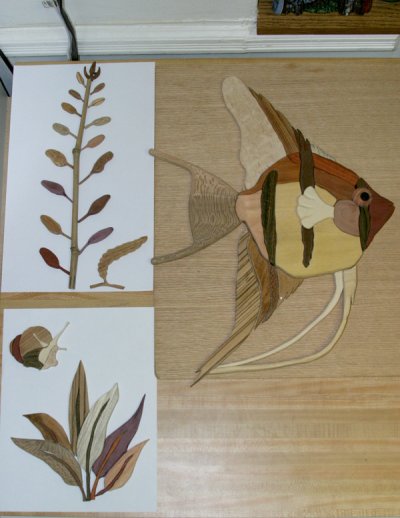
I’m starting the most ambitious woodworking project I have ever attempted - an intarsia angelfish made with 31 pieces domestic and exotic hardwoods. I’ve built furniture before (my oak bed, two small aquarium stands, drawers, and lots of cabinets), but nothing this intricate.

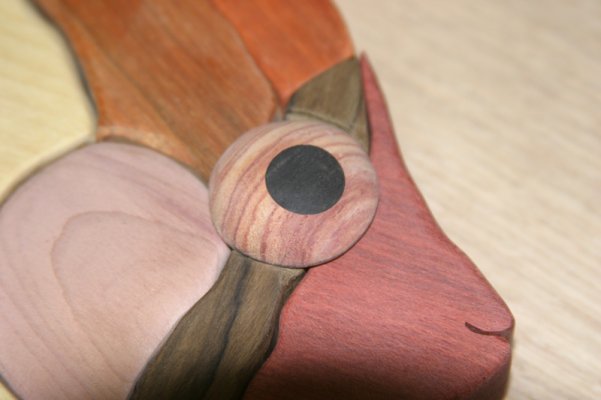
Intarsia is a form of wood inlaying where carefully cut and shaped pieces of wood are joined together like a jigsaw puzzle to make a picture. The grain and natural color of the wood is used instead of paints or dyes.

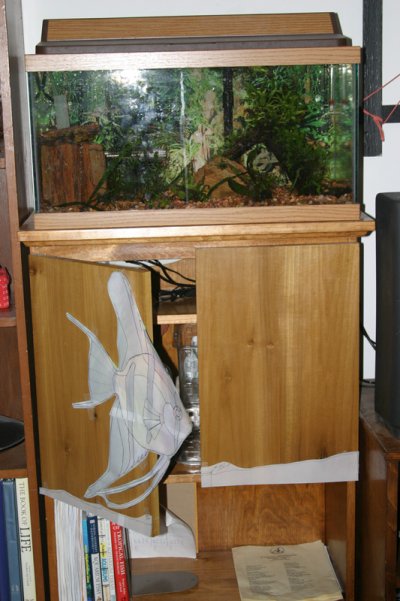
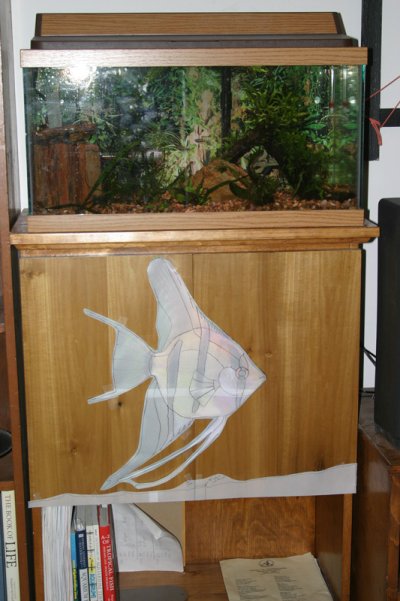
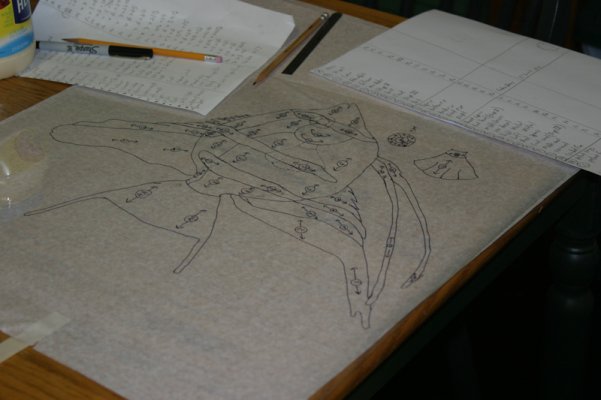
I haven’t seen any angelfish intarsia patterns in books or online, so I’m creating my own. I downloaded a pic of an angelfish off the net, enlarged it to size, and printed it out on several sheets of paper which had to be taped together. Then I traced the outline of the fish, its markings, and its external body parts on vellum paper.

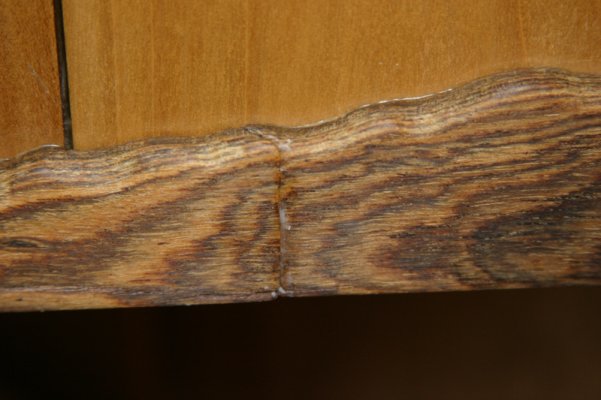
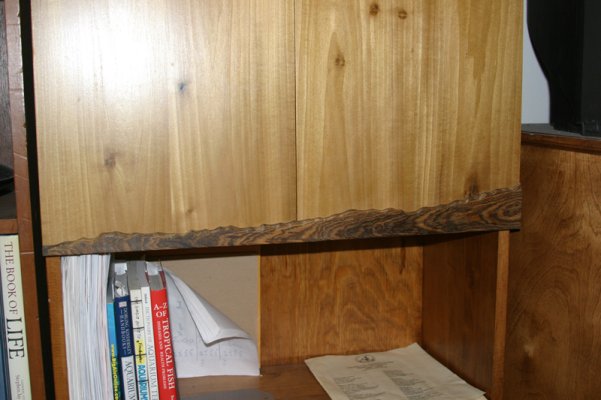
These are pics of my vellum pattern taped onto the doors of my aquarium stand. I built the stand/storage unit/bookcase out of Southern white pine, and used unstained yellow poplar heartwood for the doors. The unit was given several coats of polyurethane finish – I’ll probably finish the intarsia the same way.

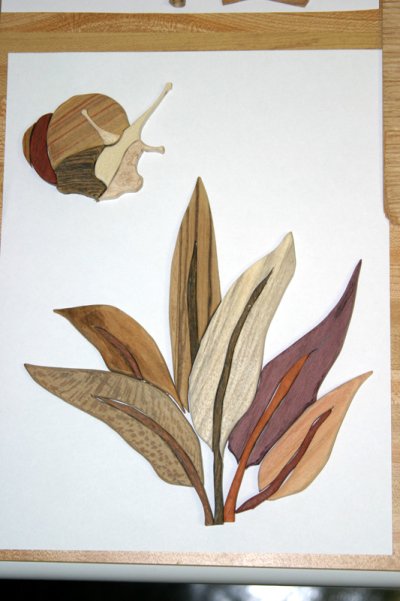
The fish will be attached to one door so they can open. I’m also going to make some intarsia plants to go on either side of the fish, but I haven’t drawn the patterns for those yet.
 

Attachments

  • intarsia_3.jpg
    intarsia_3.jpg
    107.2 KB · Views: 176
  • intarsia_2.jpg
    intarsia_2.jpg
    154.8 KB · Views: 113
  • intarsia_1.jpg
    intarsia_1.jpg
    149 KB · Views: 193
I’ve been planning this project in my head for about a year, and was gathering the materials in the meantime. Most of the exotic woods are quite expensive. What you see in the next few pictures cost over $200! Intarsia is also called ‘painting with wood’, and I finally have a decent ‘palette’ of wood colors to work with.

These pics include bloodwood, Honduras mahogany, Gonca Alves, cedar, bubinga, tulipwood, padauk, chakte viga, grenadillo, luan, canarywood, yellowheart, purpleheart, chechen, bocote, imbuya, sycamore, lacewood, and zebrawood.
 

Attachments

  • intarsia_6.jpg
    intarsia_6.jpg
    190.5 KB · Views: 96
  • intarsia_5.jpg
    intarsia_5.jpg
    180.3 KB · Views: 81
  • intarsia_4.jpg
    intarsia_4.jpg
    104.6 KB · Views: 92
This final pic includes zebrawood, birdseye maple, curly maple, aspen, ash, birch, spalted aspen, Gaboon ebony, and bamboo. I also have red oak, white oak, poplar, cherry, and walnut (not pictured).
That ½ x 3 x 6 inch piece of ebony cost $16 - it’s as dense and as hard as slate – I think I’ll be breaking quite a few scroll saw blades!

I’m going to be doing the work in a buddy’s basement workshop. He has a scroll saw, band saw, circular table saw, full-sized drill press, belt sander, inflatable oscillating drum sander, and just about every hand tool you can think of!

I won’t start work until next weekend, but I’ll update this thread as the work progresses.

If anybody has ever done intarsia and has any helpful hints and suggestions, I’d appreciate them!

Thanks!
 

Attachments

  • intarsia_7.jpg
    intarsia_7.jpg
    151.1 KB · Views: 94
Thats gonna be awesome and definetly something to be proud of. Definetly take your time, but definetly take pics when its done? Good luck!
 
please keep us posted! i too am a amature furniture builder and would love to learn some techniques if you wouldn't mind.

good luck!

mark
 
I took my plans to Kinkos and had them reduced a bit and had a few copies made. I also bought a piece of clear acetate and traced the plans onto it (FIRST PIC).
I lettered each piece and am giving some thought to the species, thickness, and grain direction I want for each piece. I will use the clear acetate plan to help choose the wood species for each piece and how best to orient the wood's grain and figure.

The paper plan will be rubber cemented onto the wood before cutting. The paper will be peeled off the wood piece and discarded - sandpaper will remove the rubber cement residue. The rest of the plan will be peeled off the wood scrap and cemented onto the next piece of wood to be cut. I had a couple of copies made because the repeated cementing, cutting, and peeling will pretty much destroy them.

The body of the fish will be made of 1/2 inch thick woods - I glued up some 1/4 inch boards this weekend in preparation for alot of cutting next weekend.

I also did a little cutting this weekend - the "substrate" that goes on the bottom of the door (PIC 2 AND 3). This was a pretty easy cut, except for the 45o angle cut - my father's scrollsaw only tilts in one direction, so I had to flip the workpiece upside down. I used the Dremel sanding drum to round off the edges. The wood is Mexican Bocote - it polished up to a glossy finish with some 220 grit sandpaper, and a clean dry cloth.

More updates to follow....
 

Attachments

  • intarsia_10.jpg
    intarsia_10.jpg
    180.8 KB · Views: 126
  • intarsia_9.jpg
    intarsia_9.jpg
    178.6 KB · Views: 86
  • intarsia_8.jpg
    intarsia_8.jpg
    136.7 KB · Views: 95
UPDATE!!!!

I spent all of Presidents Day weekend working on this. With just one or two exceptions, the pieces were very easy to cut using my pattern and my buddy's scrollsaw. I rounded off each piece with a dremel tool and rough sanded with 100 and 150 grit paper.

The eye was the most time-consuming piece. First, I had to cut a 1/2 inch plug out of a piece of ebony - a wood with the density of slate. Lots of smoke and the smell of burning wood! Then, I inserted the plug into a 1/2 inch hole drilled into a piece of tulipwood. This was cut into a 1-1/8 disc that I sanded down to 3/8 thickness. ALOT of dremel work turned the disc into a semicircle.

I still need to cut and carve the pectoral fin. Each piece will be sanded with 220 grit paper and given a light laquer finish. Then, the pieces get glued to a slightly smaller 1/8 inch oak ply backing piece that I beveled from beneath so it won't be as noticeable.
 

Attachments

  • intarsia_11_842.jpg
    intarsia_11_842.jpg
    190.3 KB · Views: 99
More pics from this past weekend!

I'm planning on making some plants and maybe a snail or two. I need to whip up a pattern for these.

My buddy lent me his scrollsaw until mid-March.
 

Attachments

  • intarsia_17_727.jpg
    intarsia_17_727.jpg
    81.4 KB · Views: 84
  • intarsia_16_547.jpg
    intarsia_16_547.jpg
    174.2 KB · Views: 83
  • intarsia_14_150.jpg
    intarsia_14_150.jpg
    99.1 KB · Views: 79
Fantastc work! Very, VERY, nicely done!

Looking forward to seeing it sealed, it usualy really brings out the colors and grains.
 
Proof that DIY doesn't have to be ugly and utilitarian like most of my crap...

Nice work. Can't wait to see it on the stand.
 
I did some more work on this project - here are the plants and a snail that will flank the fish.

I think I'm done with the scrollsaw. Now, I have to sand each little piece till I'm numb, and laquer them. I might add some detailing with the dremel - have to experiment on scraps with my big collection of bits.
 

Attachments

  • intarsia_19_934.jpg
    intarsia_19_934.jpg
    133.8 KB · Views: 59
  • intarsia_18_241.jpg
    intarsia_18_241.jpg
    158.1 KB · Views: 58
Just beautiful. Which woods are used on the Amazon sword? Have you considered making some of the richer colored crypts, like C. wendtii var "bronze?" Awe inspiring project!
 
Thanks for the kind comments, all! :D

czcz, from left to right, the woods used for the sword leaves/veins are:
sycamore/lacewood, grenadillo/mohagony, zebrawood/bocote, spalted aspen/bocote, purpleheart/padauk, bubinga/bloodwood.

I've almost got the whole fish sanded.
Sand, sand, sand, sand, sand, sand, sand, sand, sand. :sleeping:
 
Back
Top Bottom