Sillyfishies
Aquarium Advice Addict
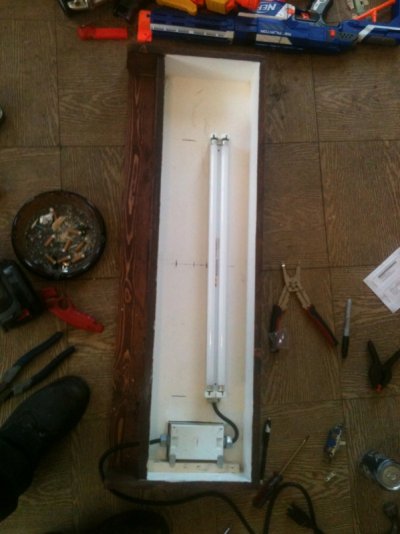
Instead of 3 t12 shop lights how about getting some t8 fixtures and doing it ODNO (check TPT for some articles on it).
Instead of 3 t12 shop lights how about getting some t8 fixtures and doing it ODNO (check TPT for some articles on it).
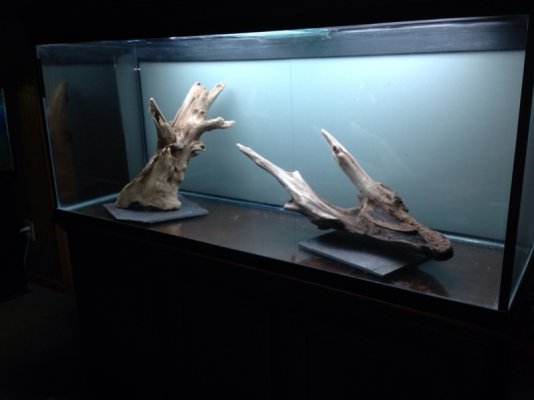
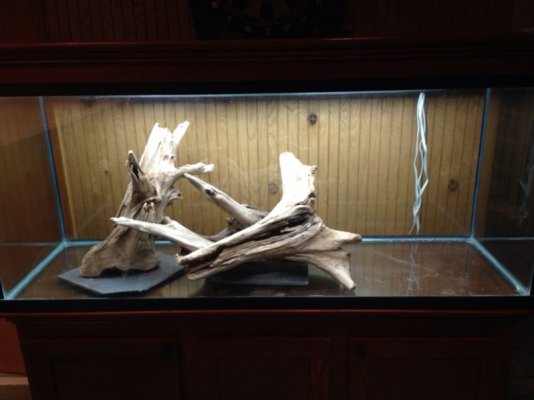
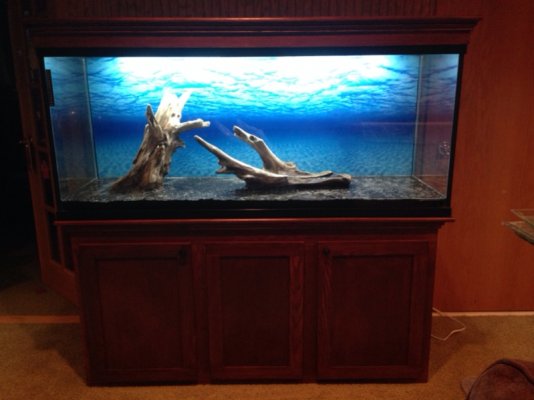
The first is how I'm currently leaning. There really isn't a good way to mash these pieces together, but here's what I came up with:
Yeah I see what u mean about the 3 together. I like the first one, too. Would just be thoughtful about what u plant directly in front of them.
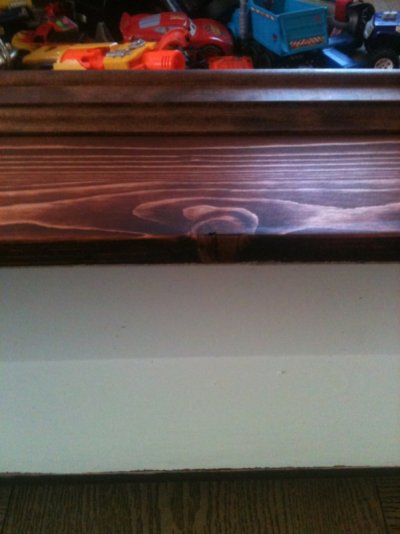
Thanks! I did price out t5's and these were actually cheaper. $12 each fixture and $25 for a 10pk of bulbs. There was an awesome 6 fixture t5ho fixture I saw, but because it's in a wet area, I looked at replacement costs as well. There are some glass dividers that made up the original top that I'll reuse, plus I wired a couple fans to help ventilate the hood. All that is plugged into a surge protected power strip with everything else then into a gfci receptical from the original tanks setup.
My progress as of Saturday afternoon. I put too much water in when I got the dirt wet so it's refusing to compact. Time to figure out how to correct that now....
I gotta ask cuz im new to dirted tanks. What is your method as to preparing your dirt and/or filling? Do you slow fill to start and let it sit overnight with water just above the dirt line and gravel/sand the next day? I only ask that question cuz my very first dirted tank i applied the soil dry. Capped it with gravel then slow filled it. Well i still have dry pockets in the dirt and that was a couple to few months ago.
My advice is place the dirt to your desired depth then slowly add water making it into a thick mud,definitely don't want runny....once you've done so&there are no dry pockets it should pack down nicely....cap your dirt& use a shallow bowl or plate while slowly filling the tank...make sure the water is hitting the bowl or plate as you fill otherwise it can get messy...
During the slow fill would it be ok to lightly stir the dirt to help break up the dry clumps?