Ziggy's Nano Build (again)

The friendliest place on the web for anyone with an interest in aquariums or fish keeping!
If you have answers, please help by responding to the unanswered posts.
Status
Not open for further replies.
Here are a few shots of the rock cooking in a bath of warm SW.

003lk.jpg

002qjc.jpg

001ldx.jpg
 
Goodies are starting to come in. My Heat sink is due in tomorrow not today as I thought however I did get my bulkheads. More stuff on the way and I am going to order a skimmer tonight I think....
 
Heat sink came in....drill guide came in...bulk heads came in....

this weekend the stand will be started and I will probably start the LEDs as well.

I need to make a decision on the skimmer. Next week I will order my RKE.
 
Man, you're as indecisive as a teenage girl trying to decide if she should tell her mom she's pregnant.

Maybe that's why we get along so well.


Definitely looking forward to some pics of the build!
 
Man, you're as indecisive as a teenage girl trying to decide if she should tell her mom she's pregnant.

Maybe that's why we get along so well.


Definitely looking forward to some pics of the build!

Wow....

Yeah I plan on getting some work done this weekend however I will probably not get started until tomorrow late in the day.

The lighting is no problem the stand is the issue. We have a small car and getting lumber home in it is a challenge.
 
where did you get all of your led supplies and components from? i keep seeing how leds are wonderful but even diy is still more expensive than buying a quality t5ho
 
where did you get all of your led supplies and components from? i keep seeing how leds are wonderful but even diy is still more expensive than buying a quality t5ho

rapidled.com

I have used MH, PC, T5HO, VHO and LEDs they each have their place. I like the LEDs for the power consumption. They provide great output and use very little energy.
 
sorry if i missed where you wrote it at, how many of each color led, what optics are you using, and how far away from the tank are you putting the light? what else am i missing? can you tell i know nothing of led lights?
 
sorry if i missed where you wrote it at, how many of each color led, what optics are you using, and how far away from the tank are you putting the light? what else am i missing? can you tell i know nothing of led lights?

I am using 3w LEDs 14 XP-G White - and 14 XP-E 3W Blues. The white have 65 degree optics on them and the Blues have 80 degree optics.

I haven't decided how high off the tank they will be yet. This thread isn't very long so you can skim through and see pics of the LEDs and the optics.

When I start building the light I will be documenting with lots of pics and explanations.
 
So I finished wiring up and testing the LEDs. Guess what.... 3w LEDs are a lot brighter than 1w LEDs. Holy cow!

I will post pics tomorrow and do a step by step.

Pretty cool!!
 
I will post the pics and write up this evening.

All in all this was a pretty easy build. Some basic wiring skills are needed and knowledge of soldering.

Some of the things that I found to make this job smoother:

1. Have a clear plan of how you want to arrange the LEDs and how they need to be wired.

2. Make a template so you have the spacing correct.

3. Adhere the LEDs to the heatsink and allow adhesive to dry.

4. Cut and strip all wire before starting to solder.

5. Pre-tin each end of wire as well as the + - terminals on the LEDs.
a) Pre-tin means to heat the exposed wire with your soldering iron and apply
solder to it. I did this to every wire and each terminal on the LEDs that I
intended to use to make connections


I will apply pics and further explanation later.
 
So here are some pics of the LEDs coming together:


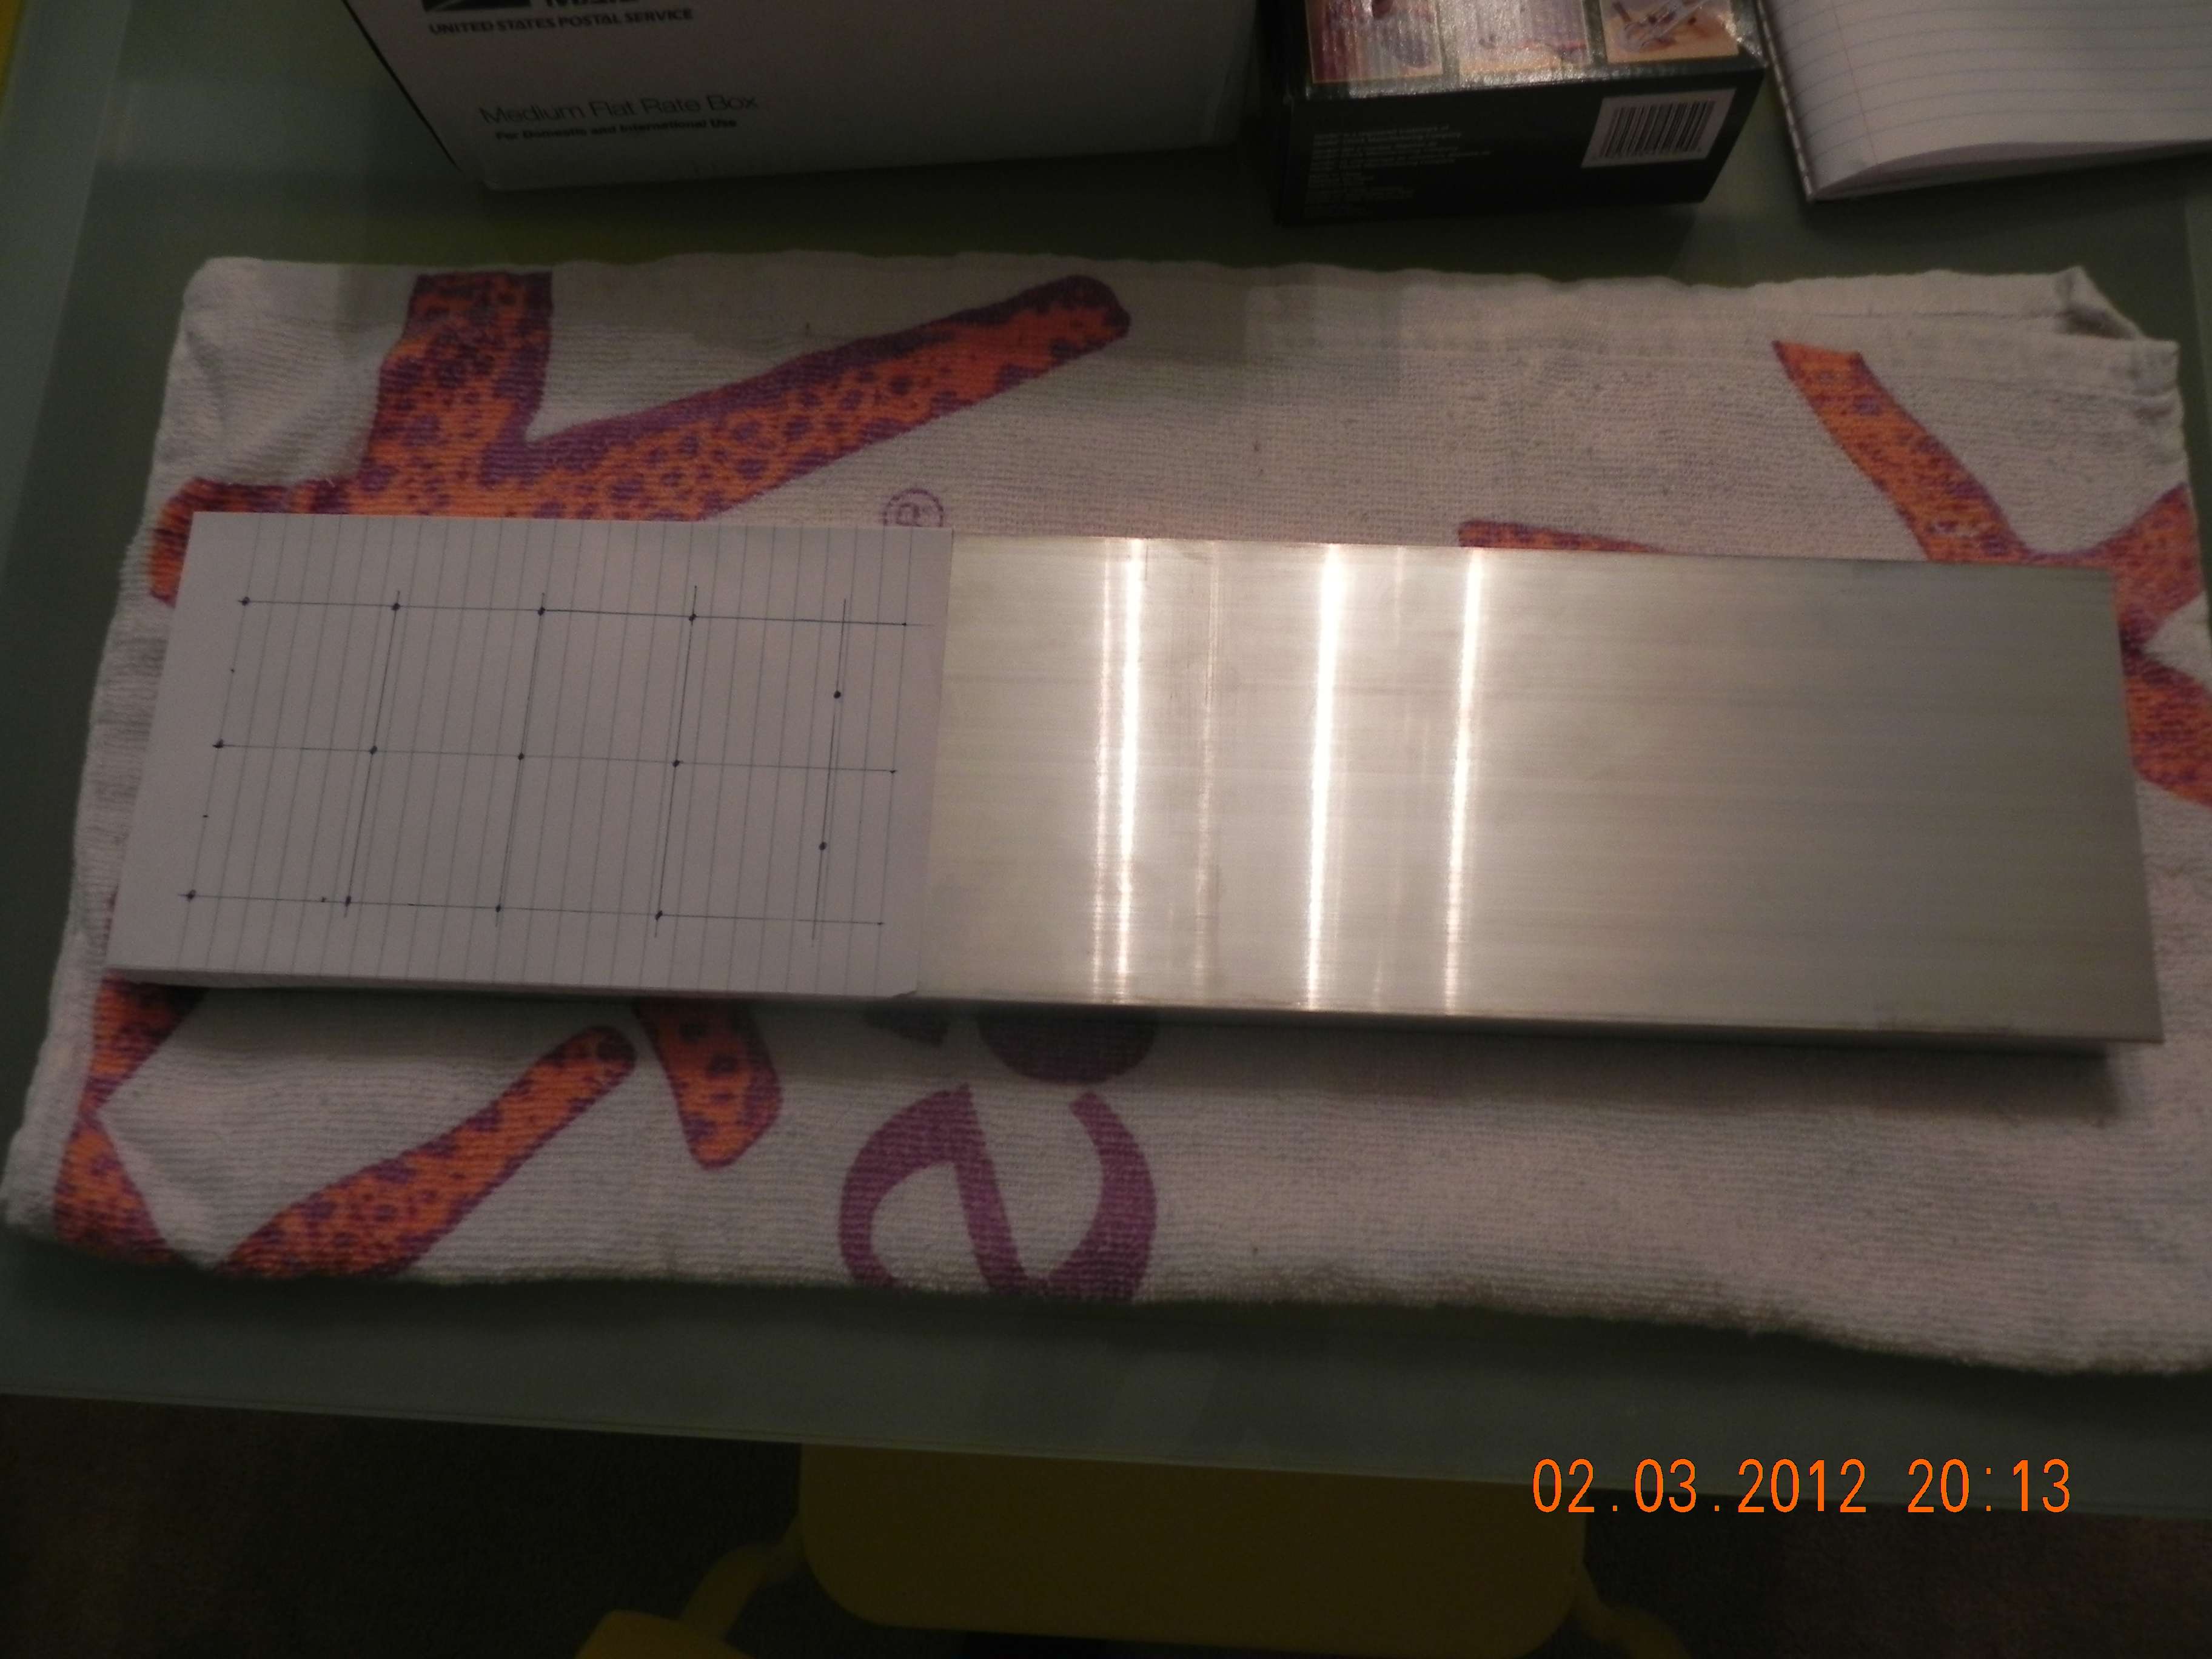
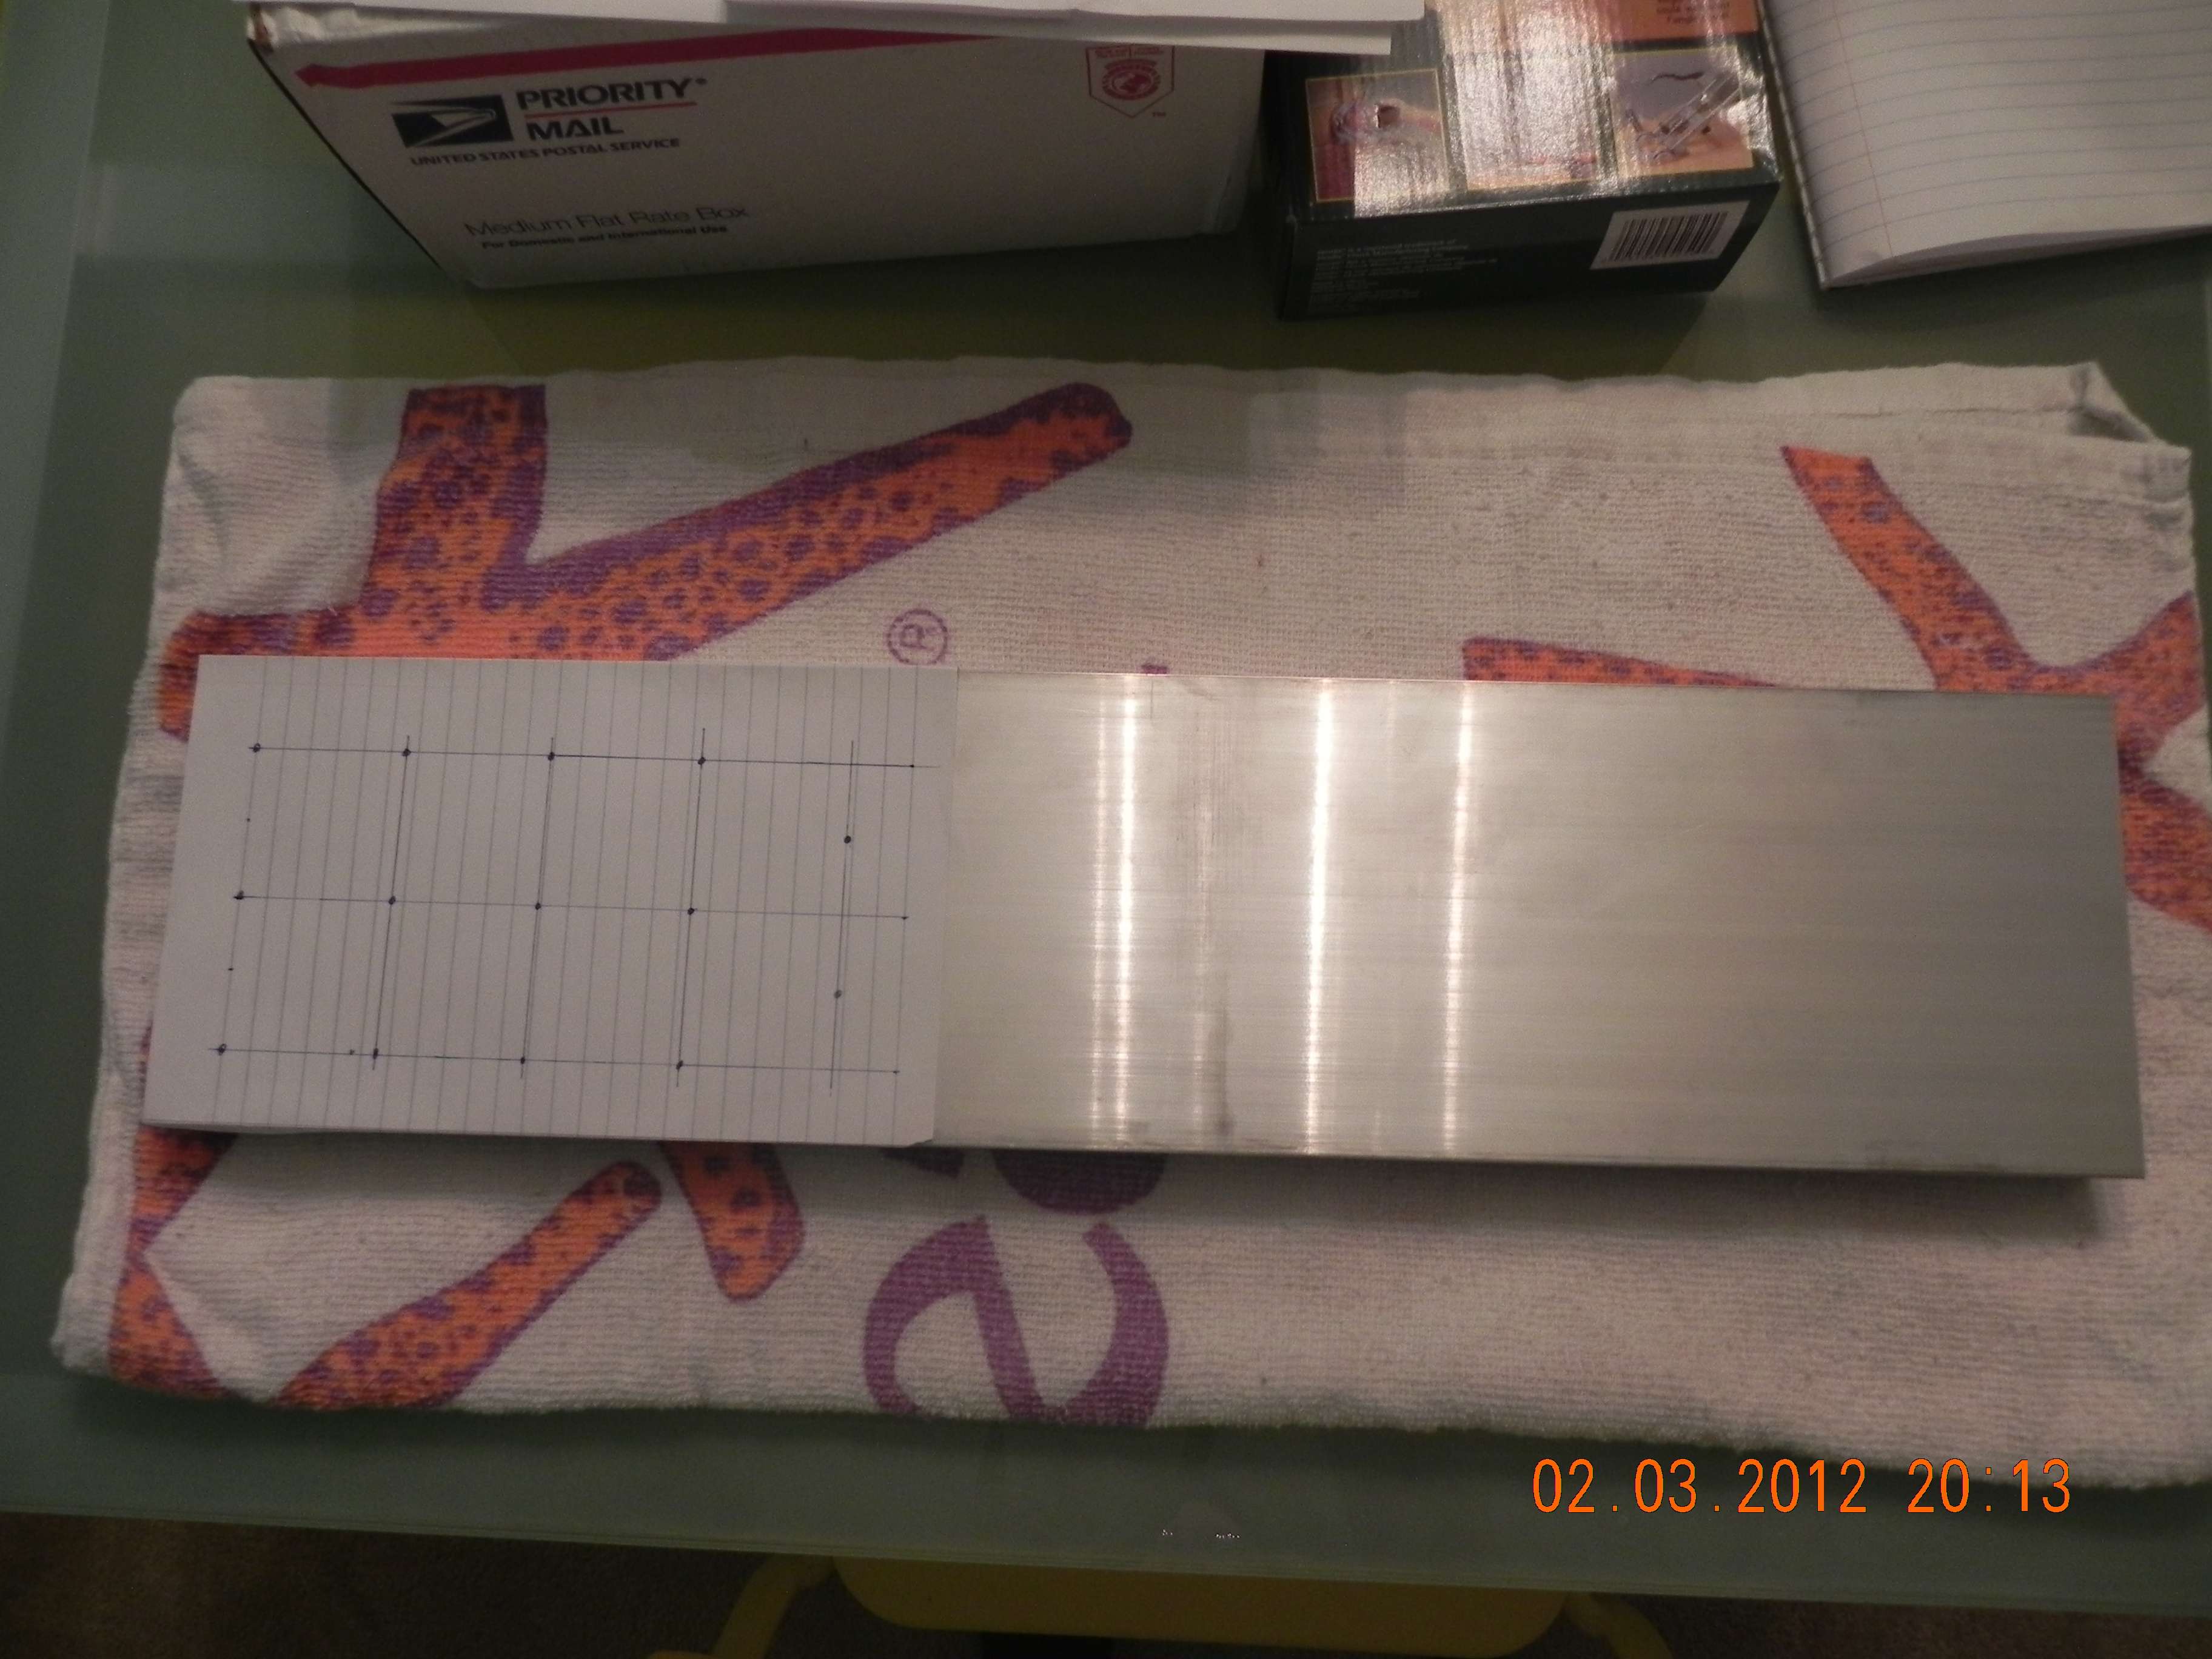
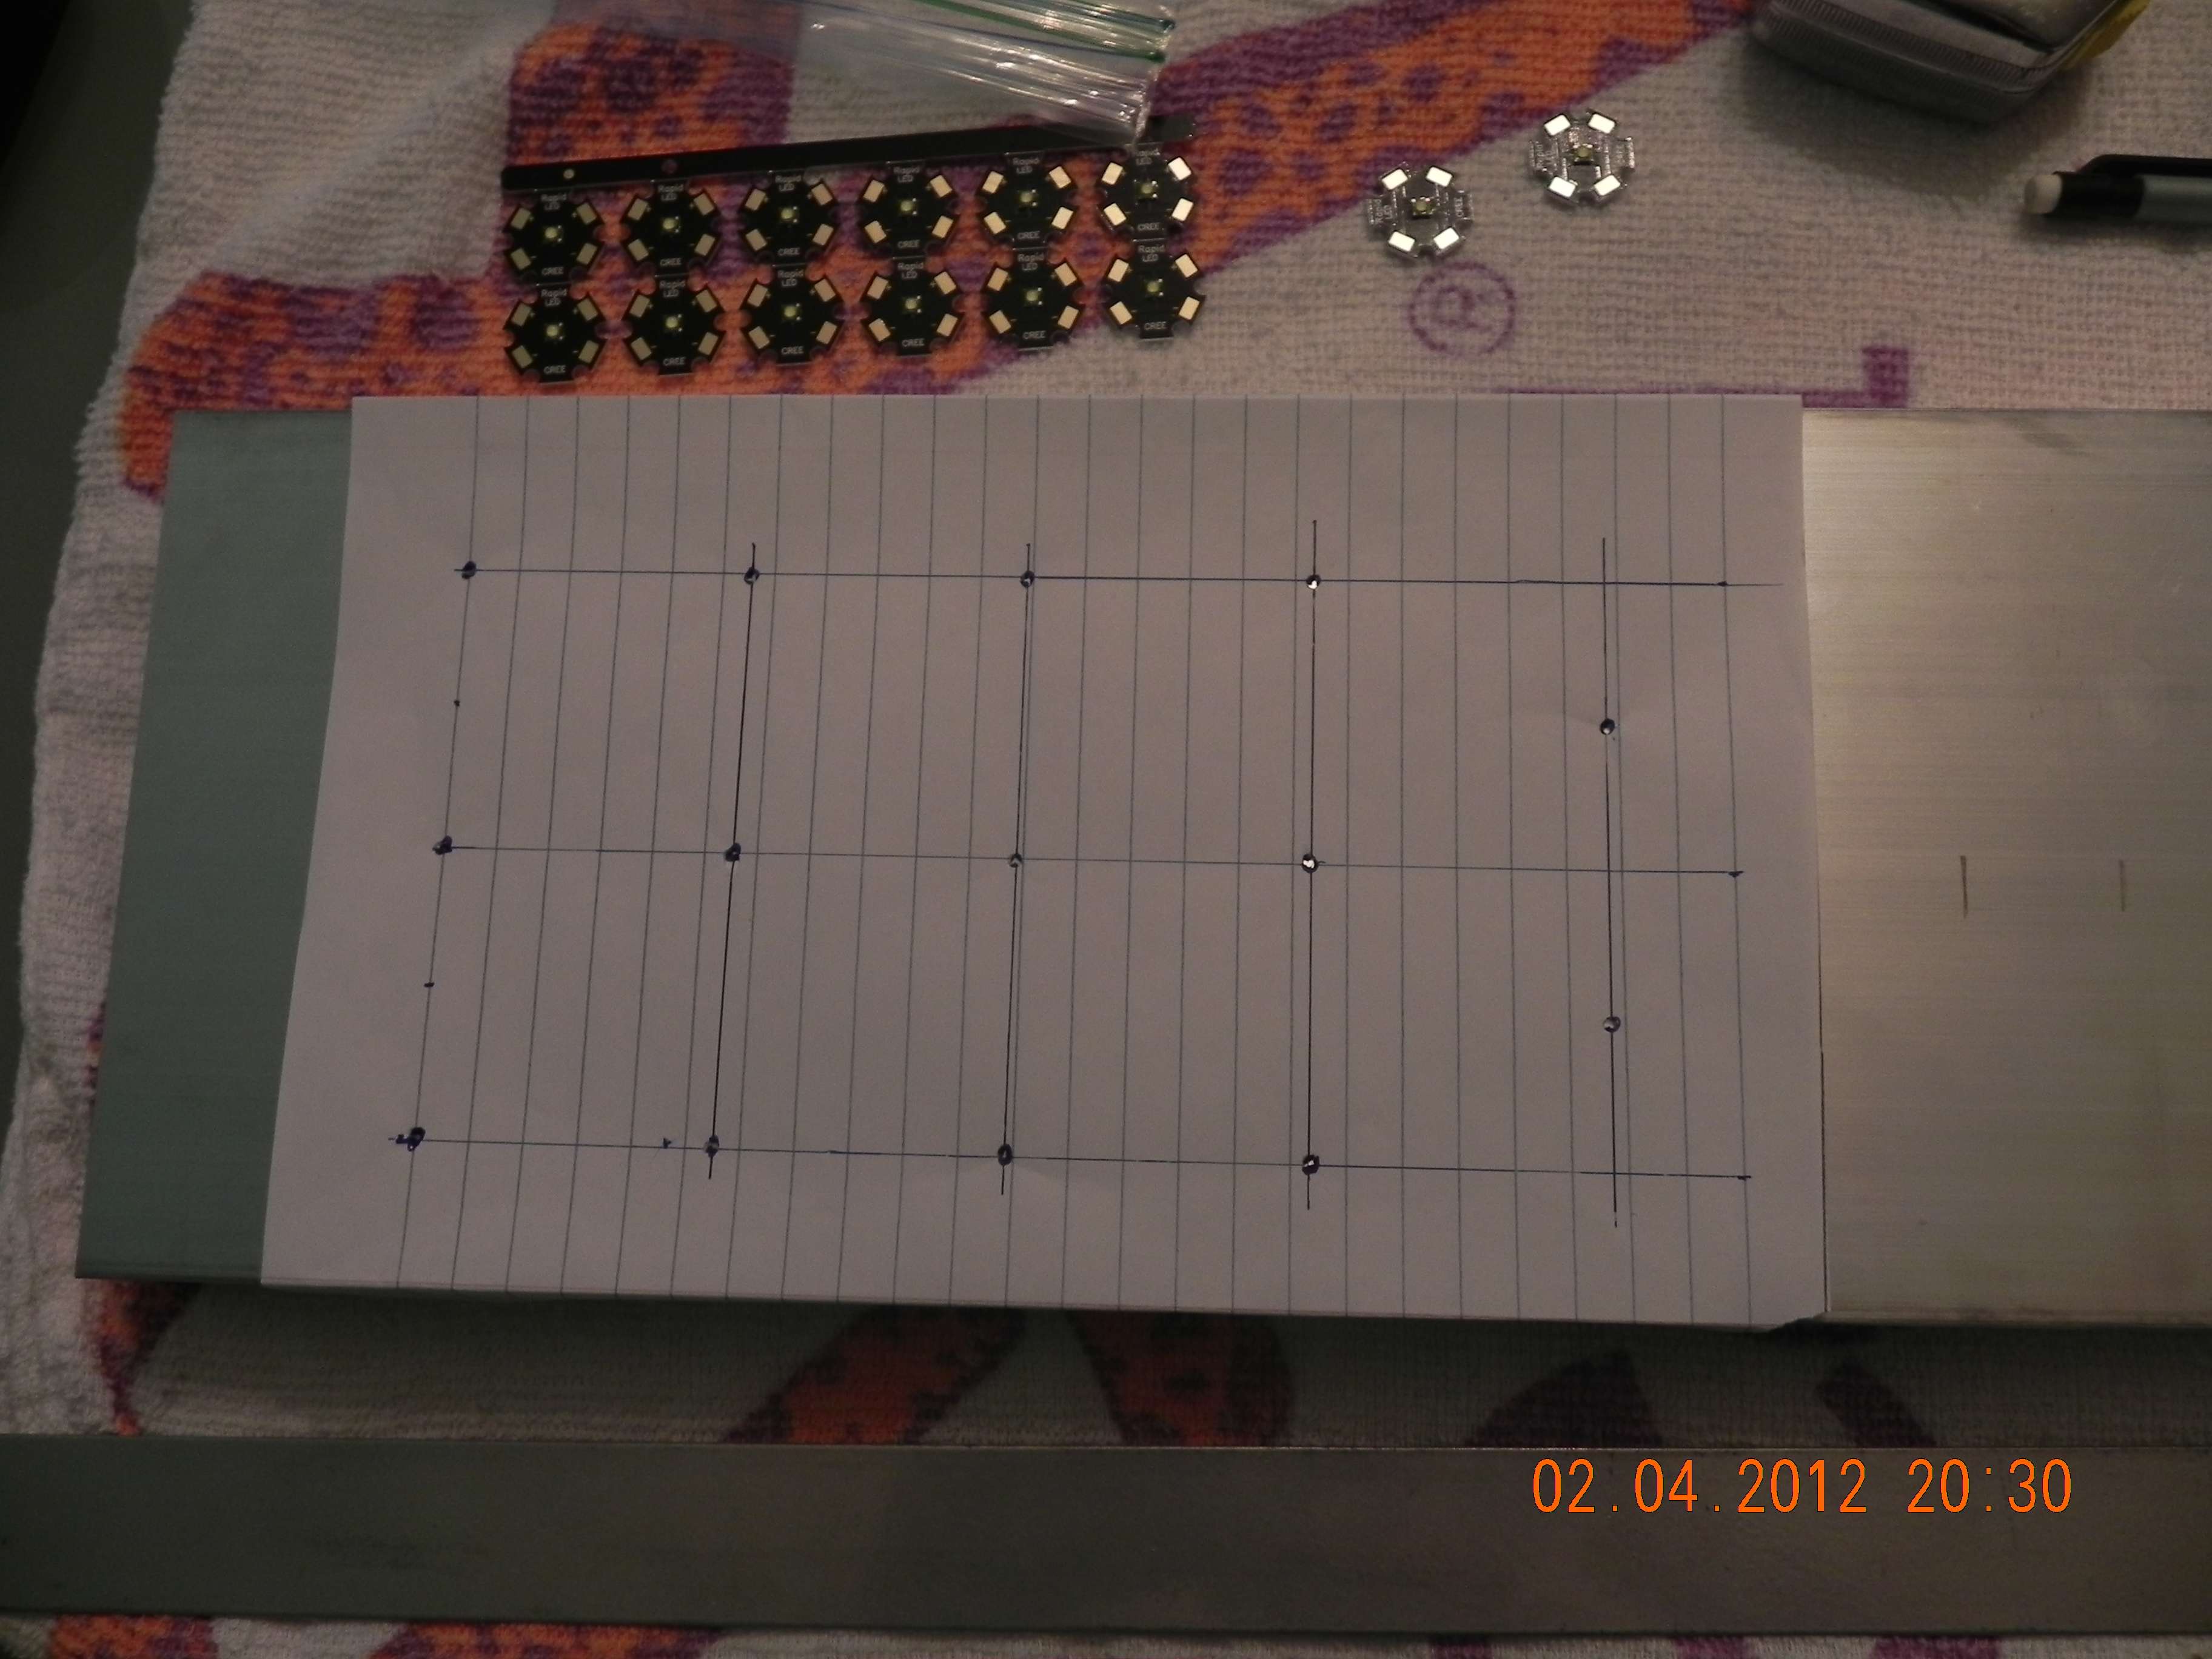
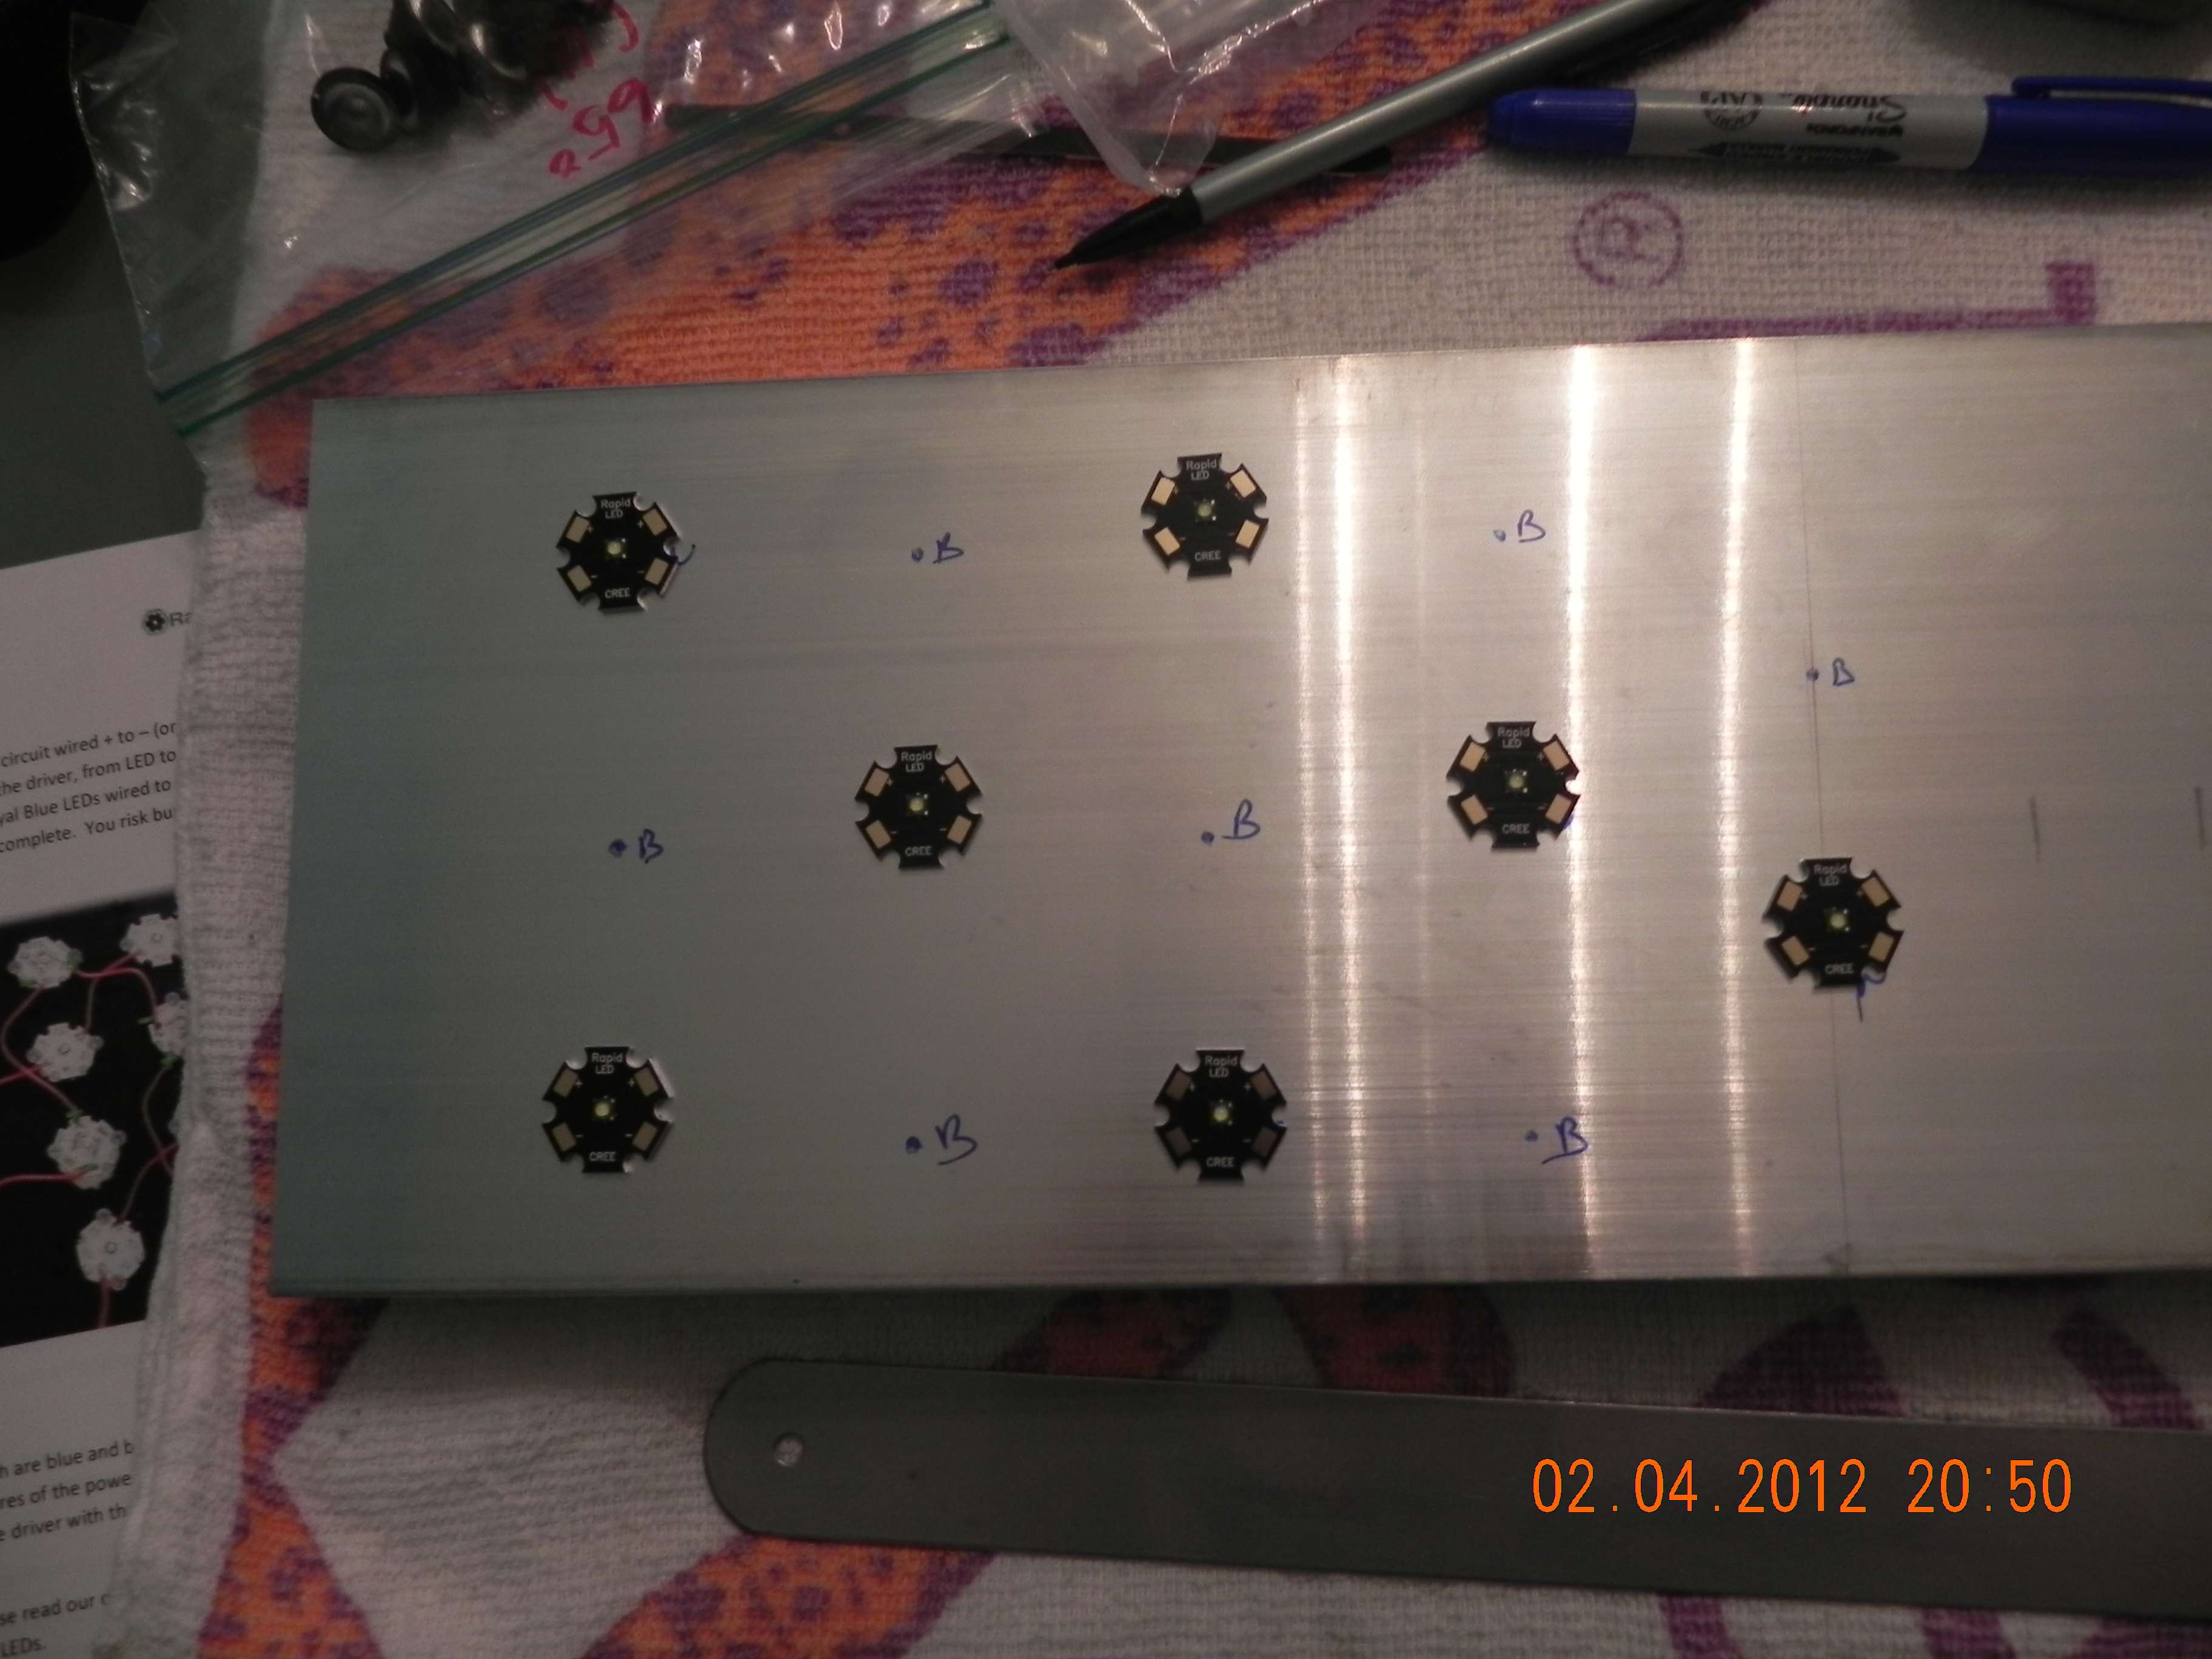
As I mentioned in an earlier post, having a template helps when laying out your LEDs
006gj.jpg


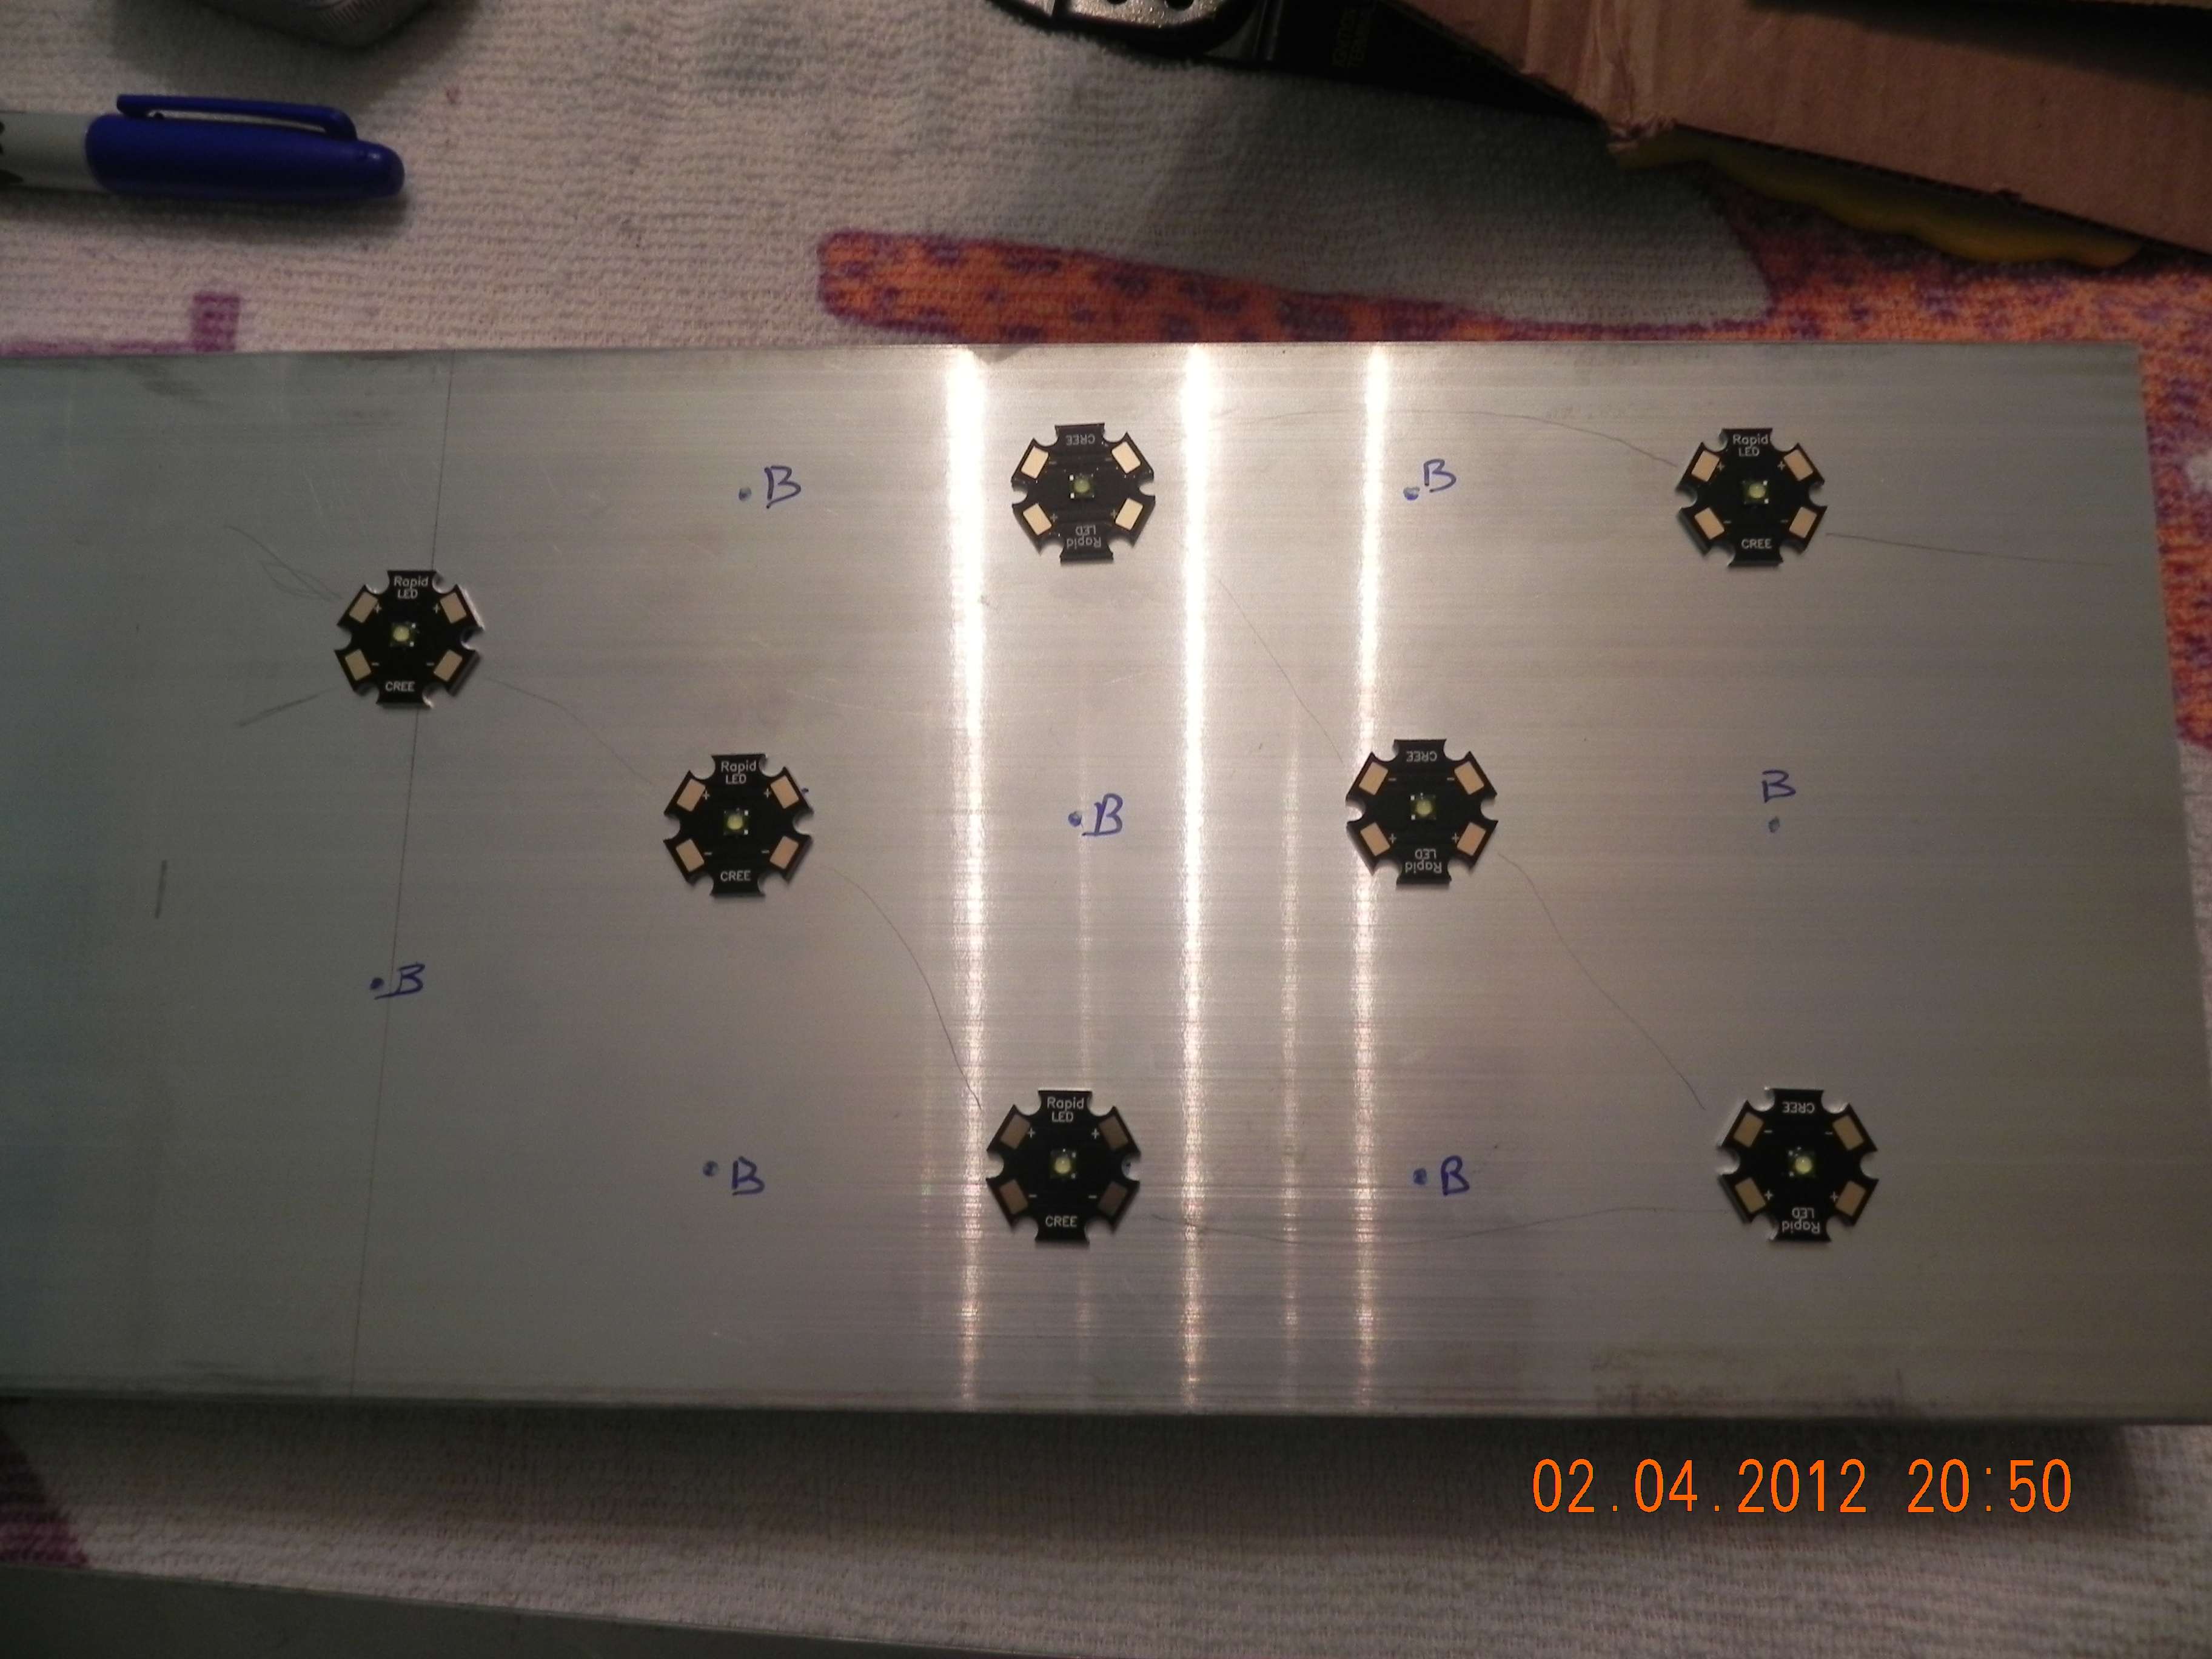
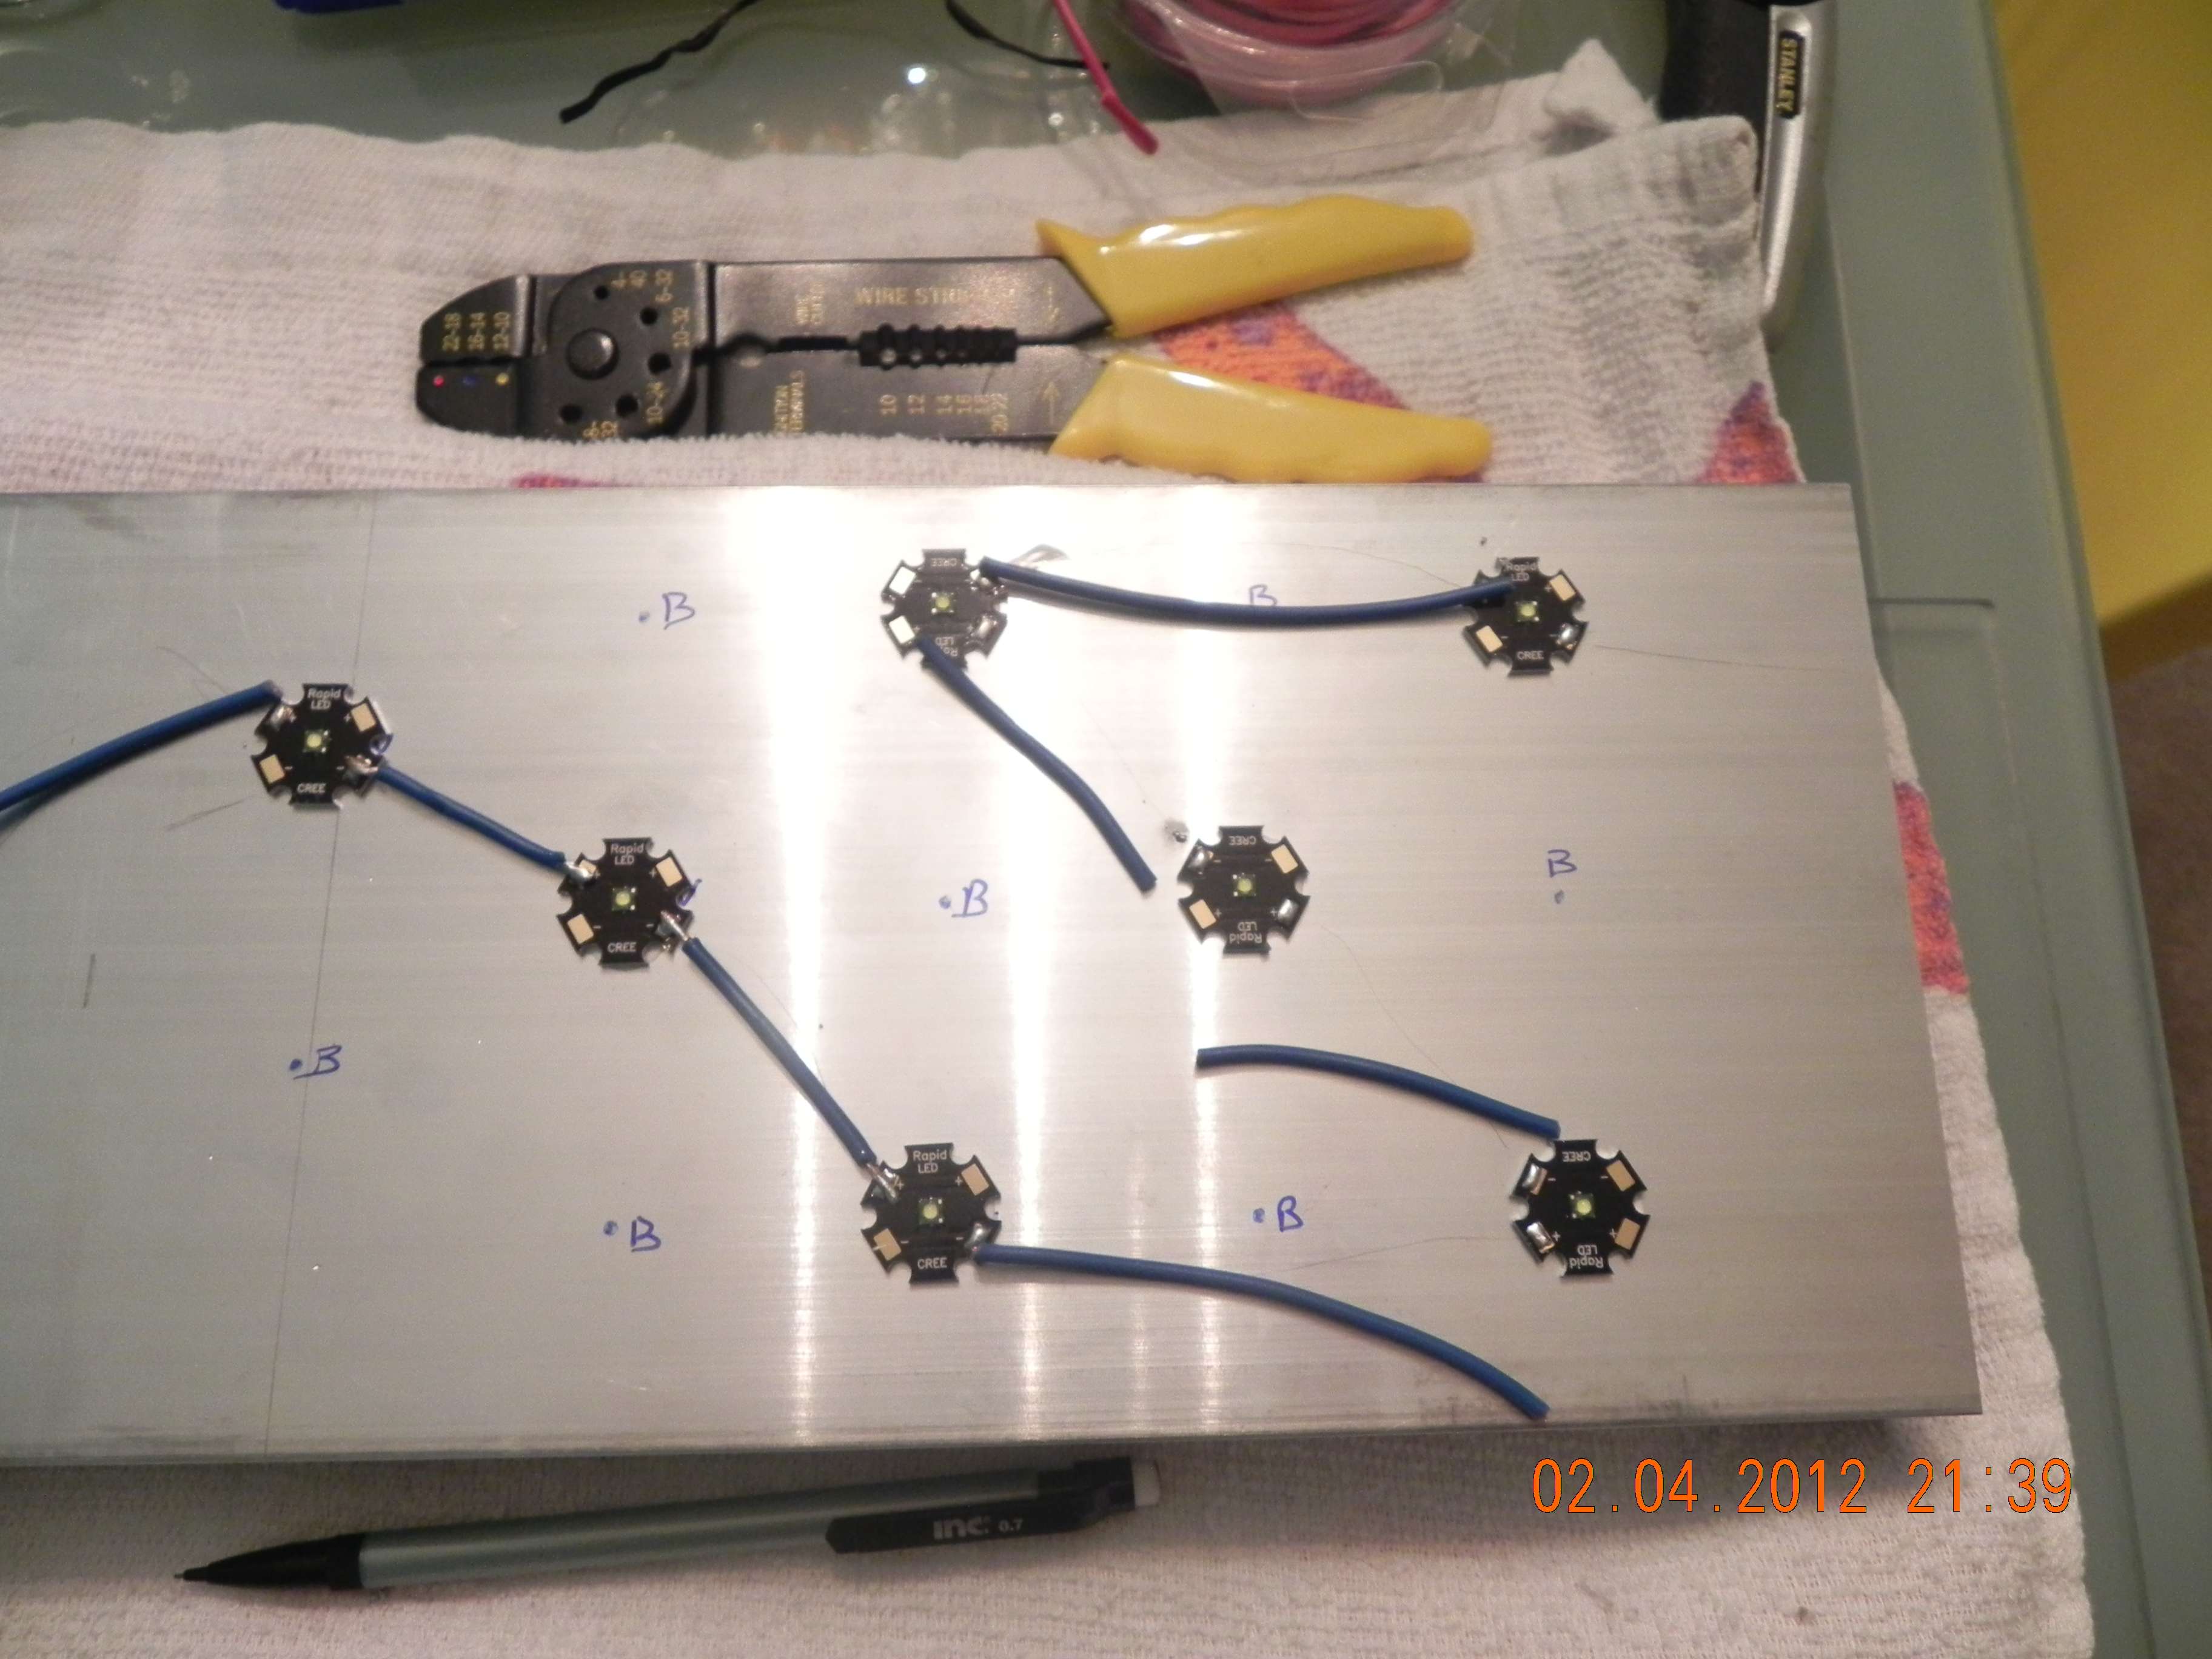
Here the White LEDs are laid out on the Heatsink. The same pattern is repeated on the other end.
007yxs.jpg


008rxd.jpg


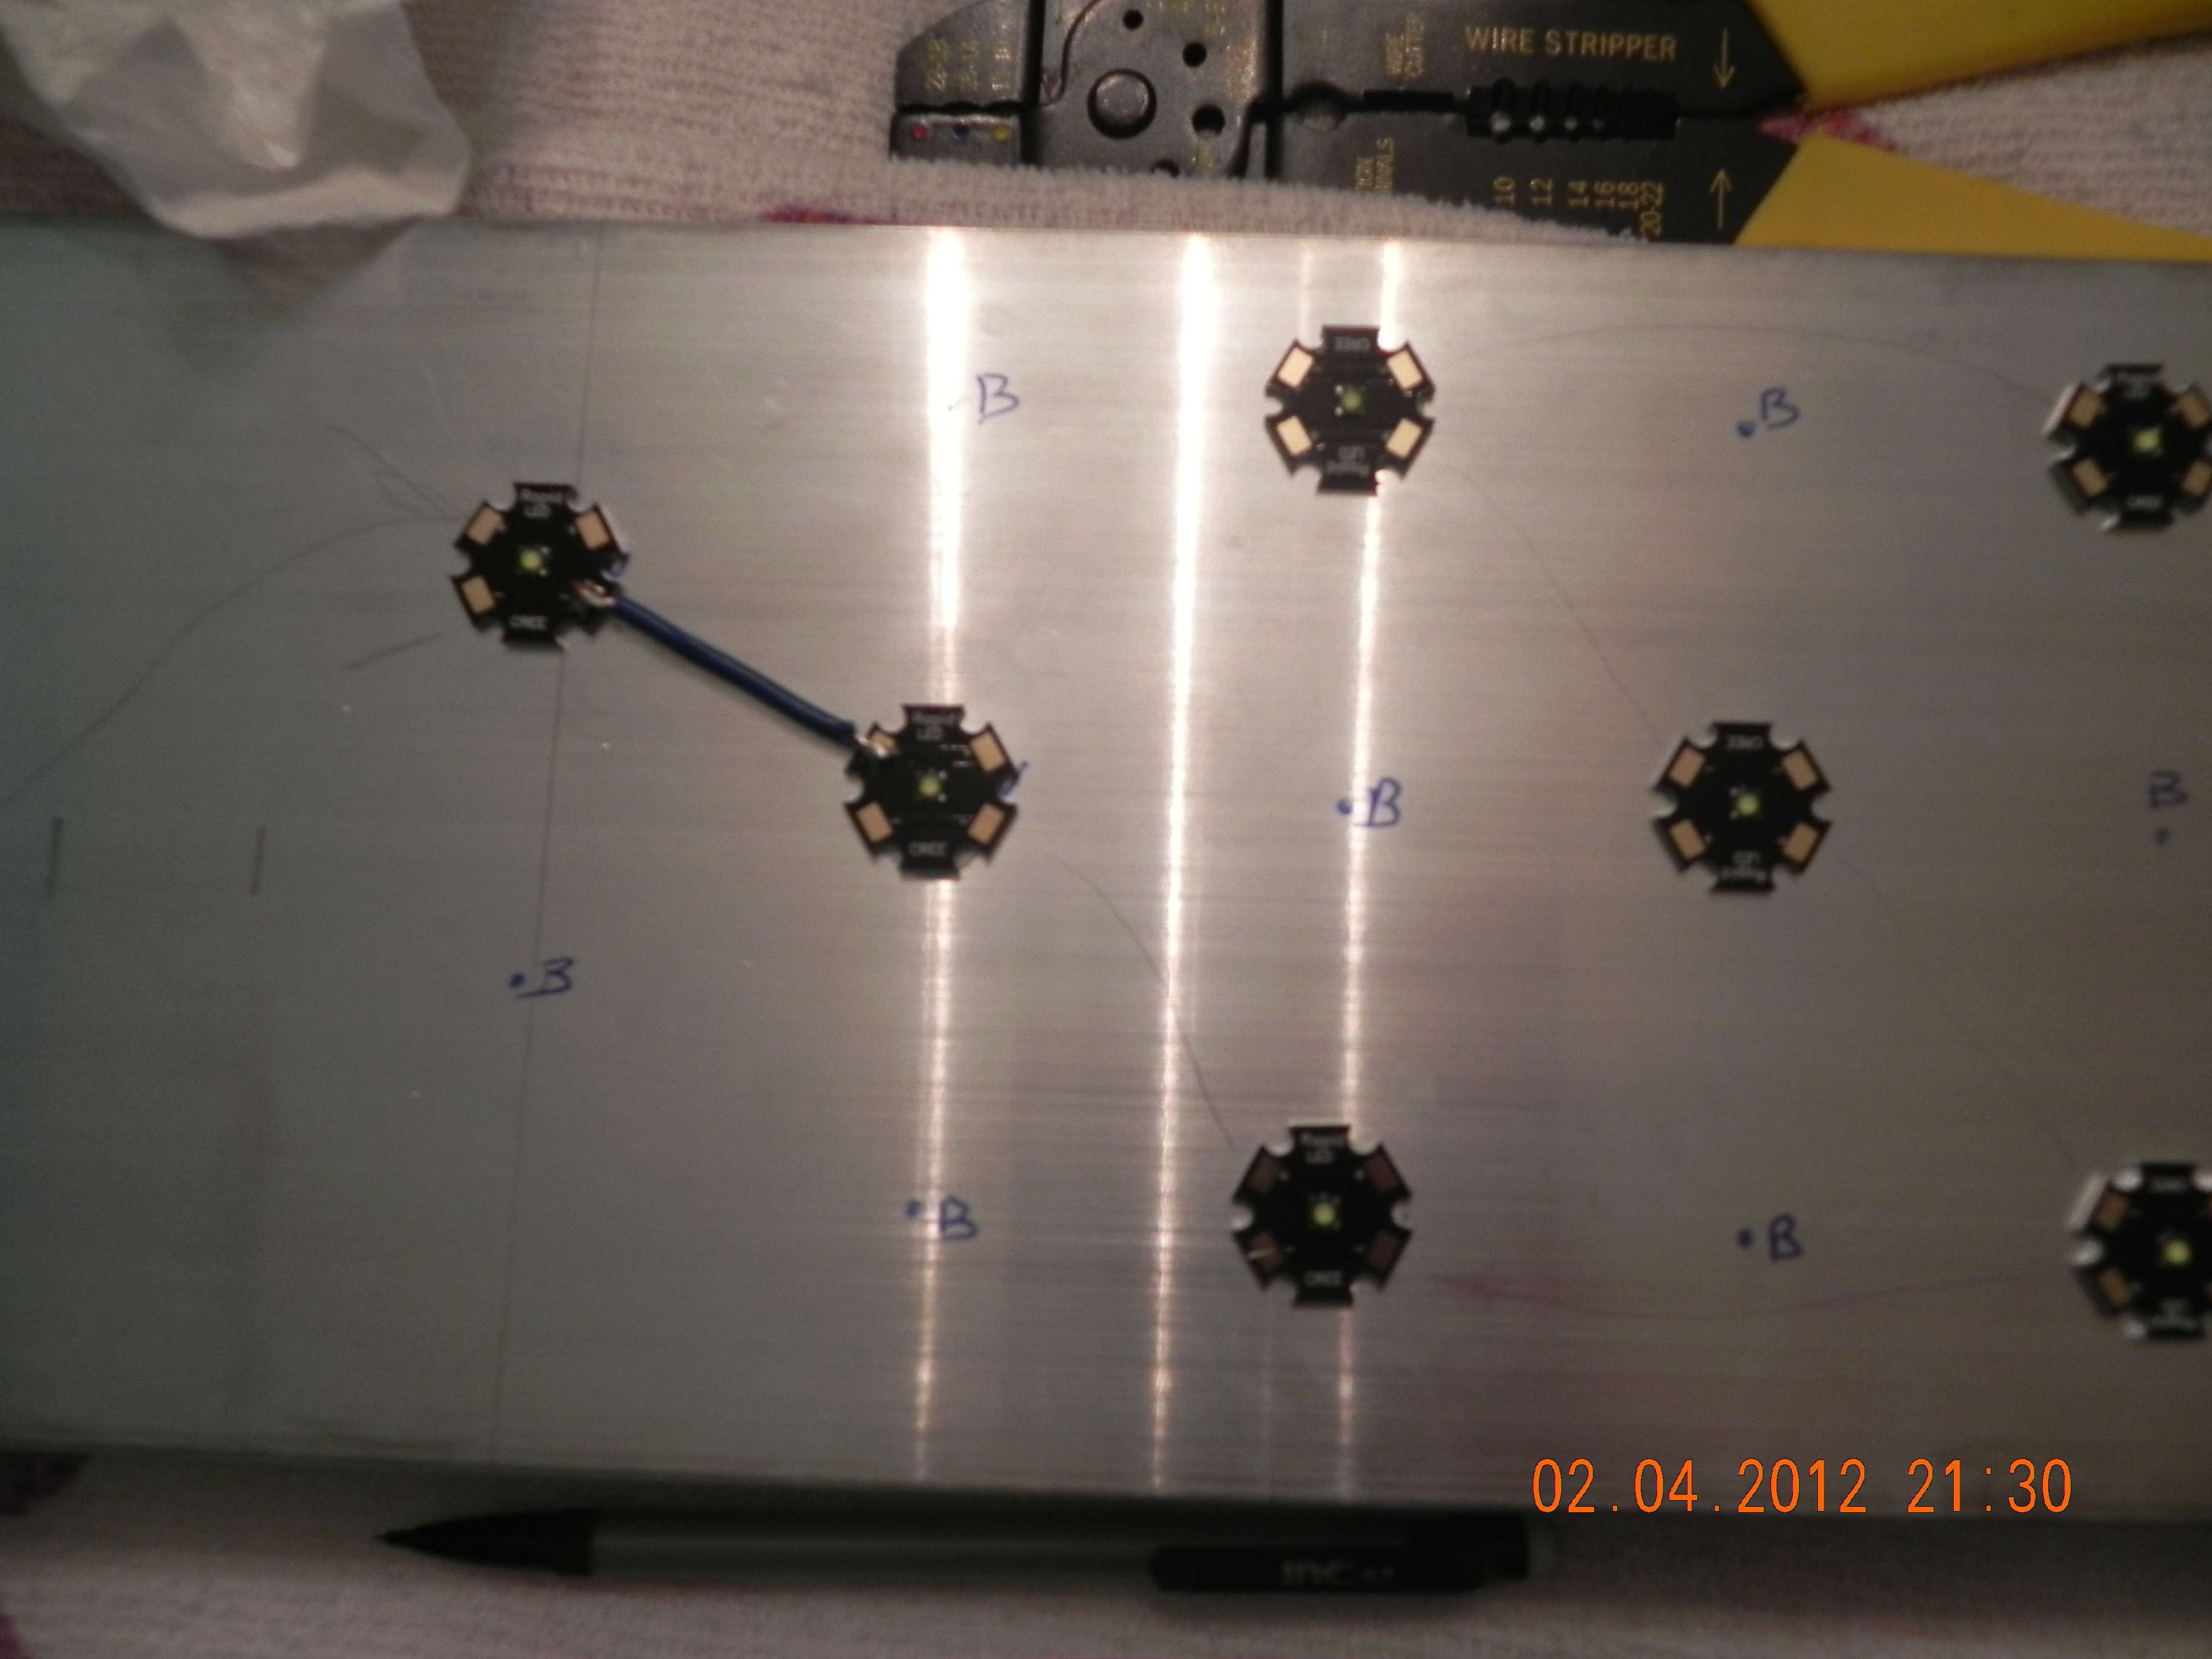
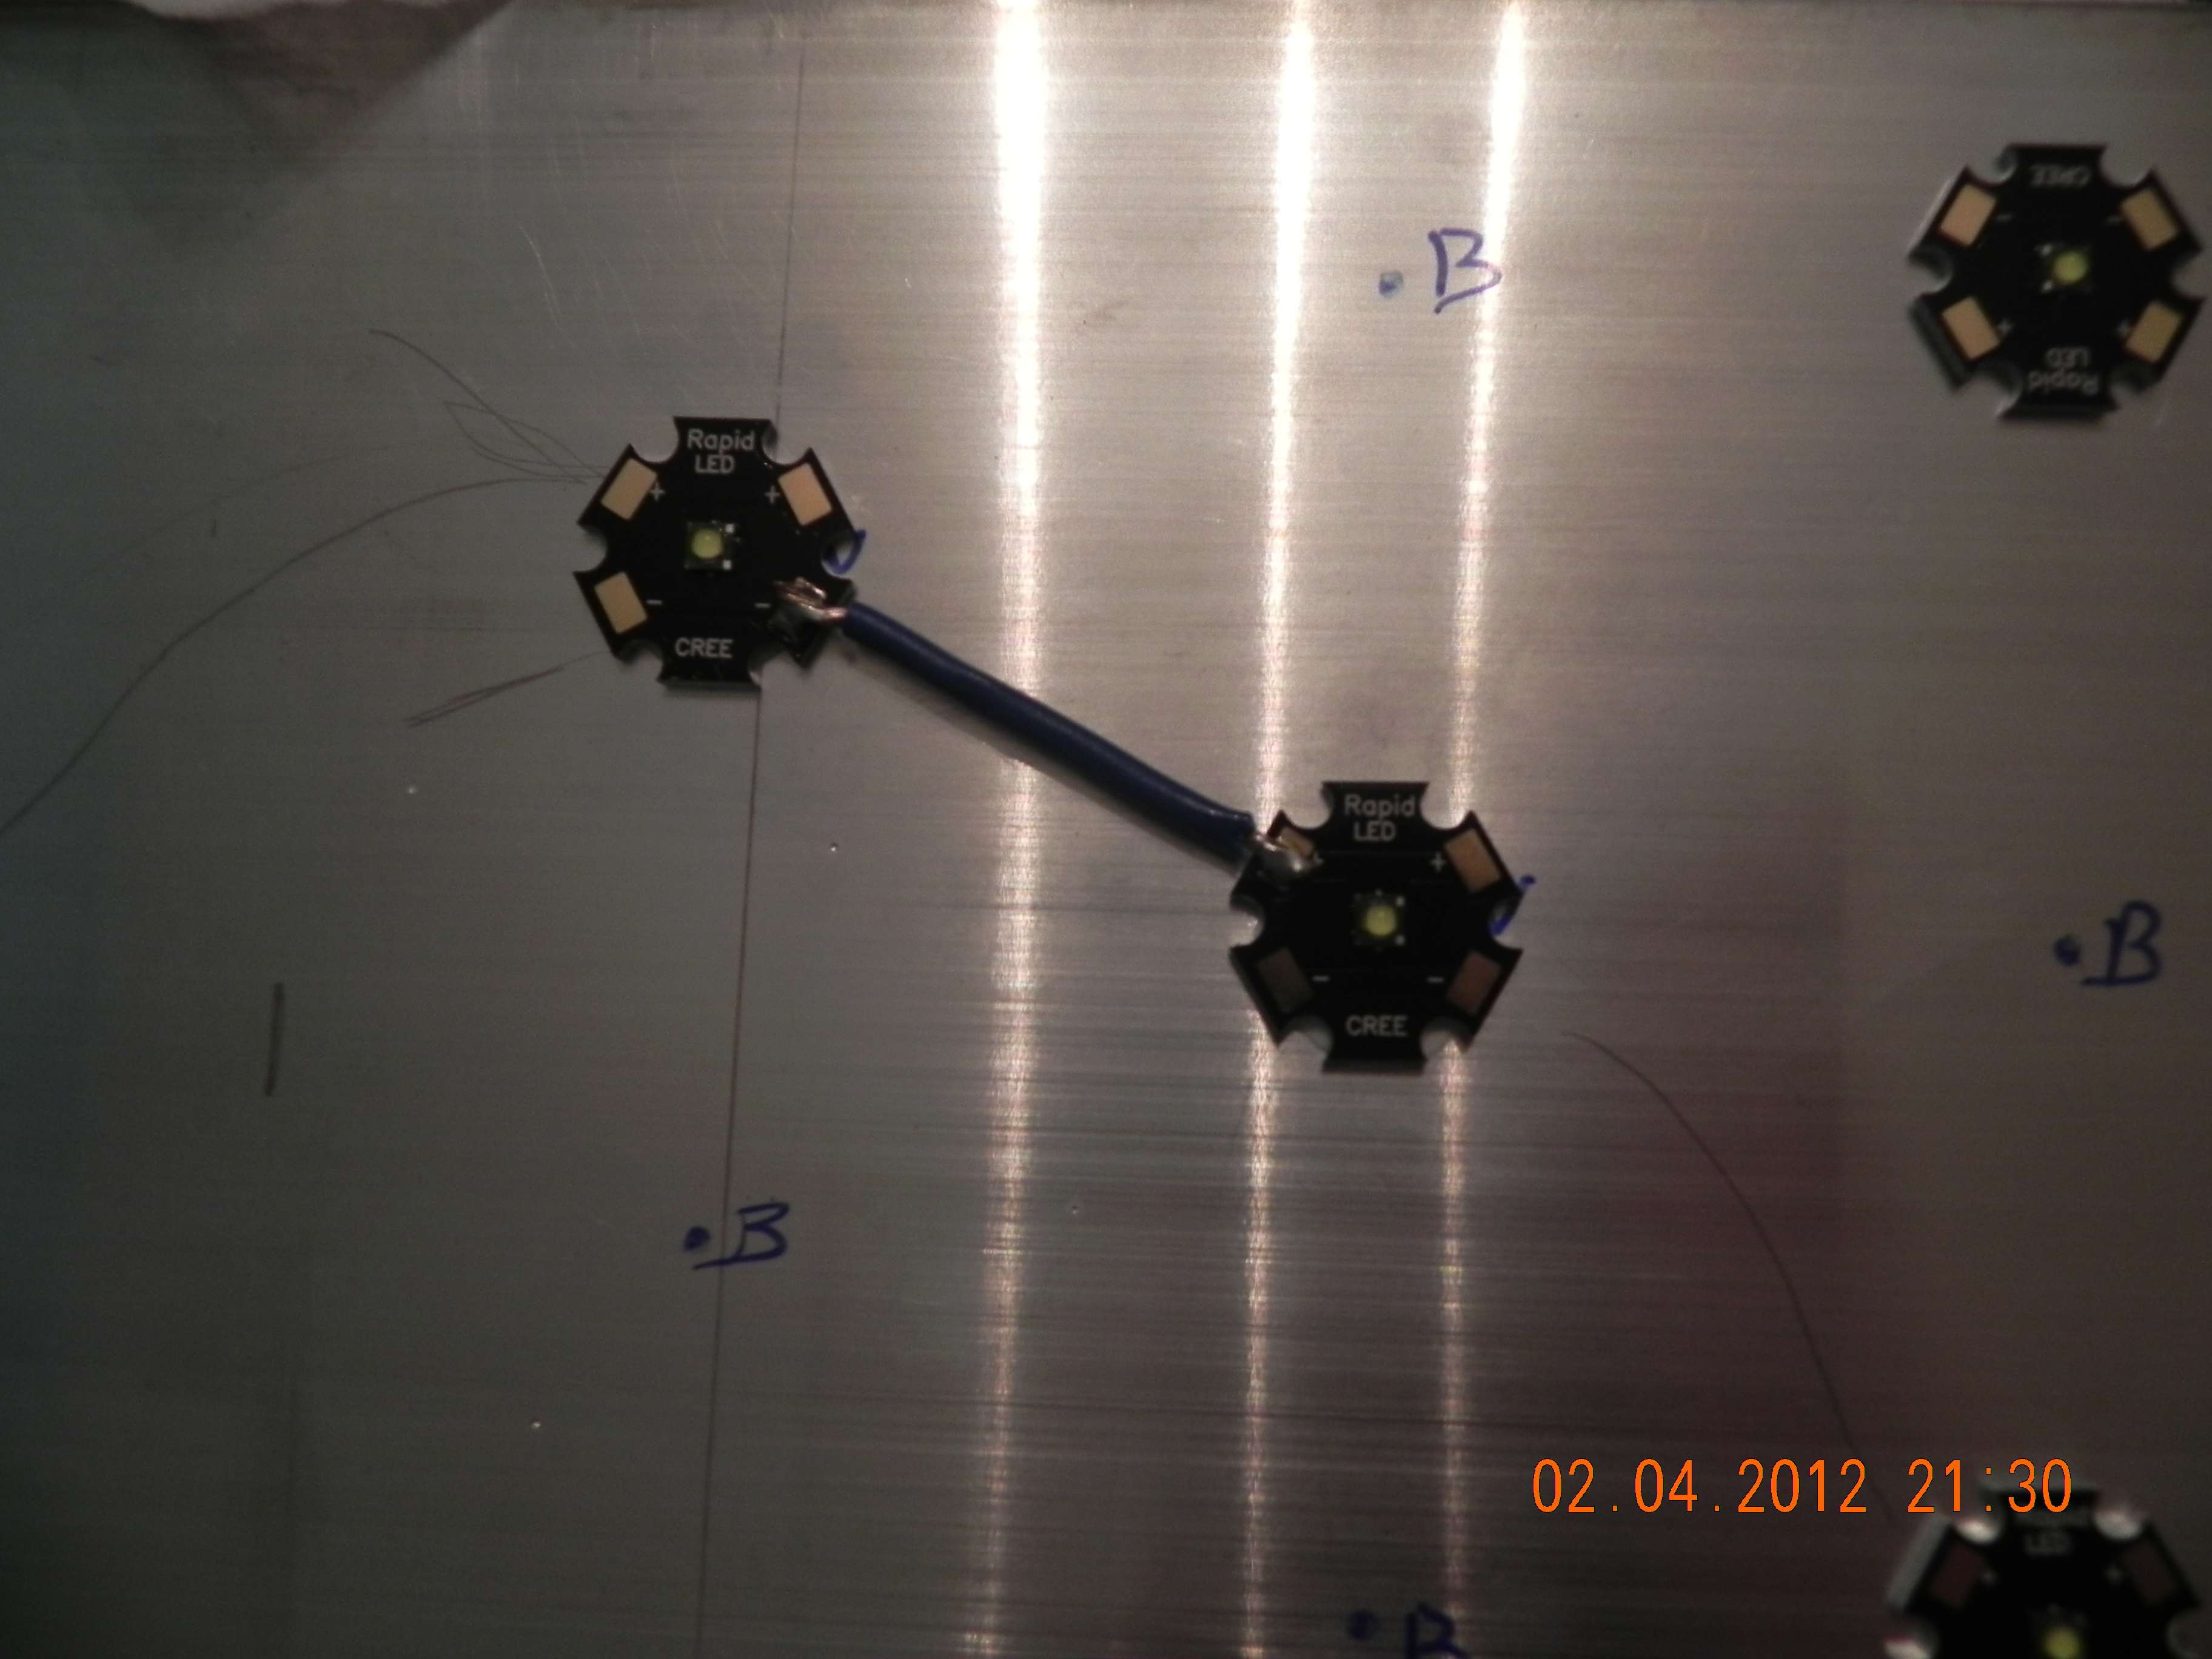
Here you can see that I have soldered one LED to the other. Remember that when wiring LEDs they have to be wired in series. + to -
009wl.jpg

010tcg.jpg


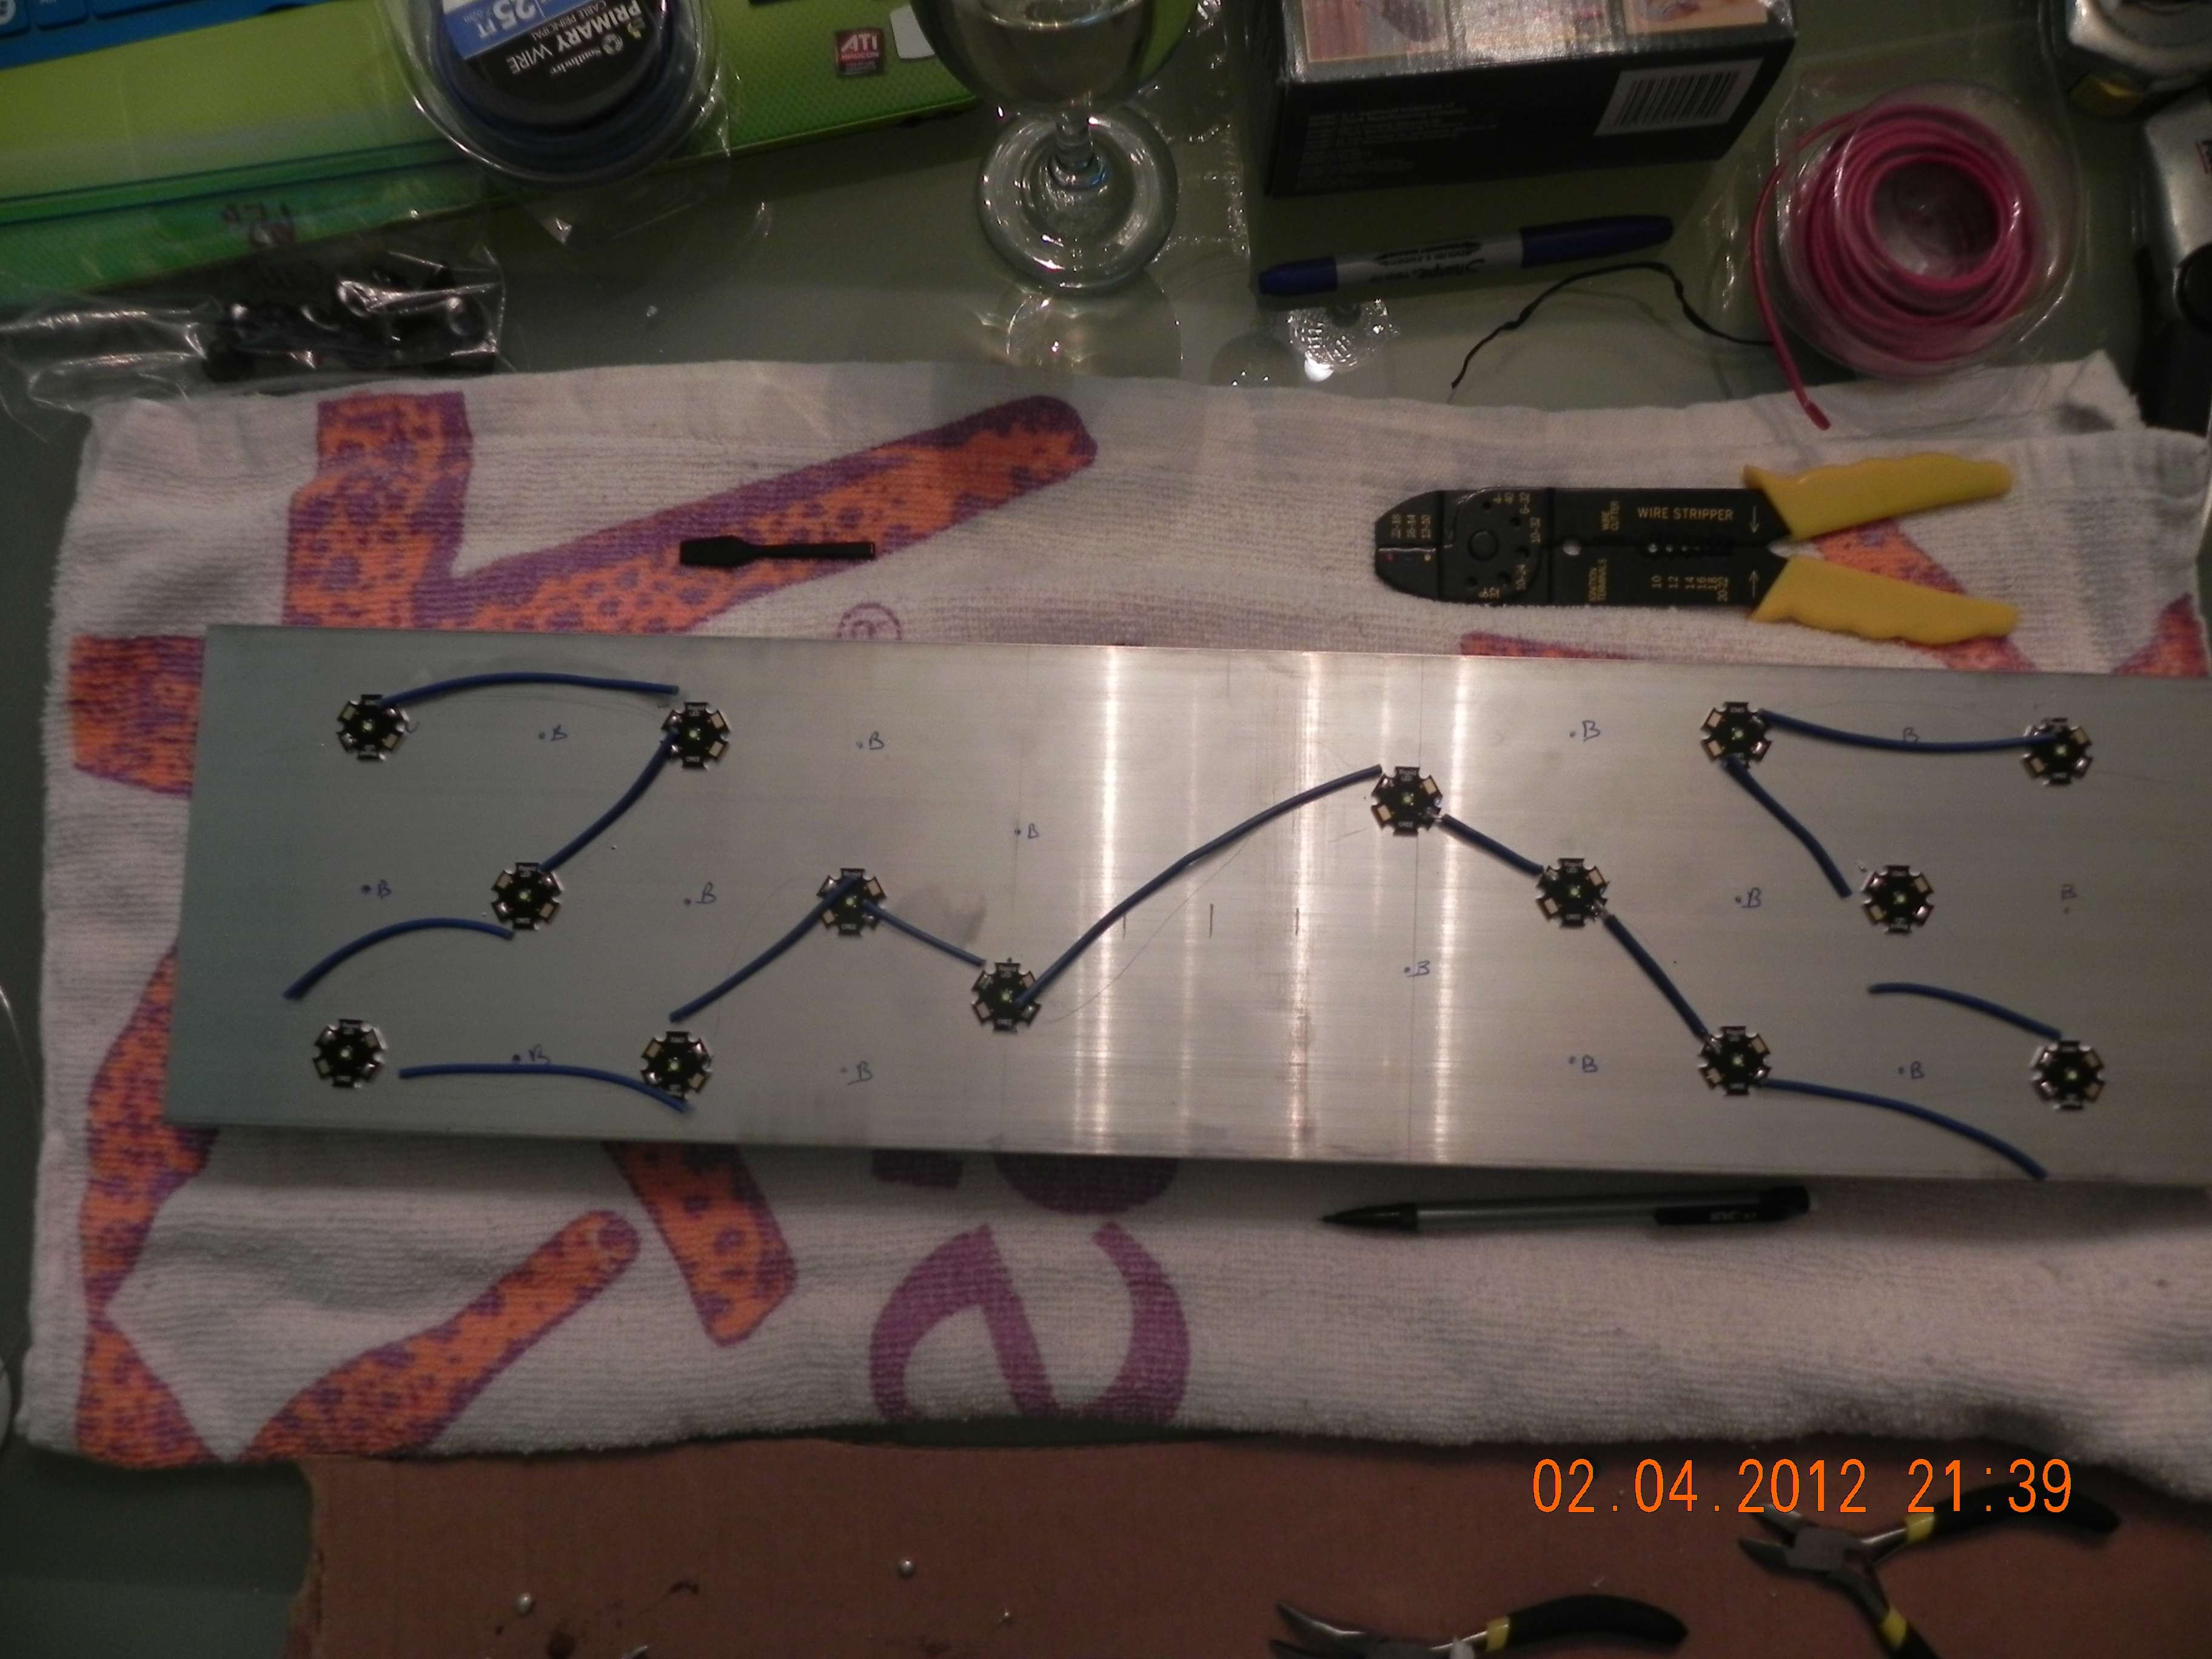
Here I have pre-cut all the wire to fit between LEDs. Again remember they are wired + to - throughout the strink.
011tg.jpg

012ml.jpg


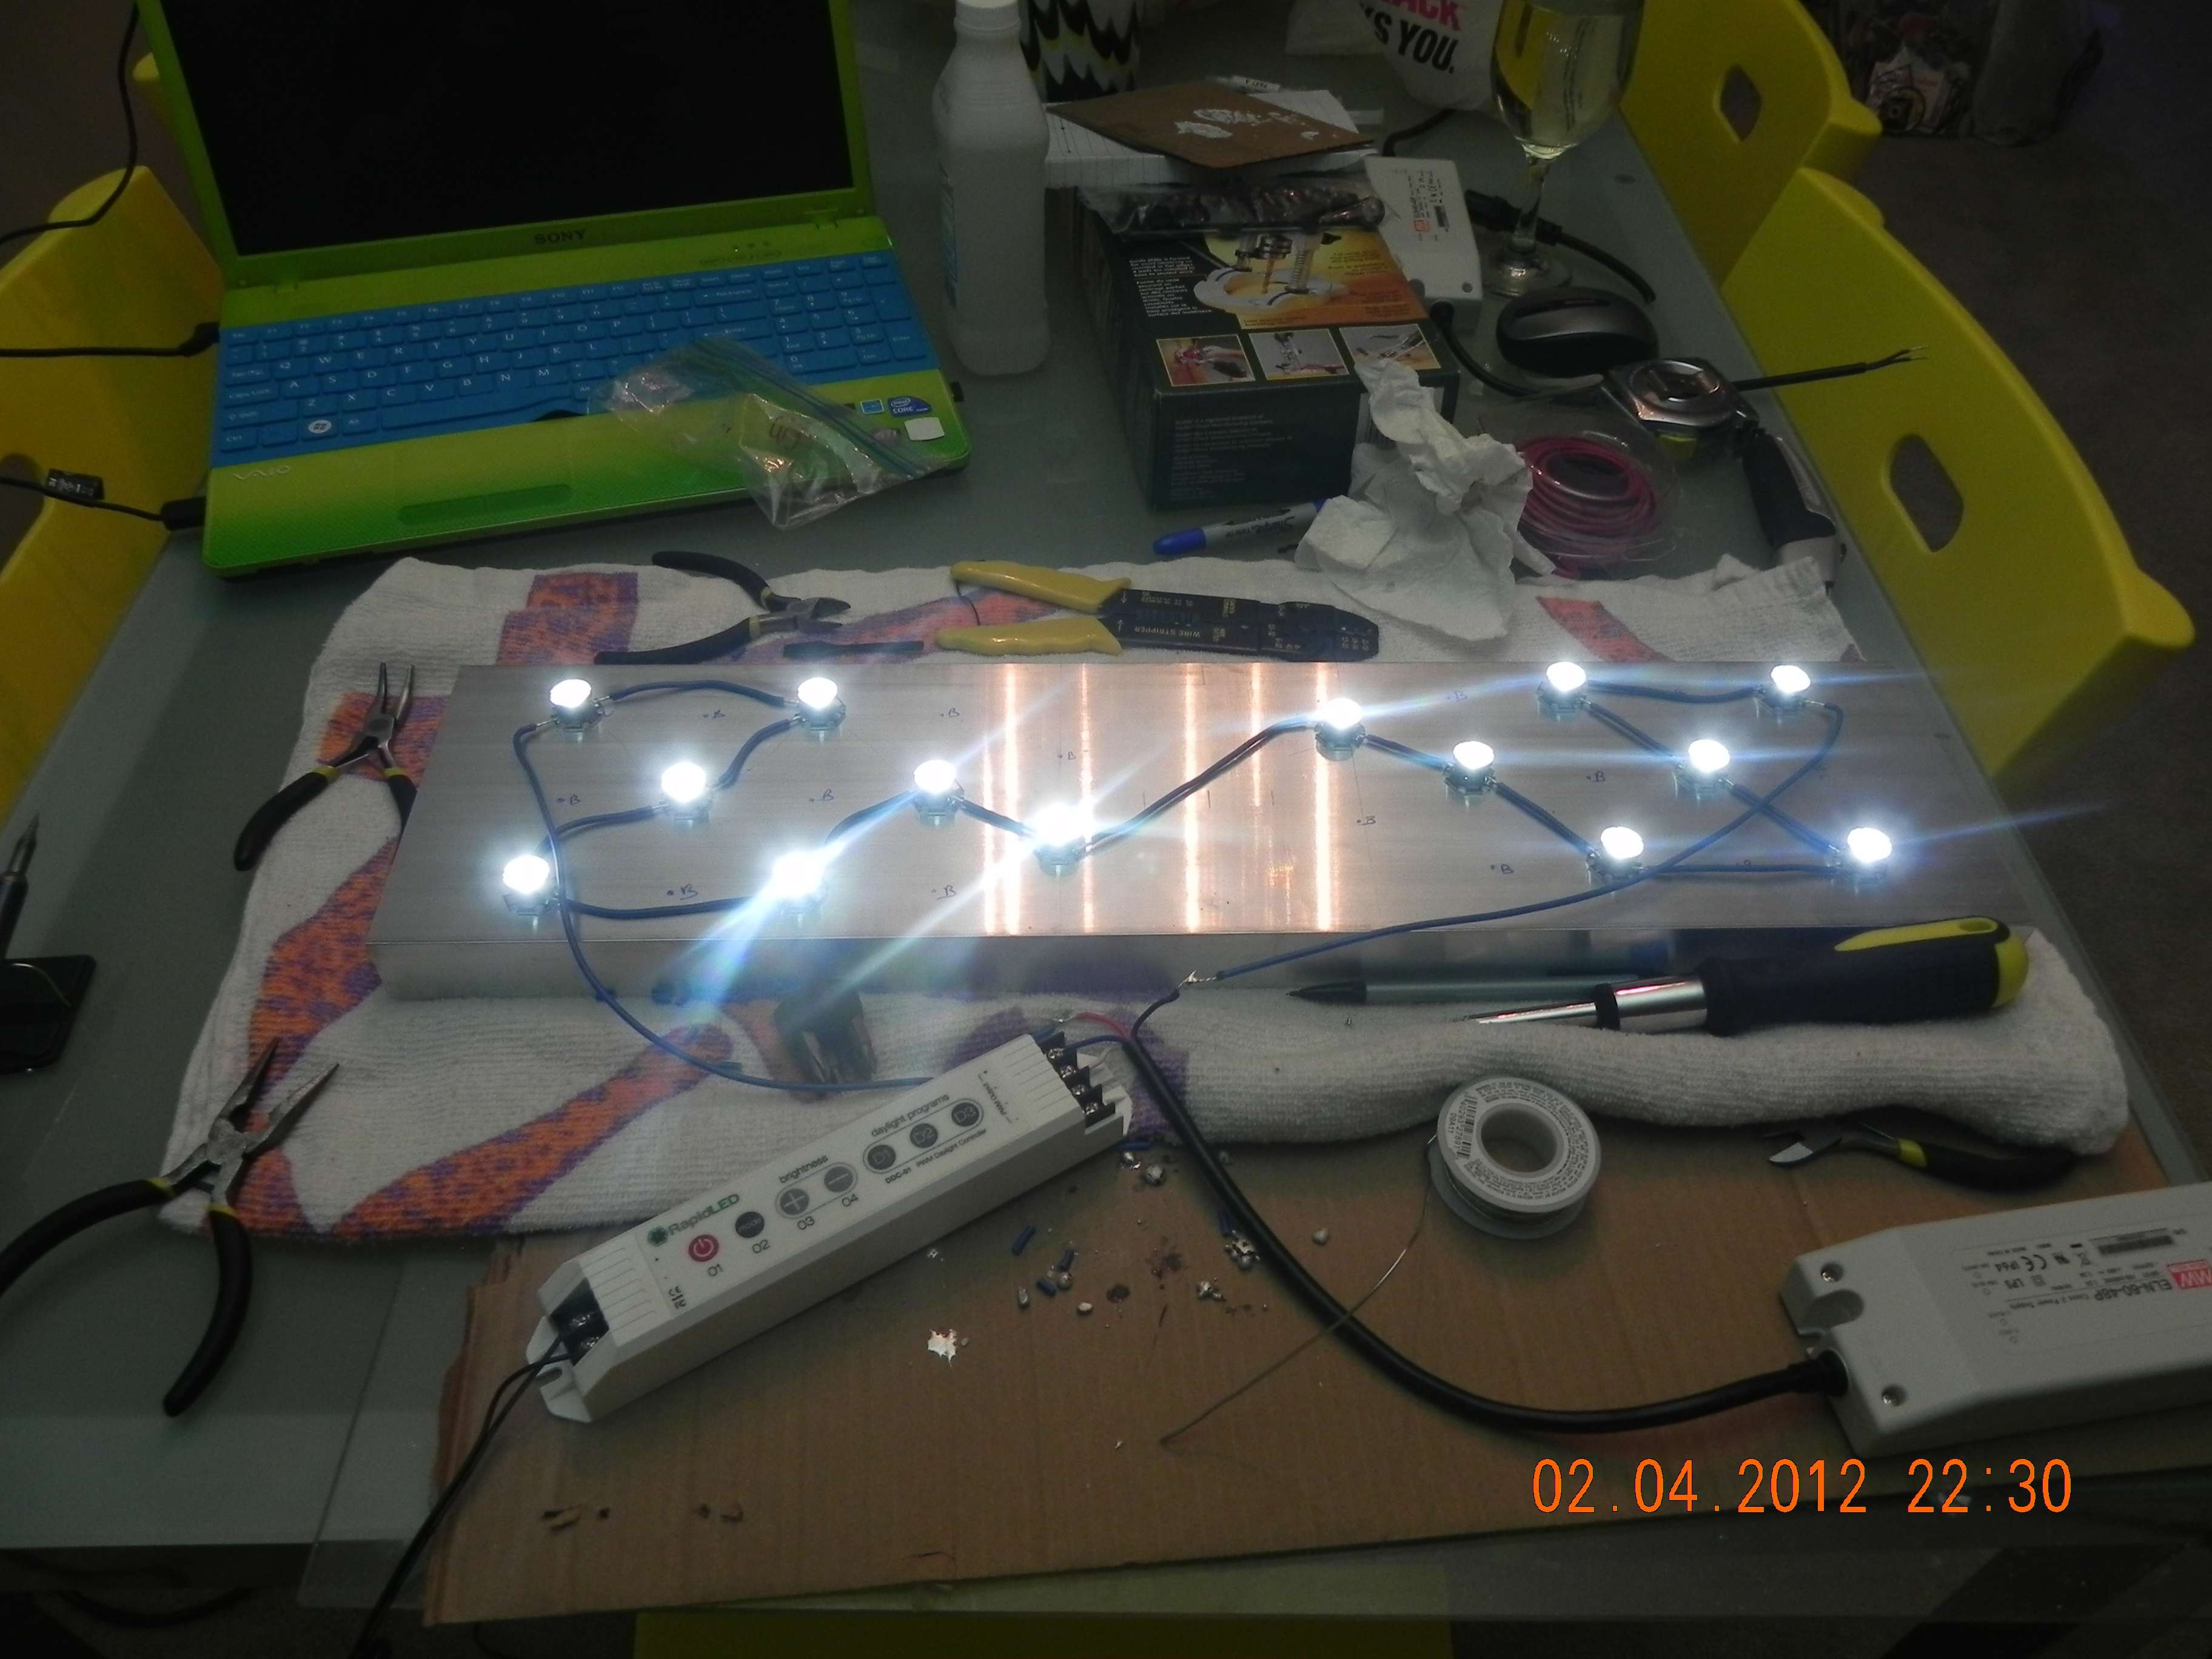
Here the Whites are fully wired and working
014owej.jpg


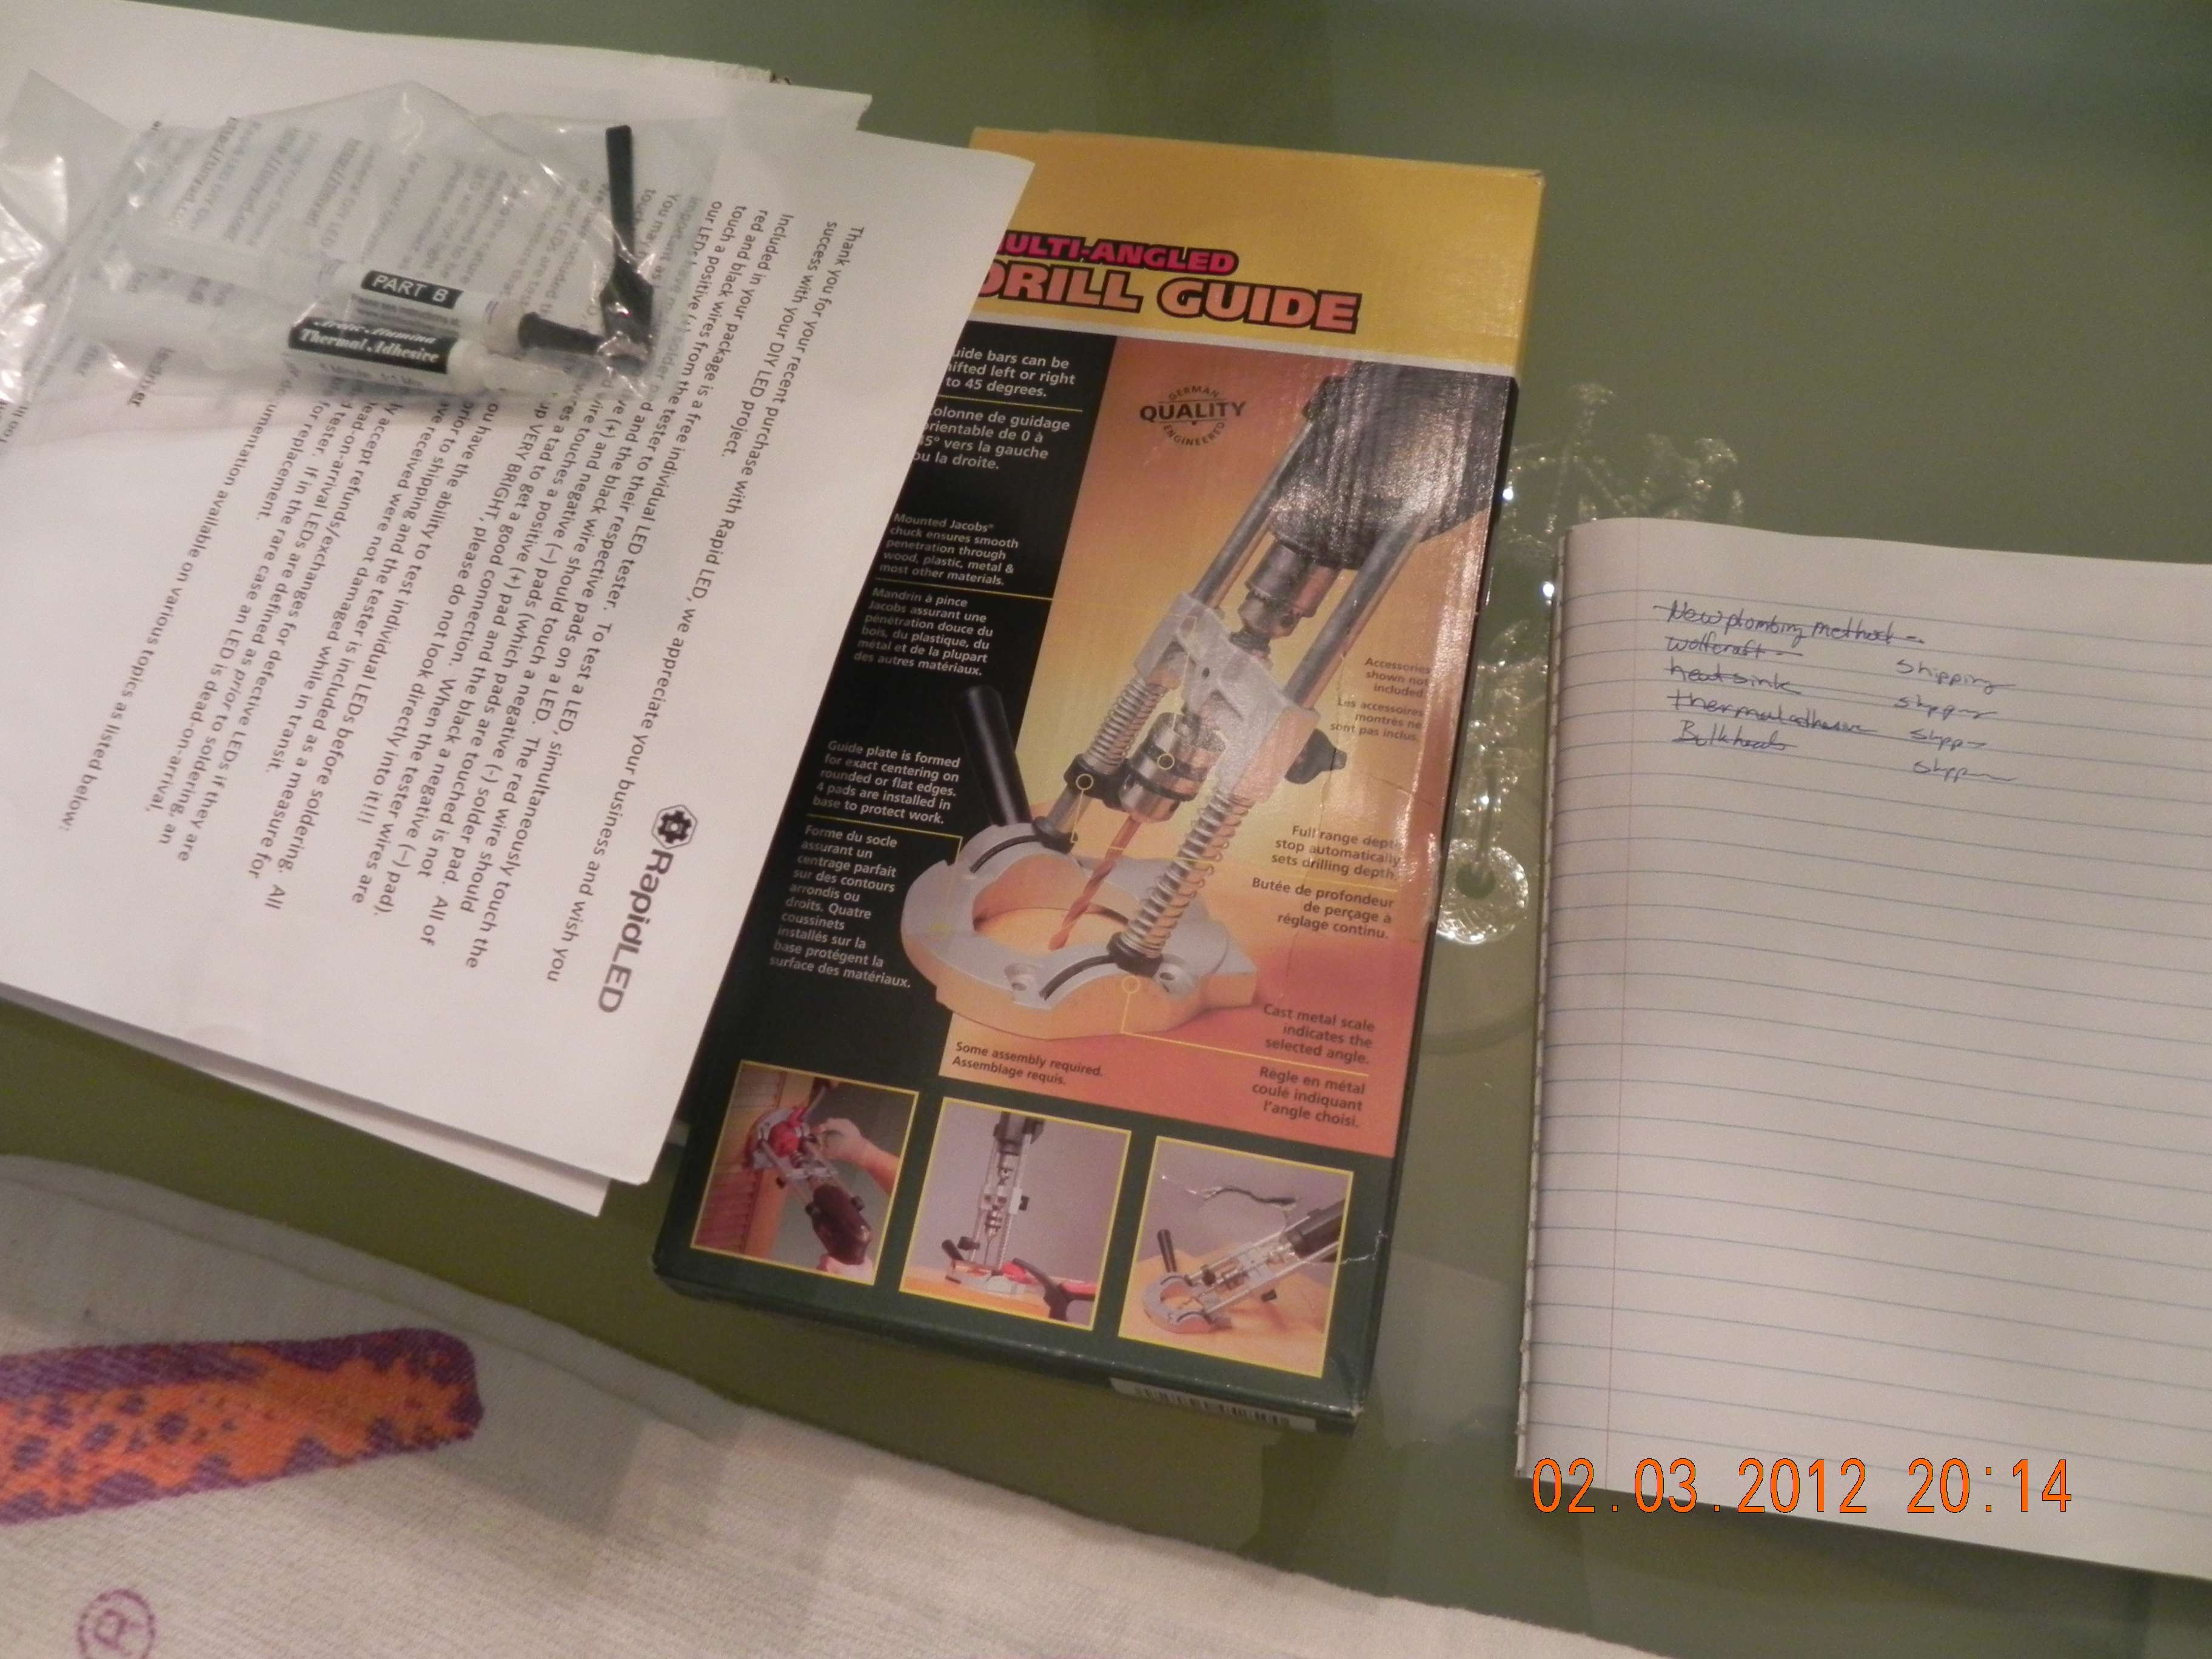
When attaching the LEDs to the heatsink you use thermal adhesive. Arctic Weld is typically a 2 part epoxy. Equal parts of 'A' and 'B' mixed together will adhere the LEDs to the heatsink. This is a permanent bond and the adhesive sets up quickly so mix only a small amount and work quickly. I put a tiny bit on the back of each LED and pressed them to the heatsink.

The same process was repeated for the blue LEDs. My drivers came with wiring instructions and were a breeze to hook up.

I will be selling the Drivers and Dimming controller. The RKE I ordered will run the LEDs. I have the lumber in the garage of the canopy. I still need to pick up the lumber for the stand.

Please let me know if you have any questions and I will answer them as best I can.
 
thats it? thats all there is too it? a driver for the blue and a driver for the whites?

100W led= ??? metal halide?
 
thats it? thats all there is too it? a driver for the blue and a driver for the whites?

100W led= ??? metal halide?

Total system draw is about 100w.

The LEDS are 3w each so 84w of LEDs

If I had to guess I would say that this is equal to or greater than a 250w MH Maybe even at 400w level. I don't know really. I would love a PAR meter ro measure what I am getting in the tank.

Maybe I will pick one up...
 
Status
Not open for further replies.
Back
Top Bottom