While this will cover saltwater fish, corals, and other life, a lot of these principals can be translated for freshwater and brackish as well.
First off, lets talk about equipment. You need a body, whether it’s Canon, Nikon, Pentax, Sony, etc. For this article, I’ll be using terms used on a Canon, as that’s what I shoot. Along with the body, you need a lens. I use a 100mm f/2.8 Macro lens for 99% of the pictures I take of my corals and fish. A macro lens is basically a lens that lets you focus very closely. In the case of my lens, I can focus all the way down to 1 foot away from the subject I am shooting. The ‘non macro’ 100mm lens that Canon offers only allows you to focus up to 2.95 feet away, meaning I can get much closer to the subject, filling more of the picture with what I intend. Along with your camera and lens, you really need a good tripod. Macro photography catches a lot of detail in your subject. Even the slightest movement can really blur your image, so it is very important to have a tripod for the best shots. Also, along with the tripod, a wired or wireless shutter release can be of great benefit. I use a wired shutter release on almost all of my shots, as even with a tripod, just pressing the shutter button can cause the camera to shake.
Canon 5D (for demonstration purposes only), Canon 100mm f/2.8 Macro, Manfrotto 055 X Pro B Tripod w/ Vanguard SBH-250 Ball Head-
What is Aperture, Shutter Speed, and ISO?
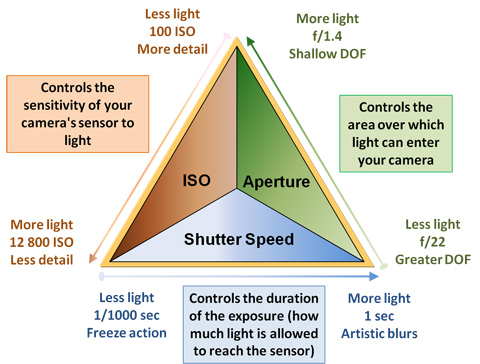
In photography, there’s something called the ‘Exposure Triangle’. There are 3 settings that determine your exposure, those being Aperture, Shutter Speed, and ISO. The Aperture is controlled inside the lens, and allows light in. Lenses have a maximum aperture, which is the ‘f’ number listed on the lens. In the case of the 100mm f/2.8 macro, the maximum aperture is 2.8. The smaller the number, the larger the aperture actually is, allowing more light in for the picture. Shutter speed is how long the sensor is exposed to the image. The longer the shutter is exposed to the image, the more light it ‘absorbs’. ISO can also be used to determine how large the aperture needs to be, and how fast (or slow) the shutter speed needs to be in order to properly expose your image. It’s generally best to use the lowest ISO for your situation, as higher ISO values can often result in noise in the image (think of graininess), though higher end cameras often compensate for this greatly.
What is Depth of Field (DOF)?
Depth of field is simply how much of your image is in focus. This is controlled by several factors, mainly the aperture. The distance from your subject is also a big factor as well. The formula to calculate depth of field is quite difficult to understand, so my recommendation is to use a calculator (found all over the internet) to input your camera, lens, distance from subject, etc. If you don’t want to get technical, it’s pretty simple to figure out if you’re getting the DOF you want. There are two easy ways that I frequently use. Your camera should have a DOF preview button on it somewhere. On Canon, it’s on the front left close to the lens. Simply press this button and you can preview how much of your image will be in focus. The exposure probably won’t be right, but it’s not factoring in shutter speed and ISO, so keep that in mind. You can also simply take a picture. That’s probably the easiest way to figure it out.
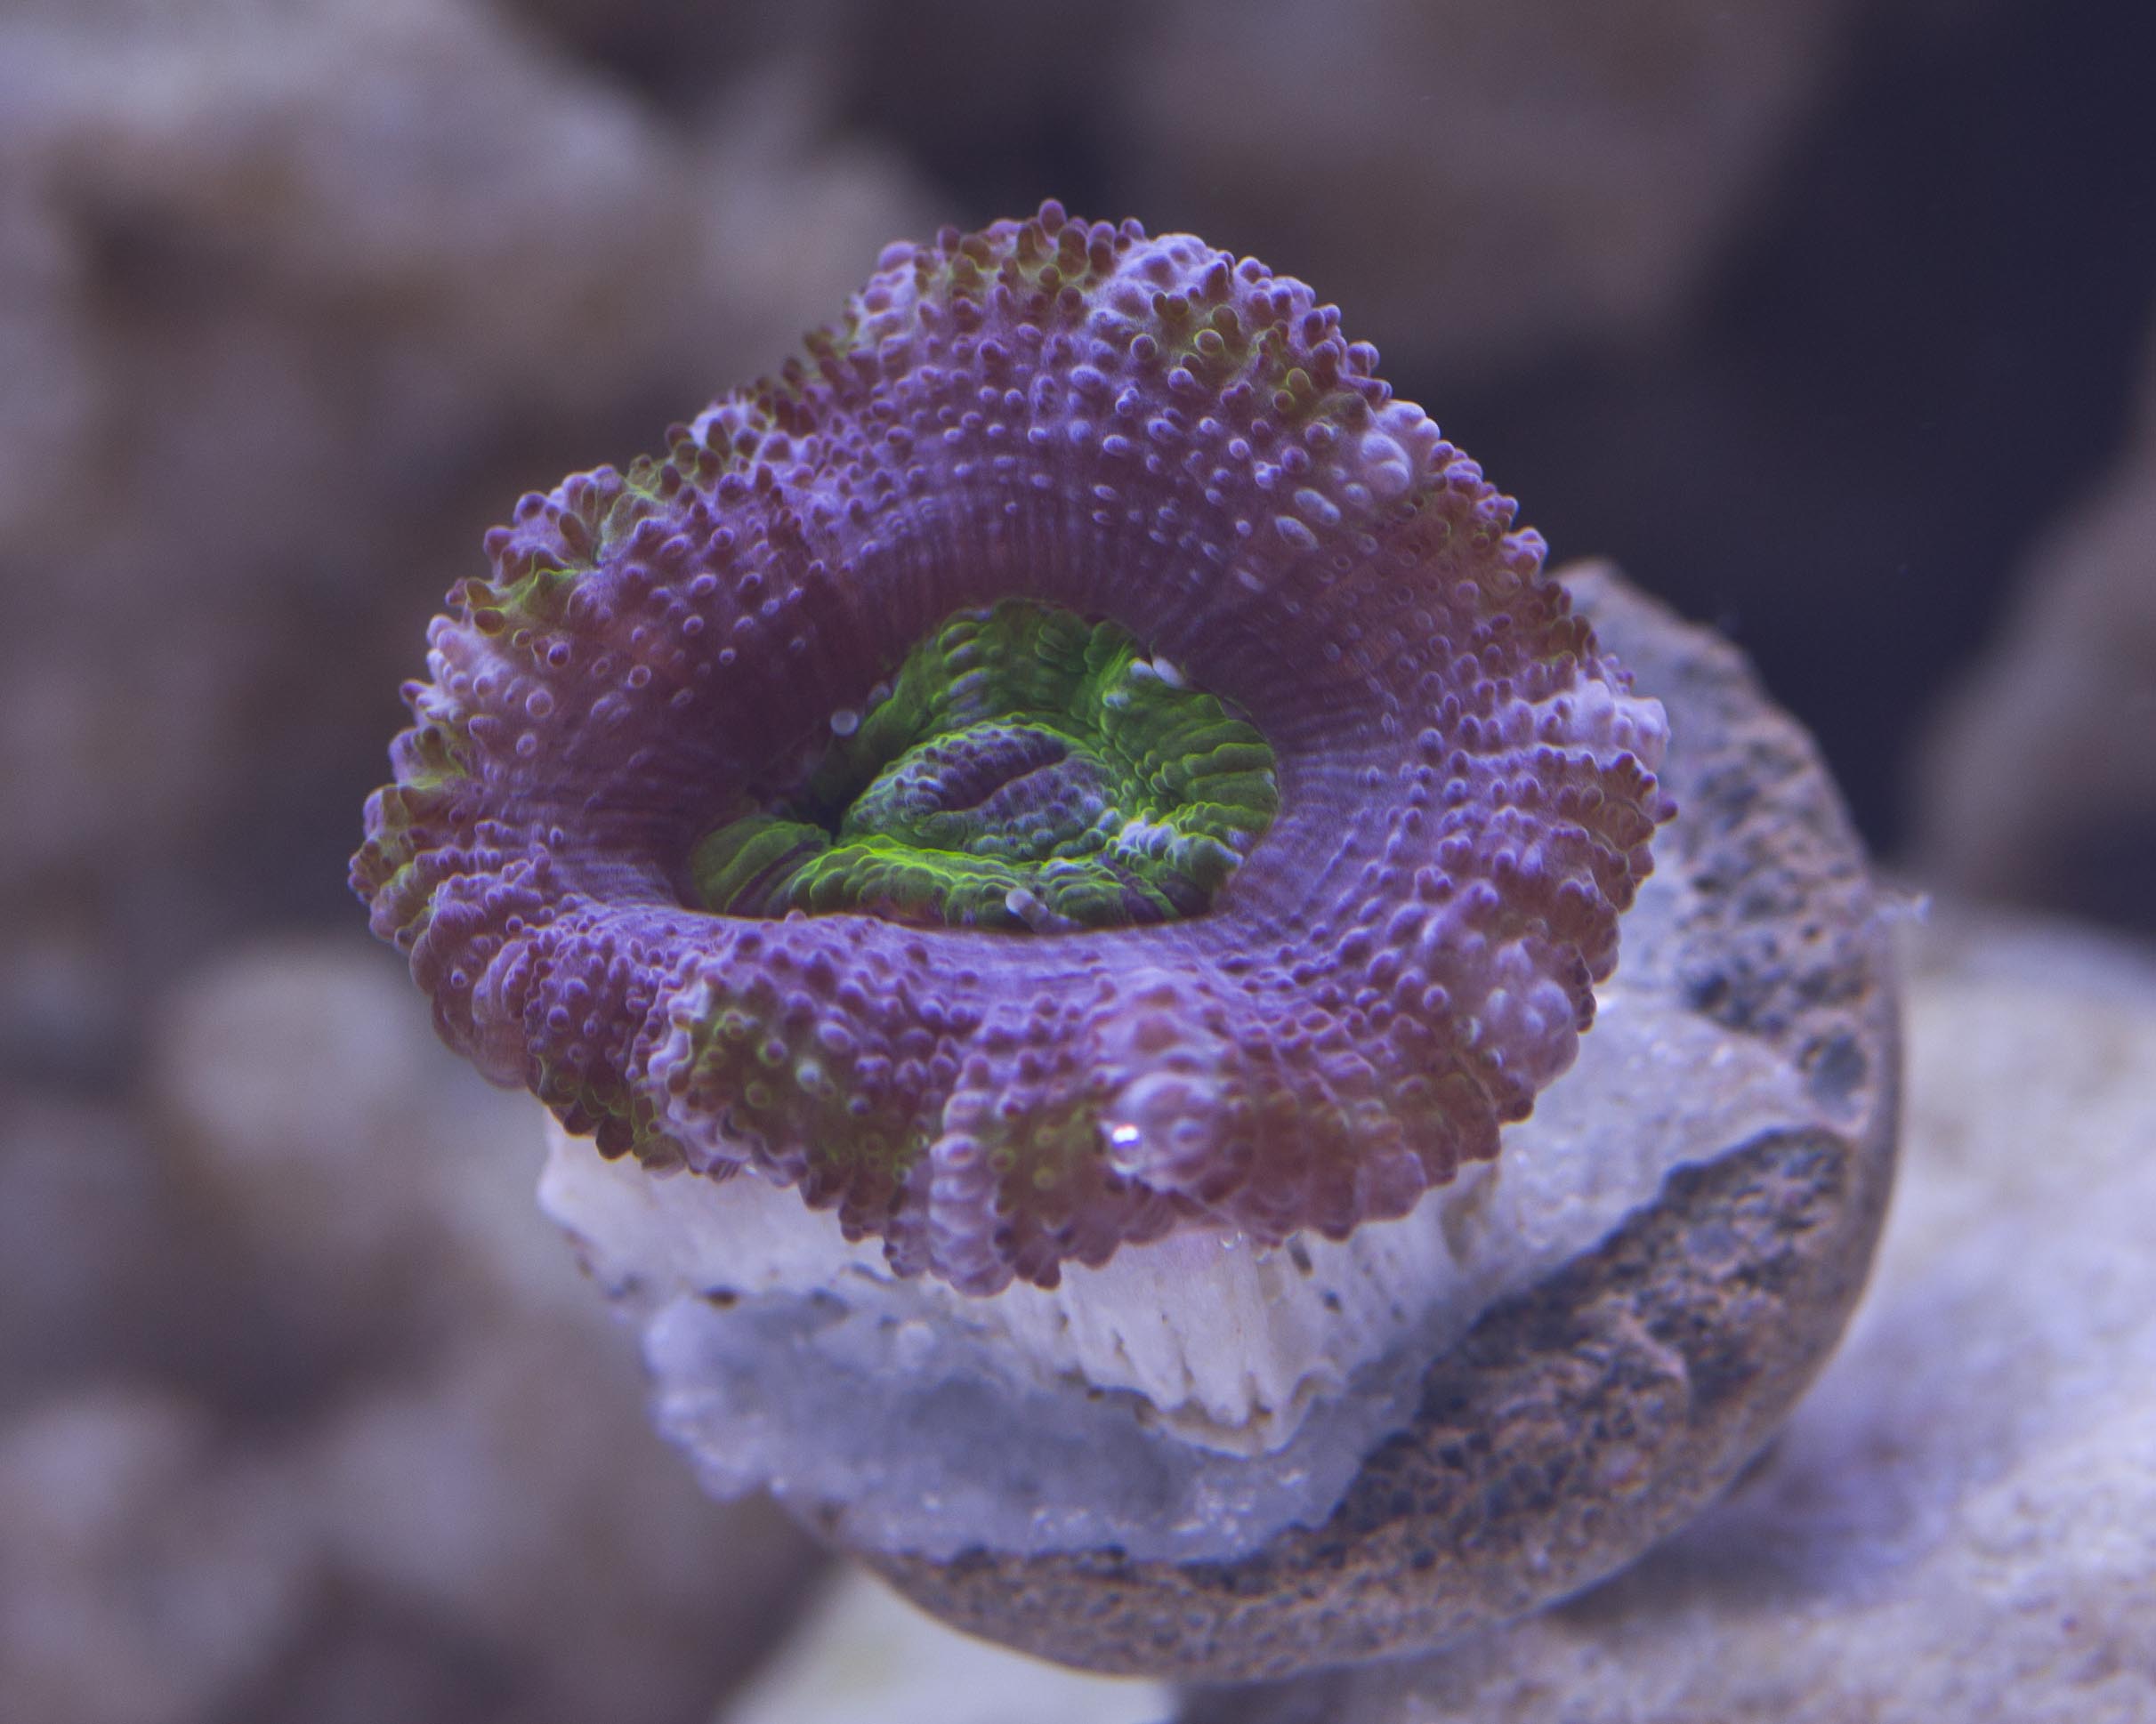
Shallow Depth of Field (notice the blurry image everywhere except the focal point (I used f/2.8 in this photo)-
And here you can see a larger Depth of Field with the whole subject in focus (I used f/11 in this photo)-
So how can I just take pictures without worrying about exposure?
The simple answer is… you can’t. There are, however, some camera defined settings that you can use. On Canon, they have AV mode, or Aperture Priority. This lets you choose the aperture, and ISO if you want (I suggest setting it to 100), and it figures out the shutter speed for you. I prefer to use f/5.6, but you want to at least set your aperture to two stops (two pre-defined numbers) down from your maximum aperture to get the sharpest photo you can. I don’t suggest using Program (P on Canon) or TV (Shutter priority) for corals, as you don’t have control over the aperture, thus you don’t have control over the DOF. For a lot of corals, having a large DOF is important in order to get most of the coral in focus. For shooting fish, TV (shutter priority) is great, as you want a faster shutter speed to prevent them from being blurred. The single most important aspect of shooting an aquarium is being lined up straight with the glass. Make sure that you are 100% straight, both vertically and horizontally, or you won’t get sharp images.
So what’s next?
Now you can take pictures of your aquarium! For taking pictures of coral, I’ve found that turning off all flow (return pump, powerheads, etc) works best, as some move with the flow and you won’t get a sharp image if they’re moving. Just remember, practice makes perfect. Take lots of pictures and take them often. Play with the settings to find what works best for you. And keep in mind, what works for one situation may not work with another. Don’t get discouraged, at least you don’t have to buy film!


