Let’s face it… no matter how hard we try, we don’t always get that perfect shot. Even the best shots can use some touching up, especially when it comes to macro photography and your aquarium. I’m going to go through the basics on how you can more closely replicate your corals in your pictures. This will not make a bad image in to a good image, it will simply help you make a good image better. While CS5 is a very complex program, and there are many ways to do things, this is what I’ve found to be the easiest to produce the best results.
To begin, I want to make note of the importance of shooting your pictures in raw format. Shooting in jpeg will not allow you to make the necessary adjustments without severely compromising the integrity of the image. Any DSLR will have the ability shoot in raw, and most even let you choose jpeg, raw, or both (duplicating the image in raw and jpeg).
The first thing you want to do is transfer your images from your device to your computer. I do this twice. First, I transfer the files to a folder labeled with the date and the topic (ie 5.15.12 Frags). I also create a duplicate folder on another drive, in case my laptop drive were to ever crash. Once the images are on your machine, we can move on to the next step.
In CS5, go to File > Browse in Bridge. This will open Bridge, allowing you to preview the images. Locate the folder that you’ve loaded the pictures to, and they’ll be displayed in the middle.

Choose the picture that you want to edit by double clicking. This will bring it up in Camera Raw. This is where the majority of the editing that I do takes place. Assuming you’re ready to edit, let’s move on.

In the Camera Raw screen, you’ve got a bunch of sliders with a preview of the image. The first thing we’re going to do is adjust the white balance. While a custom white balance on your camera is a nice thing to set, it’s not always an option, especially if you do a lot of other pictures away from your tank. Assuming you’ve got a pre-set white balance (or auto), your corals are most likely going to be quite blue (see ‘before’ image above). In order to replicate what you see, you’re going to need to adjust the white balance. This is easily done by moving the slider labeled ‘Temperature’… and in a reef tank, you’re most likely going to need to move it to the right. I’ve found that moving the slider to 13,000 best replicates what I see in my tank. This will be purely based on the color temperature of your tank, so your mileage may vary on what works best for you. Remember, the goal is to replicate your tank… not try and make it look ‘better’ than it really is.
Once you’ve set your white balance, there are still several settings that you can adjust. Hopefully, your exposure is correct already, but if it’s not, you can dial it up or down from here as well. I’ve found that I only use the contrast, clarity, and a tiny bit of saturation when editing my pictures, aside from the color temperature. For your first picture, look at your tank closely and move each slider until you get it just like the way you see it. You want to avoid moving the sliders much in either direction, as this is likely to really change the image a lot. Also keep in mind that saturation should be limited, as a few points up is usually more than enough.

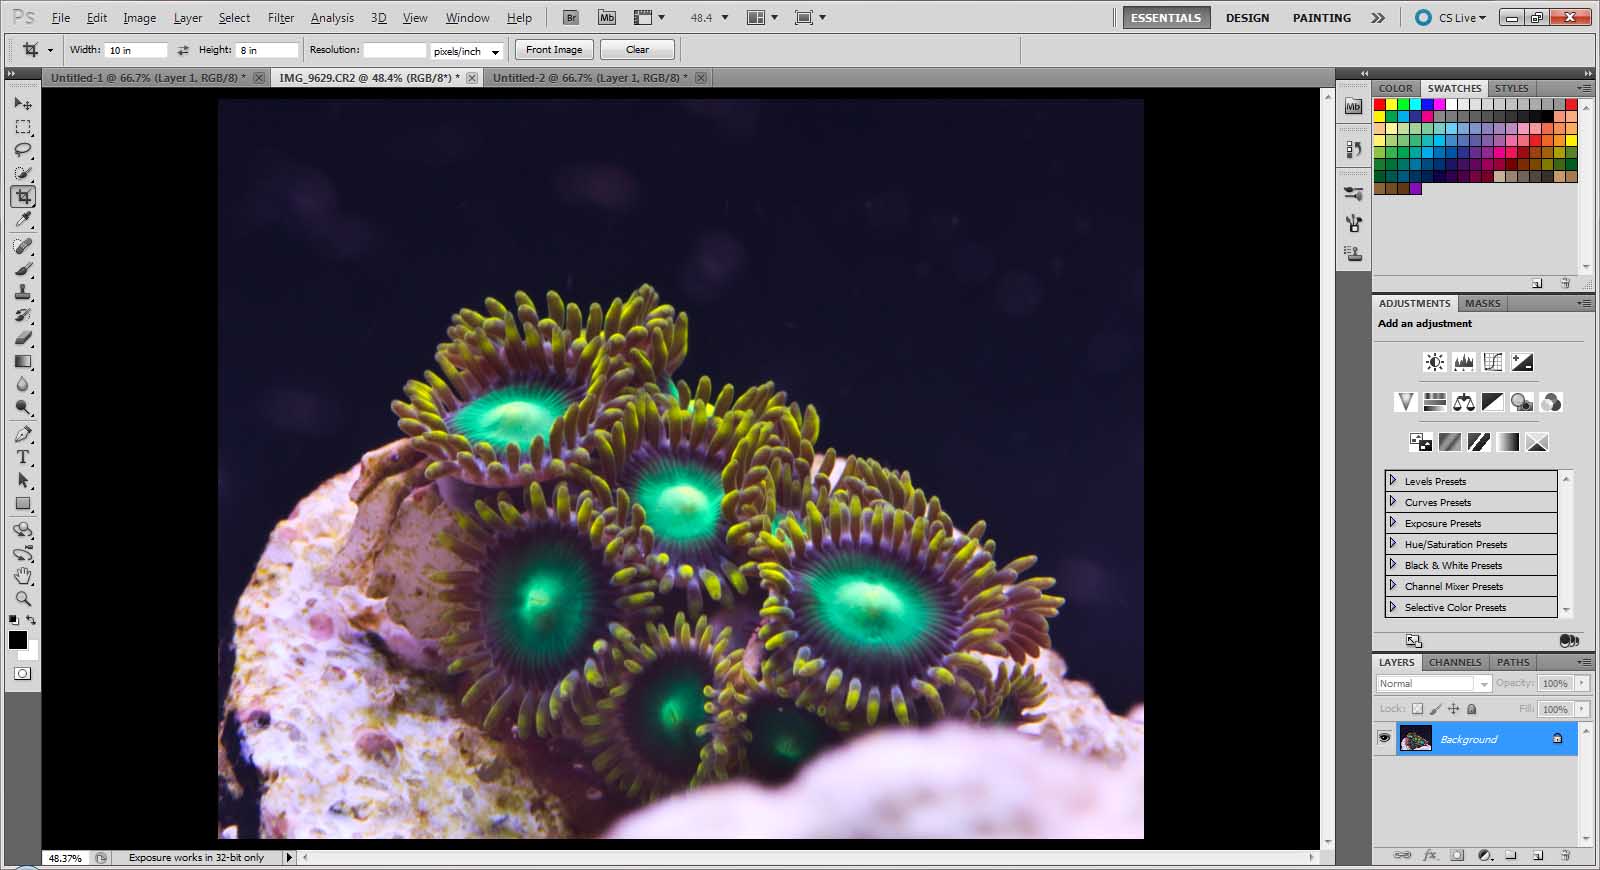
Once you’ve got the image just how you want it, it’s time to crop it. To do this, click ‘Open Image’, which will bring it up in CS5. Press ‘C’ to open the crop tool. At the top of the screen, you can choose a width and height. I usually crop in 8×10 or 10×8, though you can crop in any size you want. Crop the image (and remember, don’t crop a ton, as you can lose a lot of image quality this way) to get out anything you don’t want in the image, or to bring the subject in closer. Once you crop, press Ctrl and 0 (that’s zero) and it will fill the screen.


Once you’ve finished cropping, it’s time to save. I save my images in one of two formats. If I’m uploading to a website like Photobucket or a forum, I save in jpeg. If I’m uploading to Flickr, or saving the image for myself, I save in Tiff. I choose ‘Save As’, select the appropriate tag, then save to the same folder that I started in. On jpeg files, once you hit Save, you’ll be prompted to choose a file size.

Now that you’ve got the basics, you can try some things out for yourself to see what works best for your situation.
Here’s the finished product
