IchthyChris
Aquarium Advice Regular
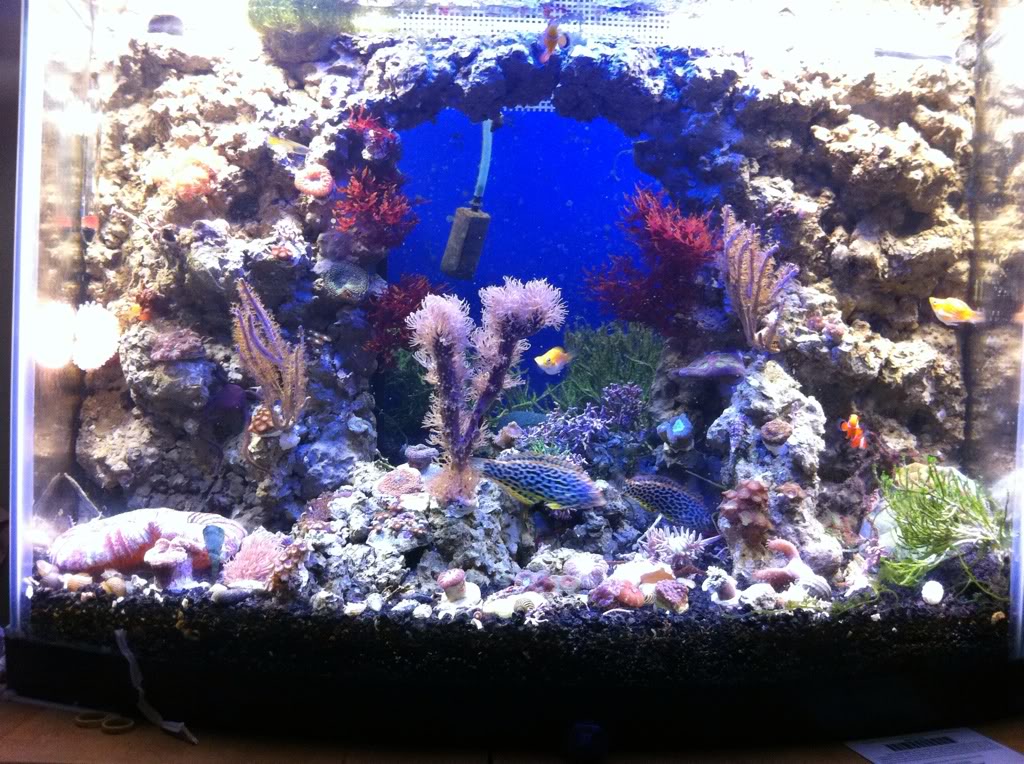
I'm building an internal fuge/filter in my 28 bowfront. I used plexiglass so I could put a nice bow in it to match the front (and so I could fit my hand in it). I'm going to build a faux reef cement wall over it to hide the pumps on the sides. The middle will be a fuge for growing food, plants, and a few delicate guys. As an after thought, I think leaving the center of the reef wall open to be able to see into the fuge would be pretty much awesome!
If I had thought of the window before I glued it in place I would have used a thin sheet of cast acrylic. I'm not worried about the integrity as the wall will be sandwiched between the cement and the filter baffles. If I had used acrylic, it wouldn't scratch as easy.
This will probably eventually get scratched, but until then I'll enjoy the view. Eventually it will prolly be overgrown with coralline. This is gonna be a prototype for bigger and better.
So here's a peak at my design:


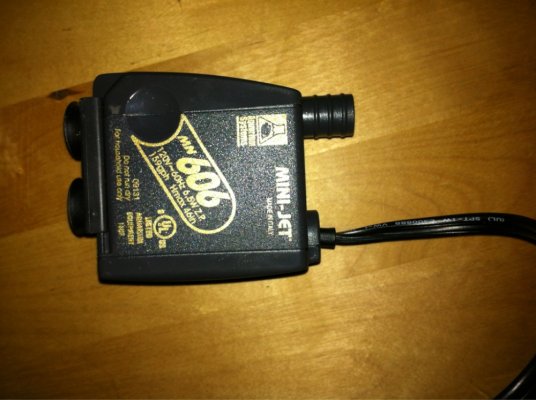
I've decided 2 smaller pumps on each side would be better for flow and possibility of adding a wave timer later. So:

And here's two days worth of building:
I had to cut out the middle support. I'll glue in a clear support later.

I cut myself on the sharp plastic so we both got transformer band-aids.


Fitting... The 2 pieces of paper are the footprint of the pumps I ordered.

I had to drill 4 holes for the return tubing and on the 4th one it cracked! So hears my patchwork. Yes, that's the support I cut out earlier.

I went out an bought another piece of plexi incase the patch didn't hold but it seems pretty strong.... Glued in place:

AAAAaaaand drying:

I put 4 pieces of tubing in to keep the holes open when I add cement.
Day 2
Here's some other prep to keep things clean...ish:

Decided I should use some plastic to protect my plastic

The next part I couldn't get a lot of photos of the process because you have to work fast with this stuff! ...and I didn't want crud on my iPhone.


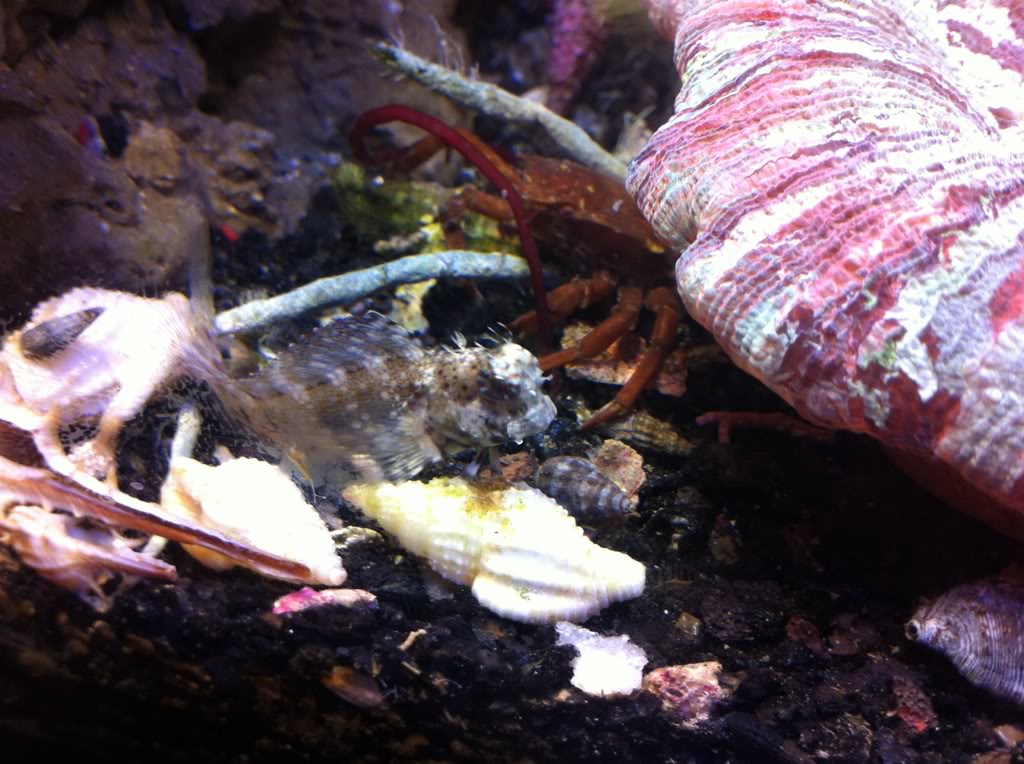
That's a barnacle shell at the bottom. I'll probably take it off later
For the faux reef, I used 1/2 a quick set polymer cement and 1/2 crushed oyster shell from the feed store. The cement is the kind they use to patch water leaks and is safe for potable water. It should also have a lower ph. It isn't as porous as the Portland cement most people use so I tried adding some salt rock to the mix but it didn't seam to help. we'll see. you have about 1 to 2 minutes work time with this stuff so you have to be quick!
If I had thought of the window before I glued it in place I would have used a thin sheet of cast acrylic. I'm not worried about the integrity as the wall will be sandwiched between the cement and the filter baffles. If I had used acrylic, it wouldn't scratch as easy.
This will probably eventually get scratched, but until then I'll enjoy the view. Eventually it will prolly be overgrown with coralline. This is gonna be a prototype for bigger and better.
So here's a peak at my design:
I've decided 2 smaller pumps on each side would be better for flow and possibility of adding a wave timer later. So:
And here's two days worth of building:
I had to cut out the middle support. I'll glue in a clear support later.
I cut myself on the sharp plastic so we both got transformer band-aids.
Fitting... The 2 pieces of paper are the footprint of the pumps I ordered.
I had to drill 4 holes for the return tubing and on the 4th one it cracked! So hears my patchwork. Yes, that's the support I cut out earlier.
I went out an bought another piece of plexi incase the patch didn't hold but it seems pretty strong.... Glued in place:
AAAAaaaand drying:
I put 4 pieces of tubing in to keep the holes open when I add cement.
Day 2
Here's some other prep to keep things clean...ish:
Decided I should use some plastic to protect my plastic
The next part I couldn't get a lot of photos of the process because you have to work fast with this stuff! ...and I didn't want crud on my iPhone.
That's a barnacle shell at the bottom. I'll probably take it off later
For the faux reef, I used 1/2 a quick set polymer cement and 1/2 crushed oyster shell from the feed store. The cement is the kind they use to patch water leaks and is safe for potable water. It should also have a lower ph. It isn't as porous as the Portland cement most people use so I tried adding some salt rock to the mix but it didn't seam to help. we'll see. you have about 1 to 2 minutes work time with this stuff so you have to be quick!


")