hackteck
Aquarium Advice Addict
- Joined
- Feb 24, 2005
- Messages
- 2,639
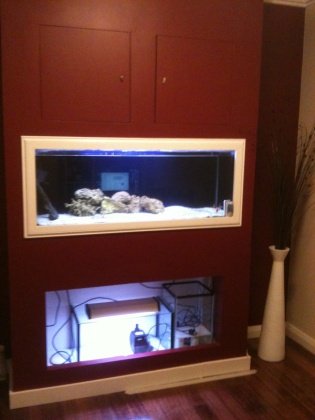
i love the design i wish i could do something like that
Brough5754 said:I love the color you went with in the room
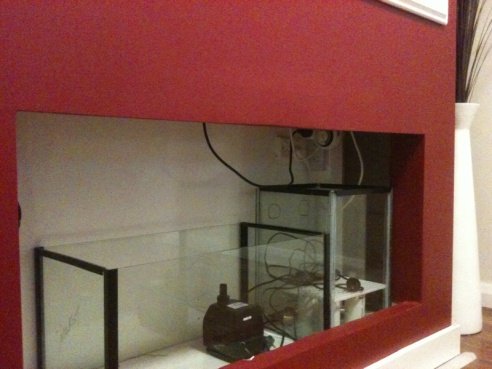
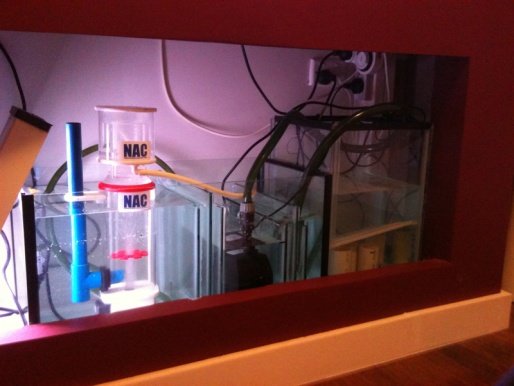
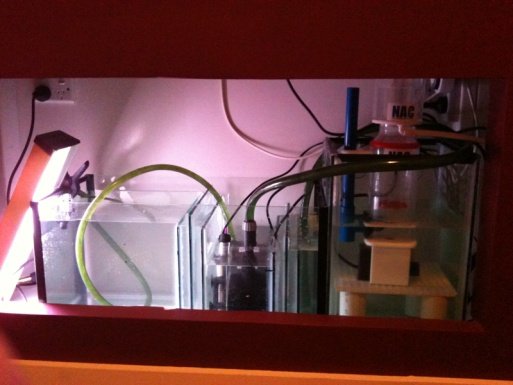
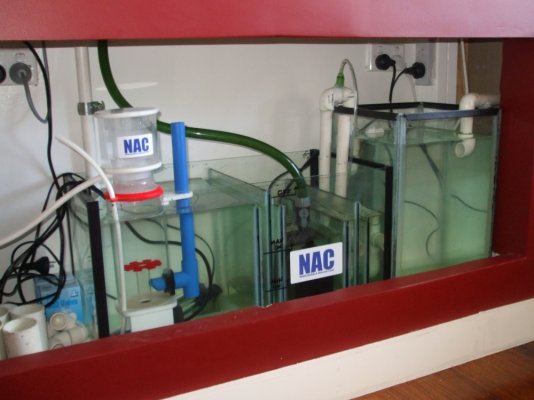
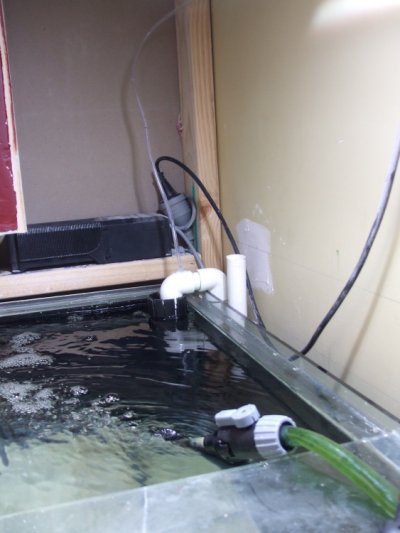
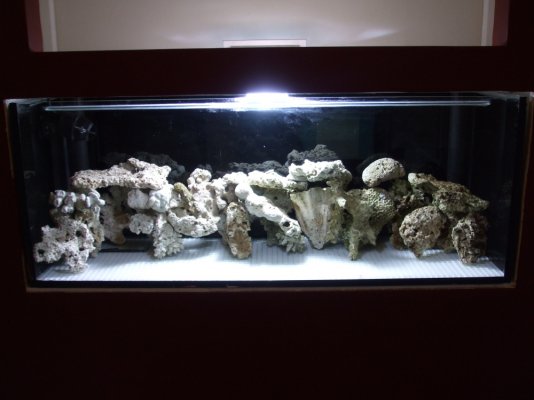
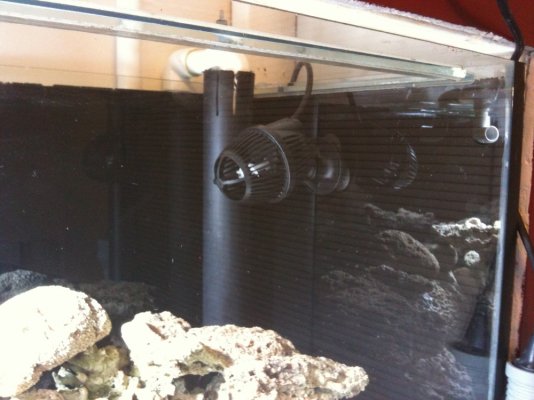
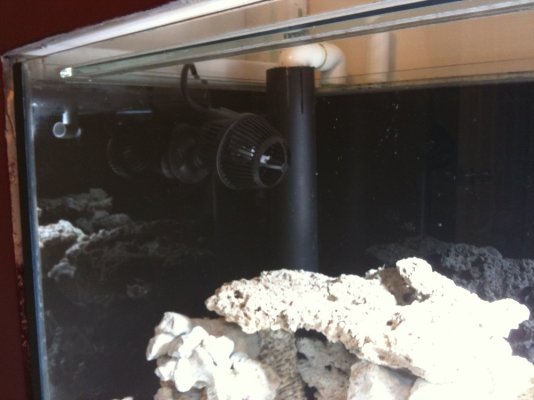
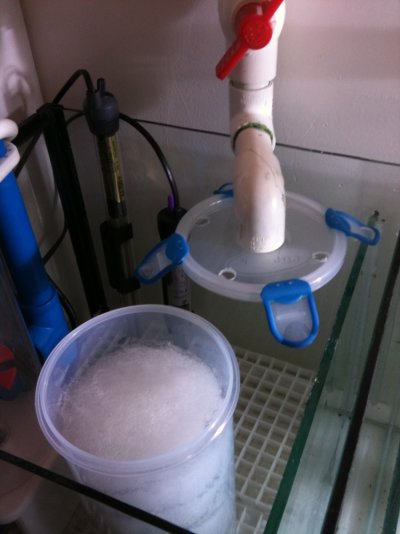
 i have decided to use the taller tank as the fuge now as i can have a good dsb and then i can use the other side for the heaters and skimmer i just need to lift the skimmer up a bit i decide to go the two overflows as i went with this setup DIY OverFlow Pipe - UltimateReef.com rather than overflow boxes
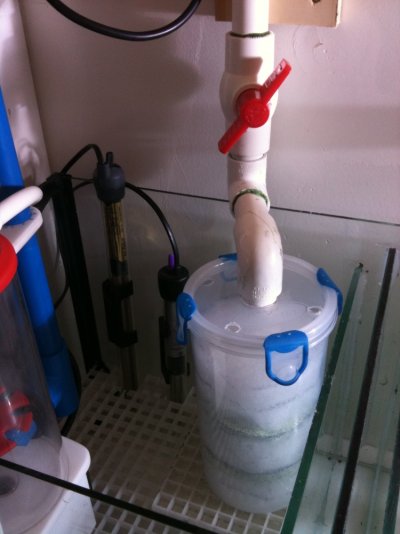
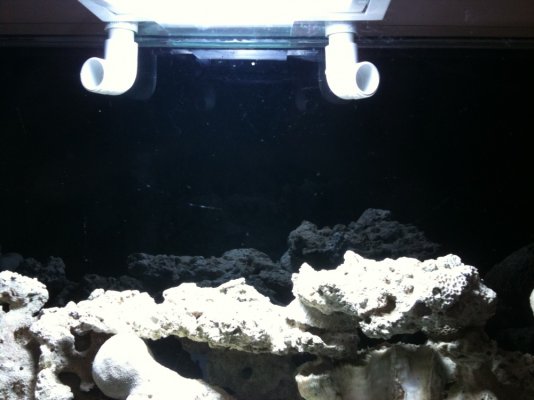
Sqasnatch said:Where do you get that crating that the rocks are sitting on. Went to canadiantire and home hardware, there was none